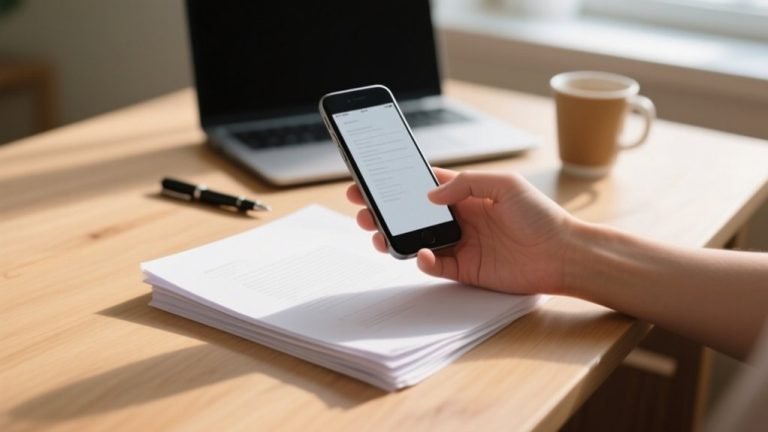
Why Is My iPhone Camera Blurry?
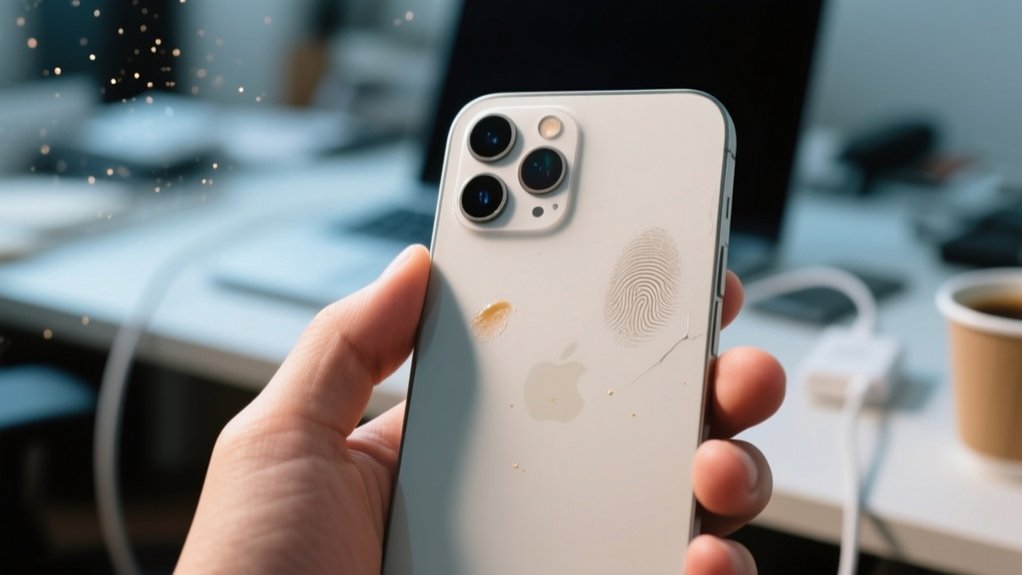
Your iPhone camera might be blurry because dirt, fingerprints, or smudges are covering the lens, or a case could be blocking or interfering with focus. Scratches on the lens or software glitches from updates can also cause blurriness.
Restarting your phone, removing accessories, and cleaning the lens often fix the issue. If the problem persists, it could be a hardware concern.
Keep going to uncover easy steps to clear up your blurry shots.
Key Takeaways
- A dirty or smudged lens commonly causes blurry iPhone photos by obstructing the camera’s view.
- Cases or accessories blocking or interfering with the camera can result in blurred images.
- Scratches or physical damage to the camera lens scatter light, causing permanent blurriness.
- Software glitches or incorrect focus settings may lead to blurry pictures.
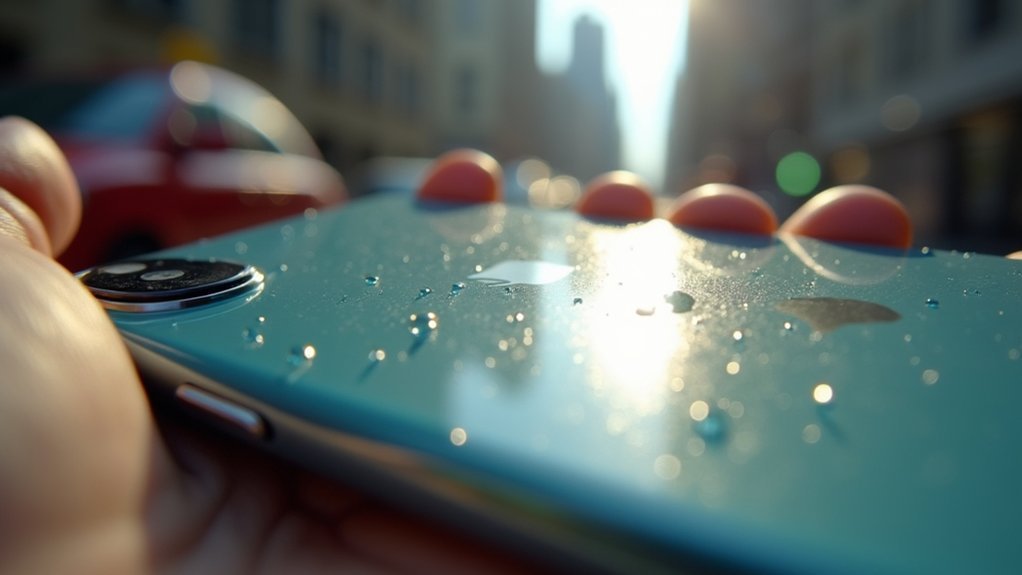
- Low light conditions and camera shake can reduce photo sharpness significantly.
Why Is My iPhone Camera Blurry? Common Causes
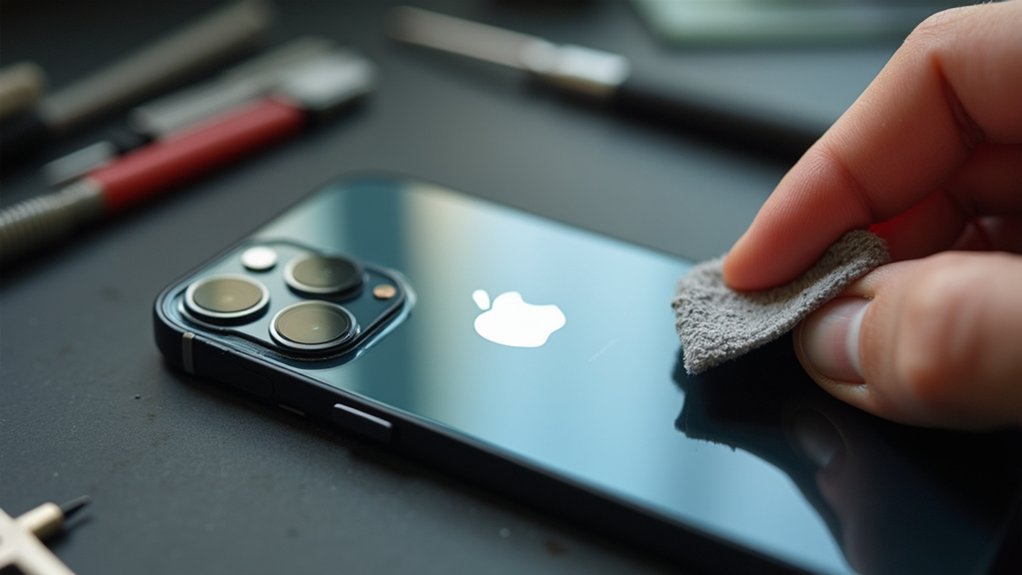
Even if you handle your iPhone carefully, a blurry camera can still frustrate you. One common cause is a dirty lens. Fingerprints, dust, or smudges on the camera can obstruct your shots. To improve clarity, you should clean the front lenses with a microfiber cloth regularly.
A dirty lens with fingerprints or dust often causes blurry iPhone photos; regular cleaning with a microfiber cloth helps.
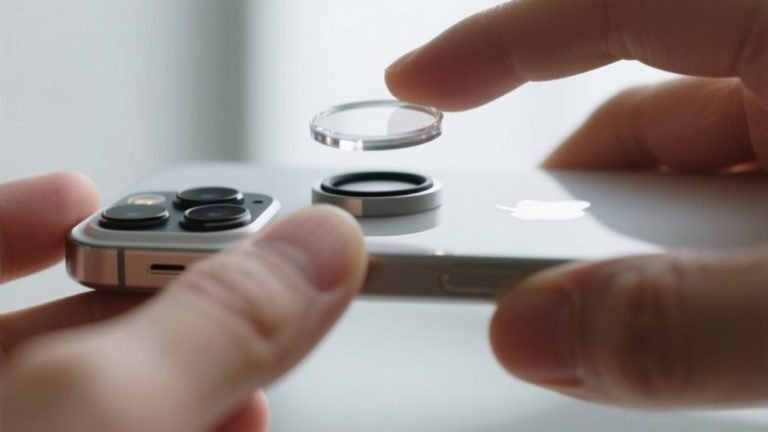
Another factor is protective cases or accessories that block the camera or interfere with its focus, leading to blurry images. Scratches on the lens can also scatter light, causing permanent blurriness.
Furthermore, software updates sometimes introduce bugs that disrupt camera performance. So, keeping your iOS up to date is essential.
Environmental factors like low light can cause camera shake. But the primary issues often involve the physical lens and software, so addressing those first usually solves most blurriness problems.
How to Clean Your iPhone Camera Lens Properly
You’ll want to grab a microfiber cloth when cleaning your iPhone camera lens.
This helps avoid scratches and does a great job removing smudges. Just gently wipe the lens, and if you find some stubborn spots, you can slightly dampen the cloth with water or a lens-safe cleaner.
Just be careful not to use anything rough or harsh—that could damage the lens and actually make your photos look worse.
Choosing The Right Cloth
Because the iPhone camera lens is delicate, choosing the right cloth for cleaning is vital to maintain image clarity. You should always use a microfiber cloth specifically designed for cleaning lenses. It effectively removes dirt and smudges without causing scratches on the lens.
Avoid paper towels, tissues, or rough fabrics that can create micro-scratches over time. Before cleaning, inspect your microfiber cloth for any debris to prevent transferring particles onto the lens.
If needed, slightly dampen the cloth with a lens cleaner or a mixture of distilled water and isopropyl alcohol to boost cleaning effectiveness.
When wiping, use a gentle circular motion to avoid streaks and guarantee a thorough clean. This helps preserve your iPhone camera’s performance and image quality.
Cleaning Techniques To Use
Proper cleaning techniques play an essential role in maintaining your iPhone camera’s clarity and performance. To prevent your camera from blurry images, use a microfiber cloth designed for lenses to gently wipe both the front and back camera. This material effectively removes fingerprints and smudges without scratching the surface.
For stubborn grime, slightly dampen the cloth with lens cleaner or water. Never apply liquids directly to the lens. Always clean starting from the center of the lens, moving outward in a circular motion to avoid pushing dirt toward the edges.
Avoid abrasive materials like paper towels or tissues, which can scratch the lens or leave lint behind.
Regularly inspecting and cleaning your camera lens guarantees peak photo quality and helps keep your iPhone’s camera functioning at its best.
Avoiding Lens Damage
Maintaining your iPhone camera’s clarity goes beyond regular cleaning; protecting the lens from damage is just as essential.
Use a microfiber cloth to gently wipe the lens, removing smudges, fingerprints, and dust without scratching the surface.
Avoid paper towels or rough materials as they cause micro-scratches that can make your photos blurry.
If smudges persist, slightly dampen the microfiber cloth with lens cleaner or water, but be careful to prevent liquid from entering the camera housing.
Regularly inspect the lens for debris or scratches, as even minor imperfections can degrade image quality.
Always clean the lens before important shots, especially in dusty or greasy environments.
Proper cleaning and careful handling guarantee your iPhone’s camera stays sharp and produces clear images every time.
Remove Cases and Accessories That Block Your Camera
If you notice your iPhone camera is blurry, start by removing any cases, accessories, or films covering the lens. These items can obstruct the camera, interfering with focus and light entry, which leads to blurry images.
Some iPhone cases even contain magnetic components that distort camera performance, affecting both front and rear lenses. By testing your camera without any accessories, you can quickly identify if they’re causing the blurriness.
Remember to check that no screen protectors cover the front camera, as this can also degrade image quality.
Regularly inspect and remove anything blocking your iPhone camera to maintain clear photos.
Taking these steps guarantees your camera captures sharp, focused images without interference from cases or accessories.
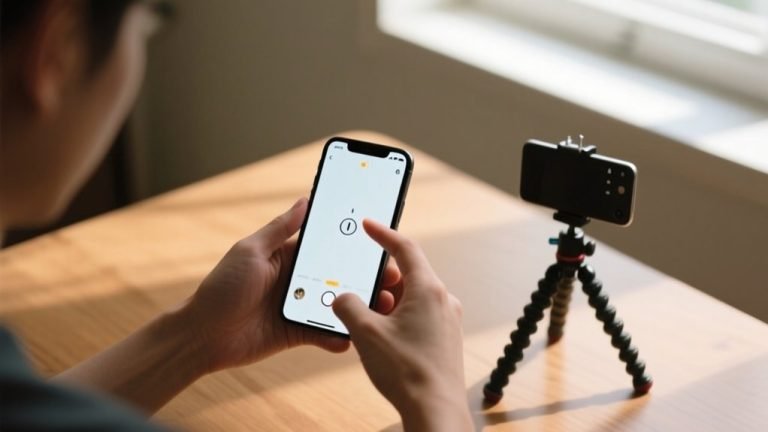
Restart Your iPhone and Check Camera Focus Settings
Try restarting your iPhone to clear any temporary glitches affecting the camera’s clarity.
Once it’s back on, check if the focus is set to automatic.
But don’t hesitate to tap the screen to manually adjust focus on your subject.
These simple steps often fix blurry photos by resetting the camera’s focus settings.
Restarting Device Benefits
Although your iPhone’s camera may seem blurry due to temporary software glitches, restarting your device can quickly resolve these issues by rejuvenating its system processes.
Restarting clears minor software bugs affecting the Camera app’s ability to focus properly, restoring sharpness.
To restart, hold the side and volume buttons until the power off slider appears, then slide to turn off. Wait 30 seconds before pressing the side button to power back on.
Once restarted, open the Camera app and tap the screen to verify focus targets your subject accurately.
Regular restarting promotes peak performance, preventing small glitches from interfering with camera functionality.
Manual Focus Adjustment
Restarting your iPhone often clears temporary glitches, but guaranteeing your photos are sharp also requires manually adjusting the camera’s focus. When taking a photo, tap on the exact area of the screen where your subject appears to perform a manual focus adjustment. This helps prevent blurry images caused by auto-focus errors.
After restarting your iPhone, don’t forget to check your camera focus settings. Certain modes like Portrait can change how focus operates.
If your camera remains blurry despite these steps, consider resetting all settings to fix deeper issues without losing data.
Regularly testing your camera after updates guarantees you catch persistent problems early, helping maintain clear, focused photos every time you shoot.
Update iOS and Reset Settings to Fix Blurry Camera
Since software glitches often cause blurry images, updating your iPhone to the latest iOS version can resolve many camera issues. Apple regularly releases software updates that fix bugs affecting camera performance, so it’s vital to update iOS whenever a new version is available.
Before updating, verify your iPhone is connected to Wi-Fi and has sufficient battery life to avoid interruptions.
If updating doesn’t clear the blurry camera problem, try resetting your settings. Go to Settings > General > Transfer or Reset iPhone > Reset > Reset All Settings. This restores default settings without deleting your data and can eliminate temporary glitches affecting focus and image clarity.
Combining software updates with resetting settings often improves camera functionality and fixes blurriness efficiently.
When to Seek Professional Repair for iPhone Camera Issues
How do you know when your iPhone camera needs professional repair? If your camera remains blurry after cleaning the lens and restarting your device, it’s likely a hardware issue that requires expert attention.
Also, if your camera fails to focus correctly despite good lighting, or if you’ve experienced physical damage, professional repair is essential to restore functionality.
Consider seeking expert help when you notice:
- Persistent blurriness without any dirt or obstruction on the lens
- Inability of the camera module to focus correctly in ideal conditions
- Physical damage from drops or moisture affecting camera performance
Remember to check your warranty status before pursuing repair, as some hardware issues might be covered, saving you from unnecessary expenses.
Frequently Asked Questions
Can a Software App Cause My iPhone Camera to Appear Blurry?
Yes, a software app can cause your iPhone camera to appear blurry. If the app isn’t optimized for your iOS version or has bugs, it mightn’t use the camera hardware properly.
Also, incorrect settings like focus or exposure within the app can blur your photos.
Sometimes, app permissions restrict camera access, affecting performance. To fix this, update the app, check permissions, or try the native camera app to see if the issue persists.
Does Low Light Affect the Sharpness of iPhone Camera Photos?
Yes, low light definitely affects the sharpness of your iPhone photos.
When lighting’s poor, your camera’s sensor struggles to capture enough detail, and exposure times lengthen. This increases the chance of motion blur if you don’t hold steady.
Autofocus may also falter, making images look out of focus.
Using Night mode helps, but in general, better lighting means sharper, clearer shots on your iPhone.
How Do I Prevent My iPhone Camera Lens From Getting Scratched?
You can keep your iPhone camera lens looking its best by giving it some tender loving care.
Use a quality screen protector designed to avoid the lens area, and store your phone in a separate pocket or pouch to prevent unwanted friction.
Choose a case with a raised edge around the lens for extra shielding.
Clean the lens gently with a microfiber cloth, steering clear of harsh materials that might leave lasting marks.
Can Using Third-Party Camera Apps Improve Photo Clarity?
Yes, using third-party camera apps can boost your photo clarity by giving you manual control over focus, exposure, and resolution settings.
Apps like Adobe Lightroom and ProCamera offer advanced editing tools and better image processing, especially in low-light conditions.
However, not all apps work perfectly with every iPhone model, so you’ll want to read reviews and test them yourself to find one that improves your photos without causing new issues.
Is It Normal for My iPhone Camera to Be Blurry After a Drop?
Yes, it’s normal for your iPhone camera to be blurry after a drop. The impact can misalign the lens or internal parts, affecting focus and clarity.
You should check the lens for cracks or scratches and restart your phone to rule out software glitches.
If the blurriness continues despite no visible damage, it’s best to get a professional repair to diagnose and fix any internal hardware issues.
Conclusion
So, if your iPhone camera’s acting like it’s seen better days, don’t just blame the universe or your photography skills. Start by cleaning that lens like it’s your new hobby. Ditch any sneaky cases blocking the view, and give your phone a good old restart.
If that blurry mess persists, try updating iOS or resetting settings. And if all else fails, maybe it’s time to admit defeat and let a pro handle your sadly confused camera.