How to Set Timer on iPhone Camera in 7 Easy Steps
To set a timer on your iPhone camera, first open the Camera app and tap the arrow at the top center to reveal settings. Next, tap the timer icon, then choose a 3, 5, or 10-second countdown.
Press the shutter button to start the timer. The flash will blink as it counts down. Once the photo is taken, you can easily disable the timer by selecting “Off.”
Keep going, and you’ll find helpful tips to perfect your shots every time.
Key Takeaways
- Open the Camera app and ensure it is in Photo or Portrait mode to enable the timer feature.
- Tap the arrow at the top center of the screen to reveal camera settings.
- Select the timer icon, then choose a countdown option of 3, 5, or 10 seconds.
- Press the shutter button to start the timer countdown and prepare for the photo.
- To disable the timer, tap the timer icon again and select “Off.”
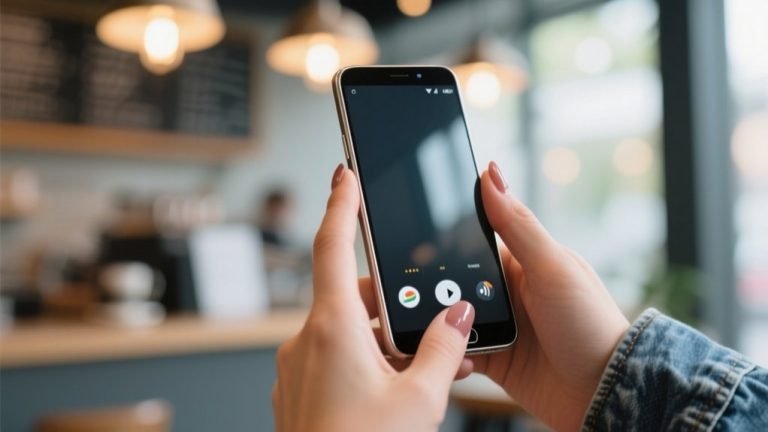
Open the iPhone Camera App to Set a Timer
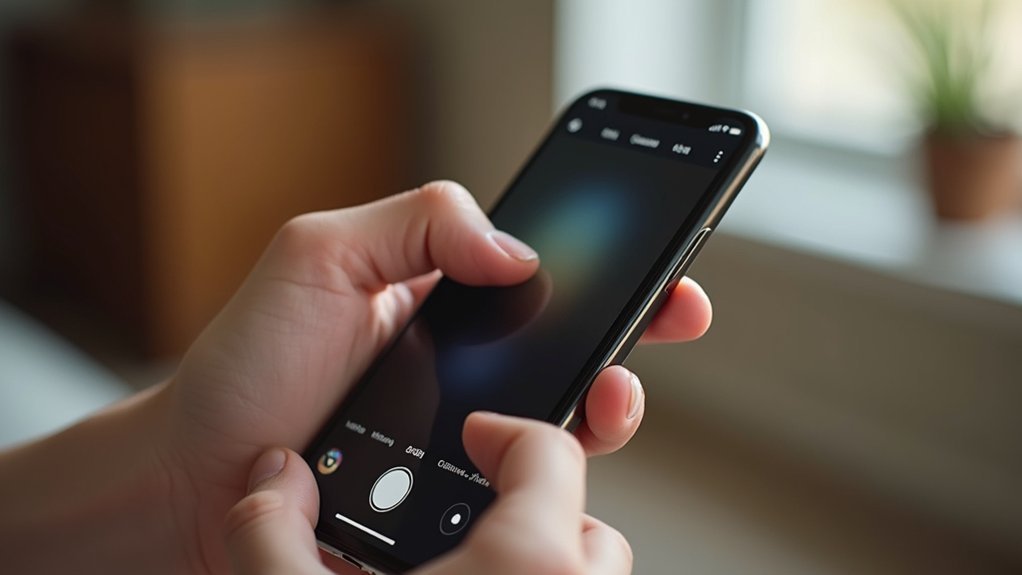
To set a timer on your iPhone camera, start by locating and tapping the Camera app on your home screen or in the app library.
Once you open the camera, you’ll see the familiar interface, including the shutter button used for taking a photo.
Make sure your device is set to either Photo or Portrait mode, as these modes support timer functionality.
Set your iPhone camera to Photo or Portrait mode to enable the timer feature easily.
Getting comfortable with the camera layout helps you navigate the settings smoothly.
The shutter button remains your main control for capturing images, but before pressing it, you’ll need to adjust the timer.
This first step of opening the Camera app and selecting the proper mode sets you up perfectly for using the timer feature in the next steps.
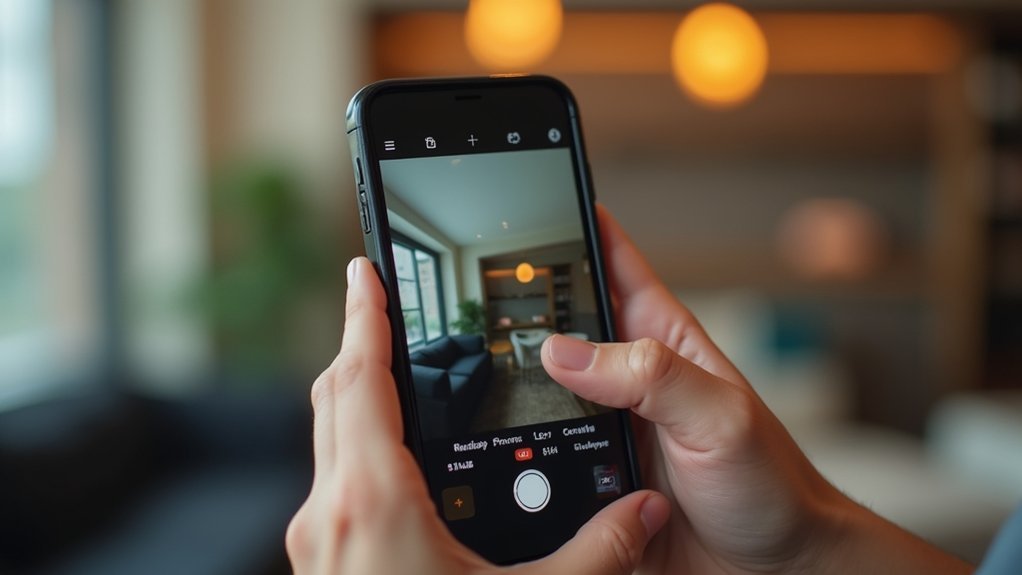
Tap the Arrow to Reveal Camera Settings
After opening the Camera app and selecting Photo or Portrait mode, you’ll want to tap the arrow at the top center of the screen. This action reveals the camera settings, giving you control over various options including focus, exposure, and the timer icon.
The timer icon looks like a clock and lets you set a countdown for your photo.
Here’s a quick overview of some settings you’ll see:
| Setting | Description |
|---|---|
| Focus | Adjust the sharpness |
| Exposure | Control brightness |
| Timer Icon | Enable self-timer countdown |
| Photo Mode | Switch between modes |
Tapping the arrow helps you access these settings easily so you can prepare your photo perfectly.
Tap the Timer Icon to Choose a Countdown
Once you tap the timer icon, the clock symbol, you’ll see three countdown options: 3 seconds, 5 seconds, and 10 seconds. This lets you choose how long to wait before your iPhone camera snaps the photo.
To access the timer icon, first open the Camera app and tap the arrow at the top middle of the screen. Then, tap the timer icon to view these countdown choices.
When you select a countdown, the shutter button activates the timer, and the flash blinks to signal when the photo will be taken. Using the timer icon helps you set up shots perfectly without rushing.
If you want to stop using the timer, just tap the timer icon again and choose “Off” to disable it.
Choose Between 3, 5, or 10-Second Timer Durations
You can pick from three timer durations: 3, 5, or 10 seconds, depending on how much time you need before the camera snaps your photo.
After tapping the timer icon, simply choose the countdown that fits your shot.
Use 3 seconds for quick selfies, 5 seconds if you need a bit more time to pose, or 10 seconds for group photos where everyone needs to get ready.
When you use the timer, the iPhone’s flash will blink during the countdown, so you know exactly when the photo or video is about to be taken.
This visual cue helps you prepare and reduce movement for a sharper image.
Selecting the right timer duration guarantees you get the perfect shot without rushing or missing out on the moment.
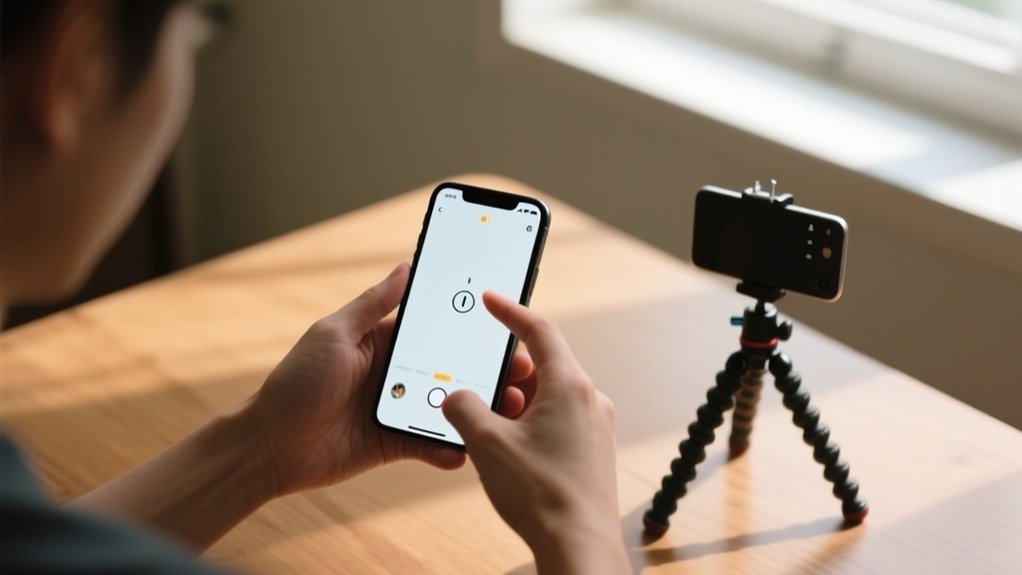
Press the Shutter Button to Start the Timer Countdown
Once you’ve picked your timer duration, just press the Shutter button to start the countdown.
You’ll see a flash that lets you know the timer is active—it’s a clear heads-up.
This brief countdown gives you a little time to get ready for the perfect shot without feeling rushed.
Initiate Timer With Shutter
Pressing the Shutter button kicks off the timer countdown on your iPhone camera.
After you’ve opened the Camera app, set your preferred timer duration—3, 5, or 10 seconds—by tapping the arrow at the top center and selecting the clock icon.
Once you press the Shutter button, the countdown begins automatically. The camera will snap the photo after the set time, giving you a moment to get ready.
During this countdown, the flash blinks, providing a clear visual cue so you know when the picture will be taken.
This feature is especially handy for group shots or selfies when you need a few seconds to position yourself.
When you’re done, you can easily turn off the timer by returning to the timer settings and selecting “Off.”
Countdown Notification Signals
Several clear signals help you stay aware of the timer countdown when you tap the shutter button. Once you press it, the countdown starts immediately, giving you enough time to prepare.
Here’s how your iPhone keeps you informed during this process:
- A visual countdown appears on the screen, showing the seconds left before the photo is taken.
- The timer duration you chose (3, 5, or 10 seconds) lets you anticipate the exact moment.
- In the final seconds, the camera flash blinks in sync with the countdown to alert you.
- This combination of signals guarantees you can position yourself perfectly for self-portraits or group shots without rushing.
These notifications make capturing the perfect photo easy and stress-free.
Watch the Flash Countdown Notification
When you start the timer, keep an eye out for the flash blinking—that’s your countdown signal. It fires once right at the beginning and then again just before the photo is taken.
This helps you keep track of the timing easily. This little flash is especially useful in low light, so just make sure your flash is turned on to see it clearly.
It’s a simple visual cue that makes timing your shots a breeze!
Flash Countdown Visibility
Although the iPhone camera timer gives you a few seconds to get ready, the flash countdown provides a clear visual cue by blinking in the final seconds before the photo is taken. This blinking flash helps you anticipate the moment the picture snaps, ensuring you’re ready to pose perfectly.
To make the most of flash countdown visibility, keep these points in mind:
- Choose a timer length of 3, 5, or 10 seconds to give yourself enough prep time.
- The flash will blink rapidly in sync with the last few seconds of the countdown.
- Make sure the flash setting is enabled in the camera app before starting the timer.
- Use the blinking flash as a reliable visual signal to time your smile and pose.
This way, you won’t miss the perfect shot.
Timing Notification Signals
If you want to time your shot perfectly, watch for the flash countdown notification on your iPhone camera. When you set the timer, the flash blinks in a series of three short flashes just before the photo is taken, giving you a clear visual cue.
This helps you position yourself properly in the frame before the shutter clicks. You can choose from 3, 5, or 10-second timer options depending on how much time you need to get ready.
If you prefer a silent countdown, you can disable the flash notification in your settings.
Using these timing signals guarantees you won’t miss the moment, making it easier to capture the perfect shot without rushing or guesswork.
Turn Off the iPhone Camera Timer
Since you might want to take photos instantly without any delay, turning off the iPhone camera timer is simple.
Just follow these easy steps to disable the timer and capture your shot immediately:
- Open the Camera app on your iPhone.
- Tap the arrow at the top middle of the screen to reveal more options.
- Tap the timer icon (clock symbol) that appears.
- Select the “Off” option to disable the timer feature.
Once you turn off the timer, the camera won’t count down before snapping a photo.
This setting stays off until you manually change it again or close and reopen the Camera app.
That way, you’re always ready to take quick shots without waiting.
Frequently Asked Questions
Can I Use the Timer With Burst Mode on iPhone?
No, you can’t use the timer with Burst Mode on your iPhone.
When Burst Mode is on, it snaps multiple photos quickly, ignoring any timer settings.
To use the timer, switch to Photo or Portrait mode first, then set the timer for 3, 5, or 10 seconds.
After the timer photo, you can switch back to Burst Mode if you want to capture rapid shots again.
Does the Timer Work With the Front and Rear Cameras?
You might think the timer only plays favorites with one camera, but nope—it works with both the front and rear cameras on your iPhone.
Whether you’re snapping a selfie or a group shot, just pick your timer length—3, 5, or 10 seconds—and get ready.
The countdown flashes on the screen, so you know exactly when the photo will snap.
This gives you enough time to strike your perfect pose every time.
Can I Customize Timer Durations Beyond 3, 5, or 10 Seconds?
You can’t customize timer durations beyond the preset 3, 5, or 10 seconds on the iPhone’s native Camera app.
It keeps things simple with those standard intervals.
However, if you want more flexibility, you might try third-party camera apps that offer customizable timers.
Keep an eye on iOS updates, as Apple could add new features later, but for now, you’re limited to those three timer options.
Will the Timer Drain My iPhone Battery Faster?
No, the timer won’t drain your iPhone battery faster in any noticeable way. It mainly controls when the shutter fires, which uses minimal power.
The screen being on while you wait uses more battery than the timer itself.
Can I Use the Timer Feature With Third-Party Camera Apps?
You can definitely wield the timer feature like a painter with a brush in many third-party camera apps, but it’s not guaranteed across the board.
Some apps, like Camera+ or Halide, offer timer options, though the intervals might differ.
To avoid surprises, peek into the app’s settings or user reviews before downloading.
That way, you’ll know if the app lets you set a timer and how to use it smoothly.
Conclusion
Setting the timer on your iPhone camera is like giving yourself a brief pause before the spotlight, just like actors waiting for their cue. With these simple steps, you’ll never miss a perfect shot, whether it’s a group photo or a solo selfie.
Remember, even a quick 3-second countdown can make a big difference, giving you time to strike your best pose. So go ahead, set that timer and capture moments with ease!