How to Remove iPhone Camera Lens Protector in 7 Easy Steps
To remove your iPhone camera lens protector, first gather tools like tweezers, a hair dryer, and a soft cloth. Don’t forget to turn off your device before you start.
Apply gentle heat to soften the adhesive. Then carefully lift a corner with tweezers or your fingers. Peel slowly and reheat if needed to make the process easier.
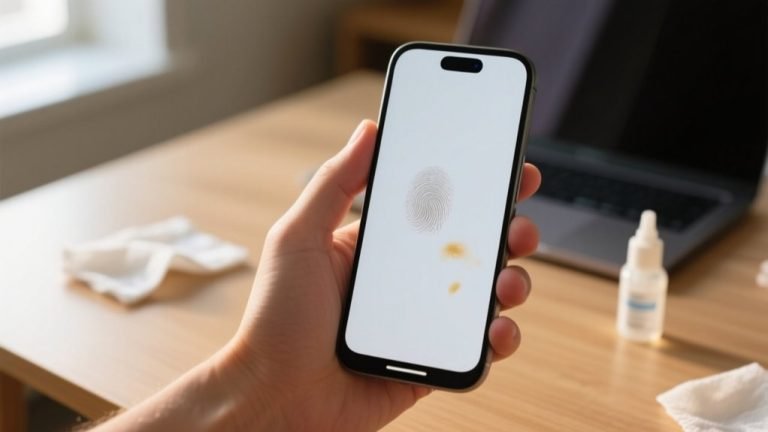
Clean any leftover adhesive with a microfiber cloth and some isopropyl alcohol. Be sure to handle each lens protector gently to avoid any damage.
Want to know how to keep your lens spotless and ready for a new protector?
Key Takeaways
- Turn off your iPhone and prepare a clean workspace to prevent accidental damage and dust contamination.
- Gently lift a corner of the lens protector using tweezers or your fingers for precise and safe removal.
- Apply gentle heat with a hair dryer on low setting around the protector to soften adhesive and ease peeling.
- Peel the protector slowly and steadily, reheating if resistance occurs, to avoid breaking or leaving residue.
- Clean the lens with a microfiber cloth and isopropyl alcohol to remove any adhesive residue before applying a new protector.
Gather Tools and Prepare Your iPhone for Lens Protector Removal
Before you begin removing your iPhone camera lens protector, gather essential tools like a hair dryer or heat gun, tweezers, and your fingers for a gentle grip.
Make sure your iPhone is turned off and placed on a stable surface to prevent accidental damage.
You’ll want to inspect the lens protector closely to find any small gaps where you can carefully insert your tool to start lifting it.
Keep in mind, this process might take a long time if done carefully, so patience is key.
Also, prepare to work in a clean, dust-free environment to avoid trapping particles under the lens during removal.
Apply Gentle Heat to Soften the Adhesive Under the Lens Protector
While you apply gentle heat to the iPhone camera lens protector, use a hair dryer on a low setting to soften the adhesive beneath it.
Hold the dryer a few inches away and move it evenly around the protector to guarantee all edges loosen.
You might need to apply heat in short intervals, checking progress between sessions to avoid overheating and damaging the surface.
Patience is key since the adhesive softens gradually. This step makes it easier to lift the protector without stressing the camera lens or scratching it.
Remember, distributing heat evenly helps release the adhesive more effectively.
Taking your time here will prepare the lens protector for safe removal without harming your iPhone’s delicate camera lens or frame.
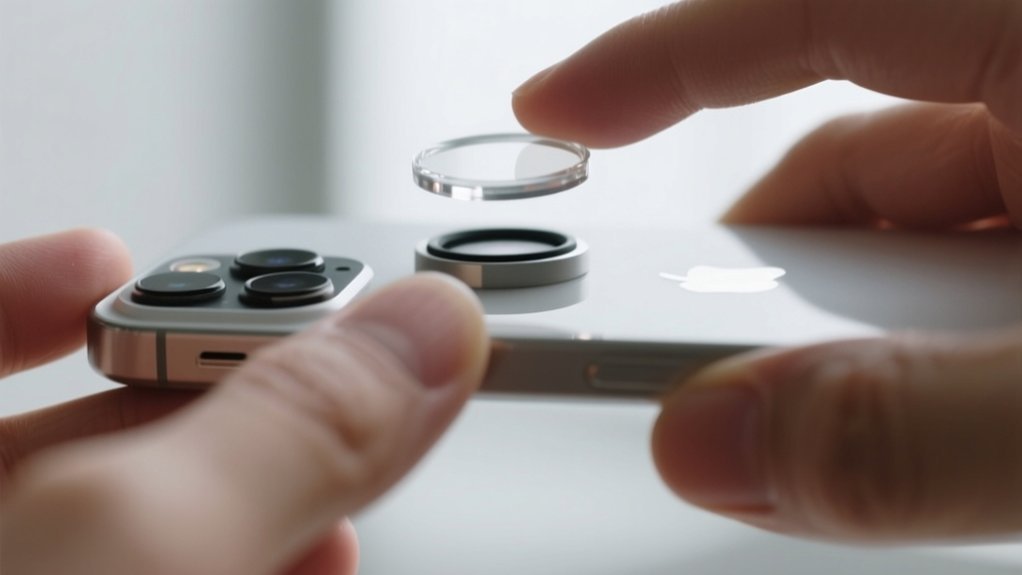
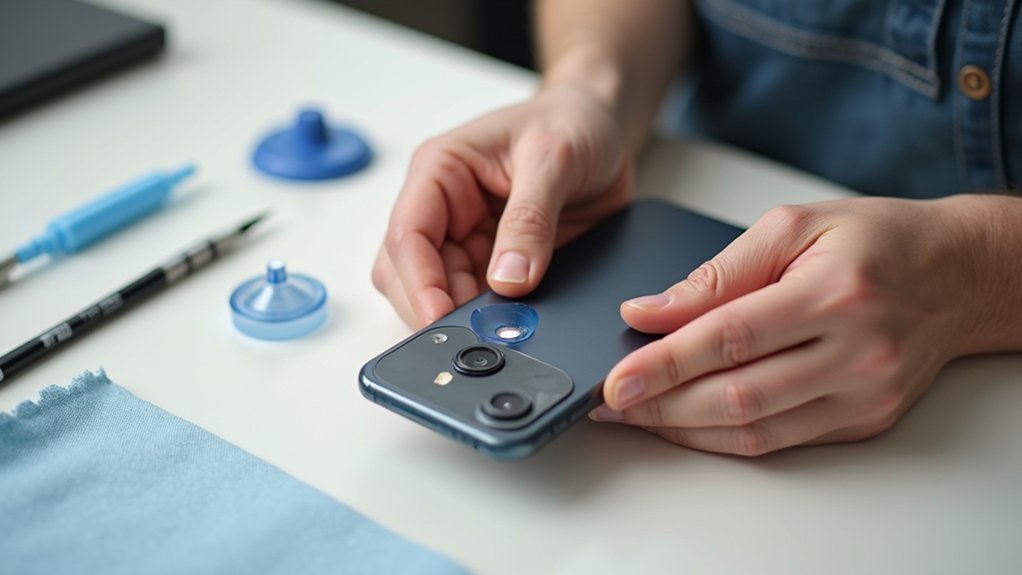
Carefully Lift and Remove the Lens Protector Using Tweezers or Fingers
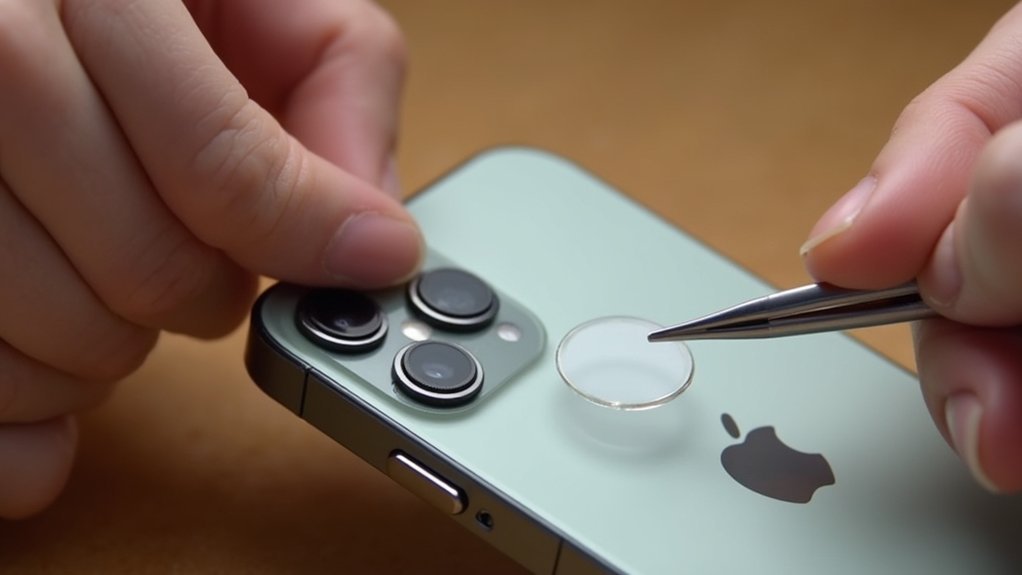
First, look for a small edge you can gently lift with tweezers or your fingers.
Make sure you have a secure grip so it doesn’t slip.
Take your time and move slowly to avoid scratching the camera lens.
If you encounter any resistance, try warming it up a bit more to soften the adhesive before you keep going.
Gentle Lifting Techniques
Even after softening the adhesive with gentle heat, you’ll want to carefully lift the edge of the lens protector using tweezers or your fingers.
Start by finding a small gap to insert your tool or fingertip, then wiggle gently to loosen the adhesive without scratching the lens.
Remember to apply heat intermittently if the protector resists removal. Keep a steady hand and proceed slowly for the best results.
- Use gentle, controlled movements to avoid damage
- Check your progress frequently before lifting further
- Reapply heat as needed to soften stubborn adhesive
- Repeat the process carefully for each lens protector
This method guarantees safe removal while protecting your iPhone camera lens from scratches.
Securing Grip Safely
A secure grip is essential when lifting the lens protector to prevent slips that could damage your iPhone camera.
Start by verifying your hands are clean and dry to maintain control.
Use tweezers or your fingers to gently find an edge of the protector, avoiding excessive force that might scratch the lens.
Wiggle the edge slightly to loosen the adhesive, making removal easier.
If you feel resistance, apply low heat again to soften the adhesive before trying to lift it further.
After each attempt, check your progress carefully to confirm you’re not harming the lens or phone.
Taking these cautious steps will help you safely and effectively remove the lens protector without causing any damage.
Repeat the Removal Process for Additional Camera Lens Protectors
If you’ve got more than one lens protector, just go ahead and apply a little bit of low heat to each one, just like you did with the first.
Then, use gentle lifting motions with your fingers or a tool to carefully peel them off—this helps you avoid scratching the lens as you work.
And hey, if you find that the protector is being stubborn and won’t come off easily, don’t forget to reapply some heat.
That way, you can make sure each removal goes nice and smoothly every time.
Heating Both Lens Protectors
When dealing with multiple camera lens protectors, you’ll want to heat both carefully using a hair dryer set on low.
Apply heat in short intervals to avoid overheating, which can damage your iPhone or lens. This softens the adhesive, making removal easier.
Remember to heat each protector evenly and patiently.
Check for a gap to slip your fingers or tweezers underneath.
Wiggle gently to loosen adhesive without scratching.
Repeat heating if the protector resists removal.
Gentle Lifting Techniques
Although heating softens the adhesive, you’ll still need to lift the camera lens protector gently using your fingers or tweezers to avoid damaging the lens. Start by spotting any gaps around the protector to slip your tool in carefully.
Wiggle it gently while applying low heat, checking progress often. If you have multiple lens protectors, repeat these steps patiently for each one to prevent damage.
| Step | Tips |
|---|---|
| Locate gaps | Use tweezers or fingernails |
| Lift gently | Avoid applying too much force |
| Wiggle during heat | Loosens adhesive gradually |
| Repeat if needed | Patience reduces risks |
Take your time, stay patient, and your iPhone’s lenses will stay safe throughout the removal process.
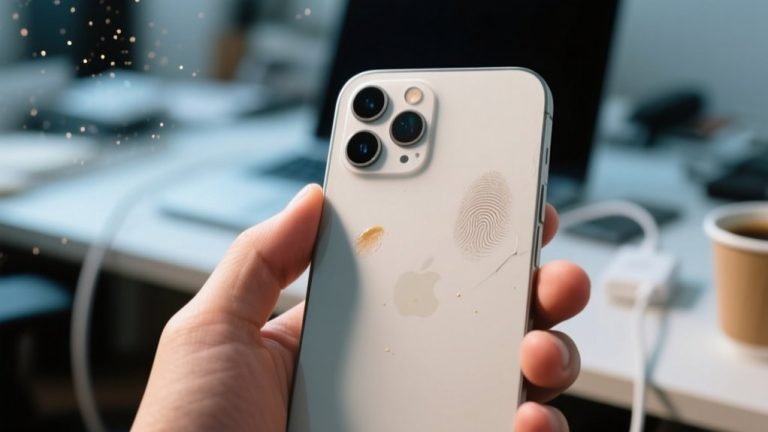
Clean Any Remaining Adhesive From the Camera Lens Surface
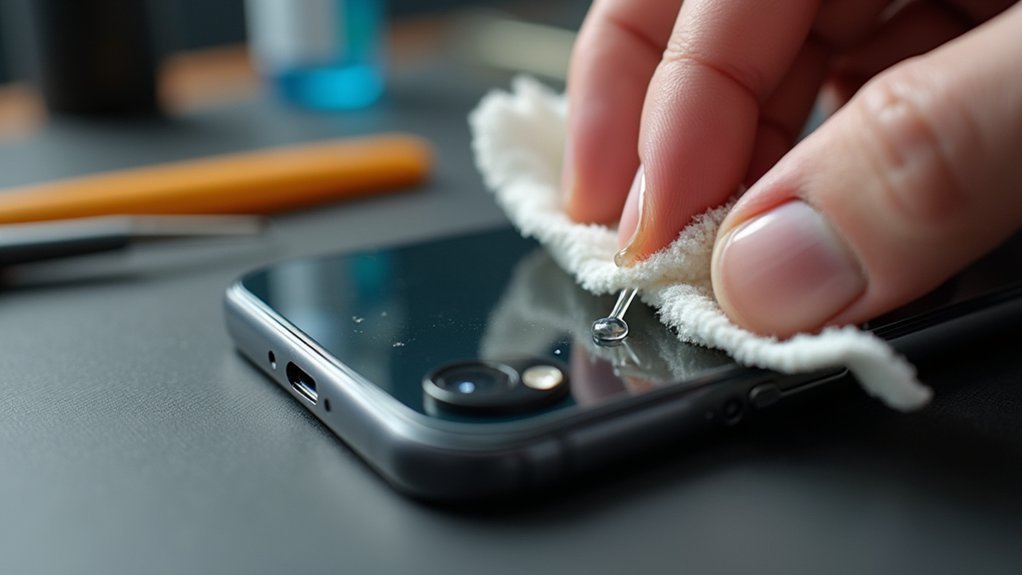
After removing the camera lens protector, you should carefully check the lens surface for any leftover adhesive that could blur your photos.
To clean it effectively, follow these steps:
Use a microfiber cloth dampened with a small amount of isopropyl alcohol to gently wipe the lens.
For stubborn residue, carefully scrape with a plastic scraper or an old credit card.
Avoid abrasive materials or harsh chemicals to protect the lens coating.
Verify the lens is completely dry and free of particles before use.
These tips help maintain your iPhone camera’s clarity and performance by removing any sticky residue without causing damage.
Taking a gentle, precise approach guarantees your lens stays clean and your photos stay sharp.
Avoid Damage: Tips for Safe Lens Protector Removal
To safely remove your iPhone camera lens protector, start by applying low heat in short intervals using a hair dryer or heat gun. This gently loosens the adhesive without risking damage to your phone.
Once warmed, carefully use your fingers or tweezers to find an edge and lift the protector slowly. Avoid forcing it to prevent scratching the lens.
Gently lift the protector edge with fingers or tweezers, avoiding force to protect your camera lens.
After each heating session, check how well the adhesive is loosening to avoid unnecessary pressure. Patience is key. Rushing can cause mistakes that harm both the protector and camera lens.
If you feel unsure, watch a video guide for clear, visual instructions. Taking these careful steps guarantees you remove the lens protector safely and preserve your iPhone’s camera quality.
Store or Replace Your Lens Protector After Removal
Once you’ve removed your iPhone camera lens protector, store it in a clean, dry place. This keeps it free from dust and scratches until you decide whether to reuse or replace it.
If the protector is undamaged, you can keep it as a backup.
When applying a new lens protector, make sure your camera lens is clean and debris-free to maintain photo quality. Use a lint-free cloth to wipe the lens before installation for a secure fit and clear view.
If you choose to discard the old protector, follow local recycling guidelines.
Store the protector away from dust and moisture. Keep intact protectors as spares.
Clean the lens thoroughly before applying a new protector. Dispose of old protectors responsibly according to local rules.
Frequently Asked Questions
Can I Use a Hair Dryer on High Heat for Faster Removal?
You shouldn’t use a hair dryer on high heat for faster removal because it can damage your iPhone or the lens protector area.
Instead, use low heat in short intervals to gently soften the adhesive.
This approach gives you better control and prevents overheating.
Be patient and repeat the process as needed.
Gradual heat application works best without risking damage to your device or lens protector.
Will Removing the Lens Protector Affect My iPhone’S Warranty?
Removing the lens protector won’t affect your iPhone’s warranty like a rain shower won’t ruin a sturdy umbrella.
As long as you don’t damage the camera lens or phone during removal, Apple’s warranty stays intact.
Just be careful to avoid scratches or cracks.
Keep all original packaging and accessories, too.
If you’re unsure, check Apple’s warranty policy or consult an authorized service provider to stay safe.
How Often Should I Replace My iPhone Camera Lens Protector?
You should replace your iPhone camera lens protector every 6 to 12 months, depending on how often you use your phone and how much wear it gets.
If you notice cracks, scratches, or reduced clarity, swap it out immediately to keep your photos sharp.
If you’re active or drop your phone often, consider changing it every 3 to 6 months for better protection.
Regular checks help maintain great camera performance.
Are There Any Risks of Dust Entering the Camera During Removal?
Yes, dust can enter your iPhone camera during lens protector removal if you’re not careful.
To avoid this, work in a clean area and lift the protector slowly.
Applying gentle heat helps loosen adhesive, so you won’t have to force it off.
Use precise tools like tweezers for better control.
Always check for dust or debris before using your camera again to keep your photos clear and sharp.
Can I Reuse the Lens Protector After Removing It?
You generally can’t reuse the lens protector after removing it because the adhesive loses its stickiness, making it hard to secure properly.
Even if you try, it might create gaps or bubbles, reducing protection.
If your protector came with replacement adhesive strips, you might reuse it, but that’s rare.
For the best protection and performance, it’s smarter to get a new lens protector instead of reapplying the old one.
Conclusion
Removing your iPhone camera lens protector is like revealing a hidden gem. Once you gently lift the shield, your lens can truly shine.
By following these simple steps, you’ll avoid scratches and sticky messes. This keeps your device safe and clear.
Remember, patience and care are your best tools. Whether you’re replacing or storing your protector, you’re giving your camera a fresh start to capture life’s moments in crystal clarity.