Scan Documents With Your Phone Camera in 5 Easy Steps
Start by laying your document flat in a well-lit spot and open your phone’s scanning app. Hold your phone steady to capture a clear, aligned image using gridlines and automatic edge detection.
Next, crop and rotate the scan to straighten the text, then boost brightness and contrast for sharpness. Save your file with an organized name in the cloud for easy access.
Finally, share your polished scan as a PDF or image instantly. Keep going to master each step for flawless results.
Key Takeaways
- Lay your document flat on a well-lit surface to avoid shadows and wrinkles for a clear scan.
- Open your phone’s scanning app and position the camera directly above the document.
- Hold your phone steady and use the grid feature to align the document properly before capturing.
- Crop, rotate, and adjust brightness or contrast to enhance text clarity after scanning.
- Save scans with consistent naming in cloud storage and share via PDF or links as needed.
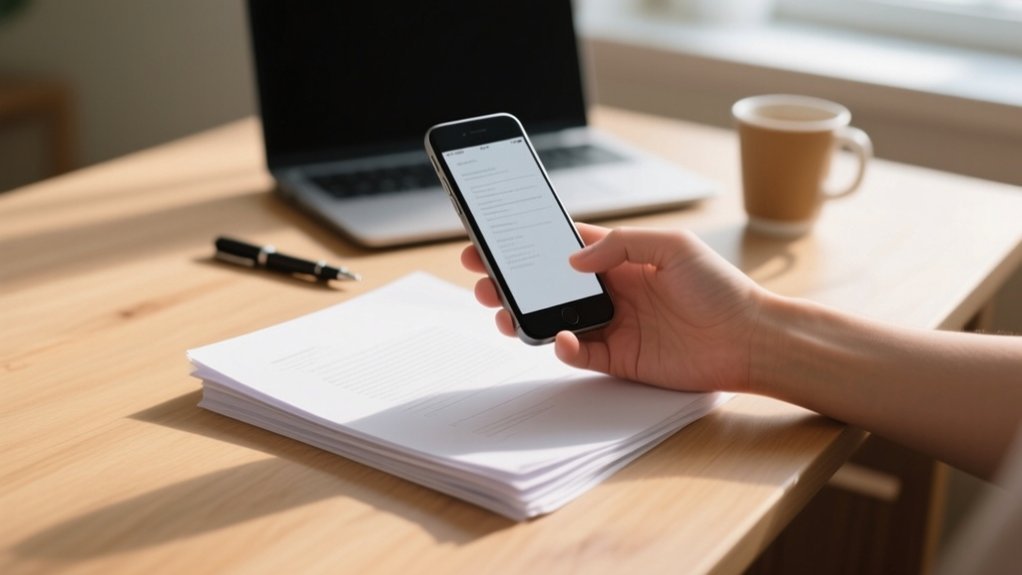
Prepare Your Document for a Clear Scan and Open Your Scanning App
To get a sharp, clear scan, start by laying your document flat and smoothing out any wrinkles that might distort the image.
Position the document in a well-lit area with good lighting. Natural light works best to avoid shadows and improve clarity.
Place your document where natural light reduces shadows and enhances scan clarity for the best results.
Next, open your preferred scanning app like the Notes app on iPhone or Google Drive on Android. These apps use automatic edge detection to frame your document perfectly within the camera frame, making it easier to capture a clean scan.
Once you position the document and the edges are detected, examine your app’s filters and cropping options to optimize the scan further.
Preparing your documents correctly and using your scanning app’s features guarantees you get a clear scan every time with minimal hassle.
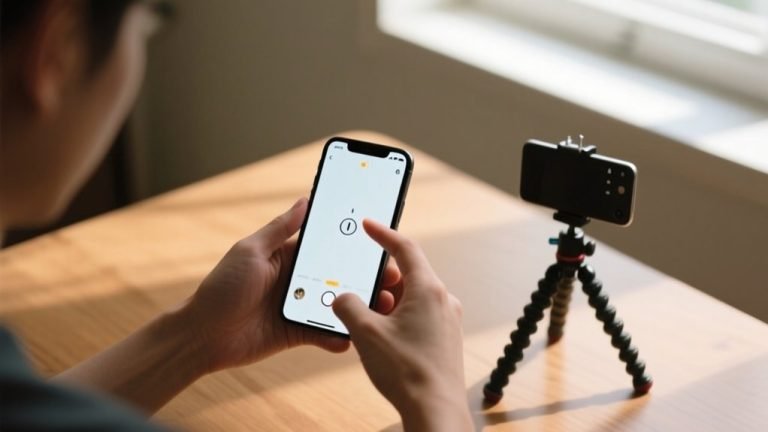
Take a Clear Scan With Your Phone Camera
When you capture your document, make certain there’s plenty of light to keep shadows at bay and details crisp. To scan a document effectively, position the document on a flat surface and guarantee the entire document is in view.
Hold your phone steady to avoid blurriness and use your camera’s grid feature to align the edges perfectly. Once you take a picture, you’ll get a clear scan that’s easy to read.
| Tip | Why It Matters |
|---|---|
| Position the document | Prevents distortion |
| Hold phone steady | Avoids blurry scans |
| Use grid feature | Guarantees proper alignment |
| Plenty of light | Improves clarity |
These simple steps help you capture high-quality scanned documents without hassle.
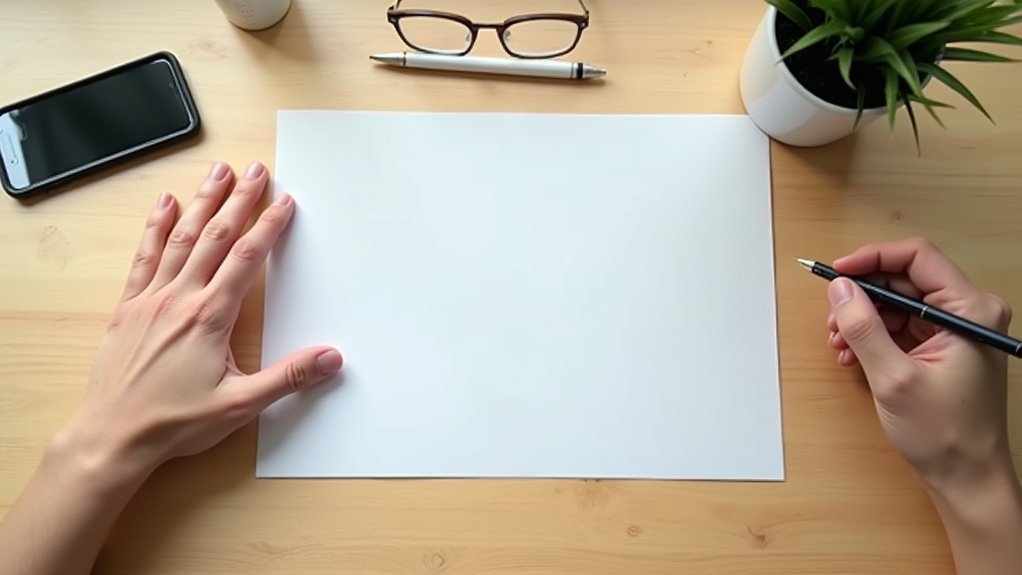
Crop, Rotate, and Enhance Your Scanned Document

After scanning your document, take a moment to crop out any unnecessary background and rotate the image for perfect alignment.
Cropping removes distractions and focuses the scanned document on its content, while rotating guarantees the text is straight and easy to read.
Cropping eliminates distractions and rotation ensures your text is perfectly aligned for easy reading.
Next, improve your document by adjusting brightness and contrast; these tweaks make the text sharper and more legible.
Many apps offer filters that can further boost clarity or highlight details.
Be sure to review your scanned document carefully before you save it.
This way, you can make quick adjustments without starting over.
Taking these steps guarantees your scans are professional and easy to use, turning your phone into a powerful document scanner with clean, clear results every time.
Save and Organize Your Scanned Documents
Saving and organizing your scanned documents properly can save you hours of frustration later. Once you scan documents, store them in a dedicated folder within your favorite cloud storage for quick access.
Use a consistent naming convention that includes the date and document type to keep scanned files organized. Take advantage of cloud storage’s search functionality and OCR to find documents efficiently.
Don’t forget to back up your files regularly to avoid data loss.
Here’s how to stay organized:
Create folders and subfolders by project or document type. Tag or label scanned files for efficient retrieval.
Use OCR to enable keyword searches in your scanned documents. Backup files in multiple locations for security.
These steps guarantee your documents stay organized and easy to find.
Share or Export Your Scanned Document Easily
You have multiple easy options to share or export your scanned documents right from your phone. After you scan documents using the Notes app or Google Drive, you can quickly export them as PDF or image files for maximum compatibility.
The Notes app lets you tap the Share button to send your scanned documents via AirDrop, email, or messaging apps seamlessly.
On Google Drive, you can save your scans to cloud storage and share them by generating a link or inviting collaborators directly.
This means you can access and share your scanned documents anytime, anywhere, without hassle.
Whether you need to send a quick image or a polished PDF, these built-in tools make sharing and exporting your scans effortless and efficient.
Frequently Asked Questions
Can I Scan Multiple Pages Into One Document?
Yes, you can definitely scan multiple pages into one document.
Whether you’re using the Notes app on iPhone, Google Drive on Android, or Microsoft Lens, these apps let you add scans page by page before saving everything as a single file.
You’ll find options to keep scanning after each page, and you can even edit each scan for clarity.
It’s a simple way to keep your documents organized and easy to share.
What Phone Apps Are Best for Scanning Documents?
With over 150 million downloads, Adobe Scan tops the list for user-friendly document scanning.
You’ll love its auto-scan and OCR features that turn your photos into editable text.
Microsoft Lens is great if you want multi-language OCR and seamless integration with OneDrive.
Google Drive offers automatic edge detection and free 15 GB storage.
For quick PDFs, try CamScanner, or Dropbox for secure cloud storage with search-friendly OCR.
Each app fits different needs perfectly!
How Do I Scan Documents Without Internet Access?
You can scan documents without internet by using your phone’s built-in camera and offline scanning apps like Notes, Google Drive, or Microsoft Lens.
Just open the app, frame your document, and snap a photo.
Adjust the scan edges for clarity, then save the file locally as a PDF or image.
This way, you can access, manage, and share your scans anytime, even without a connection.
It’s simple, fast, and reliable!
Is It Possible to Scan Documents in Low Light?
Yes, you can scan documents in low light, but you’ll want to take a few extra steps.
Use your phone’s flashlight or an external light source to brighten the area and reduce shadows.
Place the document on a flat, non-reflective surface to avoid glare.
Some apps let you adjust brightness and contrast after scanning, helping you get clearer results even in dim conditions.
Try to scan in better light whenever possible for the best clarity.
How Secure Is Scanning Sensitive Information on My Phone?
How safe do you feel scanning sensitive info on your phone? The truth is, it can be secure if you take the right steps.
Use trusted apps with encryption and password protection. Keep your software updated, and avoid public Wi-Fi.
Don’t forget to enable two-factor authentication on your cloud storage.
Conclusion
Just like a chef preps ingredients before cooking, prepping your document guarantees a perfect scan every time. Did you know that over 75% of people find phone scanning more convenient than traditional methods?
By following these simple steps, you’ll turn your phone into a powerful scanner, saving time and keeping your documents organized. So grab your phone, scan with confidence, and watch your paperwork become as effortless as snapping a photo!