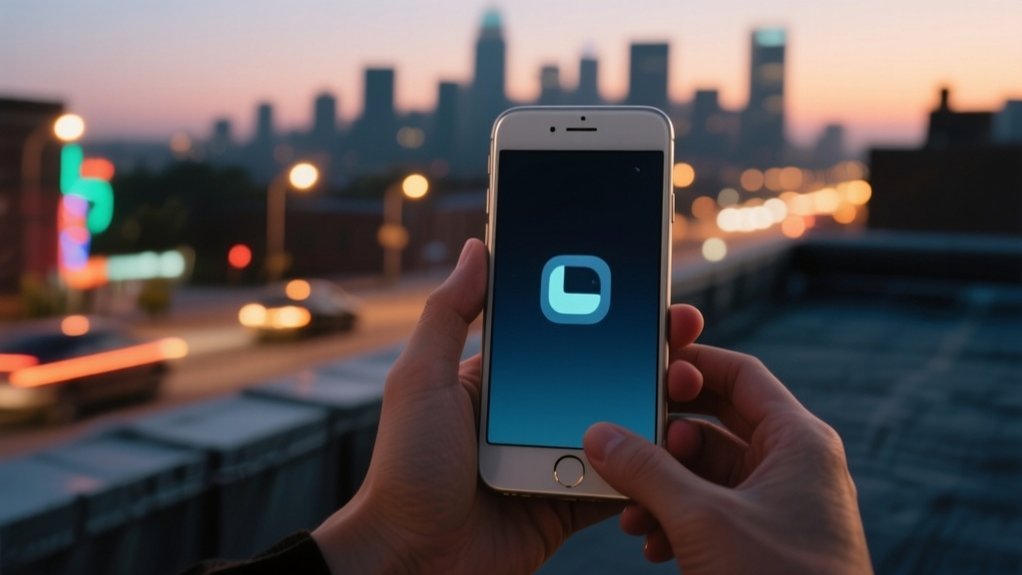
How to Set iPhone Camera Night Mode in 10 Easy Steps
To set iPhone Night mode, first verify you’re in a low-light area; the camera activates Night mode automatically. Open the Camera app and tap the moon icon to turn Night mode on manually.
Adjust the exposure time slider to get the right brightness. Choose the 1x Wide or 2x Telephoto lens for better results.
Hold your phone steady or use a tripod, then press the shutter and watch the exposure timer. Turn off Night mode when done.
Keep following these steps to master perfect night shots.
Key Takeaways
- Open the Camera app and ensure you are in a low-light environment to automatically activate Night mode with the yellow moon icon displayed.
- Tap the Night mode icon to manually adjust exposure time using the slider below the viewfinder for optimal low-light clarity.
- Use the 1x Wide or 2x Telephoto lens, as Night mode is not compatible with the 0.5x Ultra Wide lens.
- Hold your iPhone steady or use a tripod during exposure to avoid blurriness and allow the full exposure timer to complete.
- To disable Night mode, tap the yellow moon icon until it turns white, resuming normal shooting for well-lit scenes.
Check Lighting to Activate Night Mode Automatically
When you’re in a low-light environment, your iPhone automatically activates Night mode to help you capture better photos. The feature kicks in when the ambient light is too dim for regular photography, ensuring your shots remain clear and detailed.
To trigger Night mode, your scene needs some light sources like street lamps or indoor lighting. Without any light, Night mode won’t activate effectively.
When Night mode is on, you’ll see a yellow icon at the top of your Camera app. If the lighting is very low, this icon displays a number showing the exposure time your iPhone will use.
Open the Camera and Find the Night Mode Icon
After ensuring your environment has enough ambient light for Night mode to activate, open the Camera app on your iPhone.
When you’re in low-light conditions, you’ll see the Night mode icon appear at the top of the screen. This crescent moon symbol turns white when Night mode is off and yellow when it’s active.
Next to the icon, a number shows the exposure time in seconds, indicating how long your camera will capture light. To get the best results, hold your iPhone still during this time to avoid blurriness.
Remember, Night mode works with the 1x Wide and 2x Telephoto lenses but not the 0.5x Ultra Wide lens.
Now you’re ready to use Night mode effectively.
Manually Turn On Night Mode by Tapping the Icon
Tap the moon icon at the top of the Camera app to manually activate Night mode in low-light conditions. When you tap it, the icon turns yellow, confirming Night mode is on. You’ll see the exposure time displayed next to the moon icon, showing how long the camera will capture the shot.
Here’s what to remember when using the moon icon to manually enable Night mode:
Night mode activates only with the 1x Wide and 2x Telephoto lenses.
The moon icon turns yellow when Night mode is engaged.
Exposure time is shown next to the moon icon for your reference.
You can adjust exposure time separately, but that’s covered later.
Using this simple tap lets you seize better night shots with precise control over Night mode.
Adjust Exposure Time for the Best Night Shot
You can easily adjust the exposure time in Night mode to capture the perfect shot in low light.
When the Night mode icon appears on your iPhone camera, tap it to access the Exposure Time slider below the viewfinder.
Slide to increase or decrease the exposure time based on your scene’s darkness. Longer exposure times let in more light, enhancing detail and clarity, especially in very dark settings.
Keep in mind, handheld shots typically allow up to 10 seconds, while using a tripod extends this to 30 seconds for sharper images.
A yellow Night mode icon means automatic activation in very low light, while white means low light but less dark.
Experiment with different exposure times to find what works best for your night shots.
Choose Wide or Telephoto Lens for Night Mode
Adjusting exposure time can considerably improve your night shots, but choosing the right lens also plays a big role in how your photos turn out.
On iPhone 11 models, Night mode works with the 1x Wide lens and 2x Telephoto lens, but not the 0.5x Ultra Wide lens.
Here’s how to pick: use the Wide lens for broad, expansive night scenes. Choose the Telephoto lens when you want focused shots with more detail.
Match your lens choice to the scene’s composition and lighting. Try both lenses to see which suits your low-light environment best.
Selecting the appropriate lens guarantees your Night mode photos have the sharpness and clarity you want, making your night photography stand out.
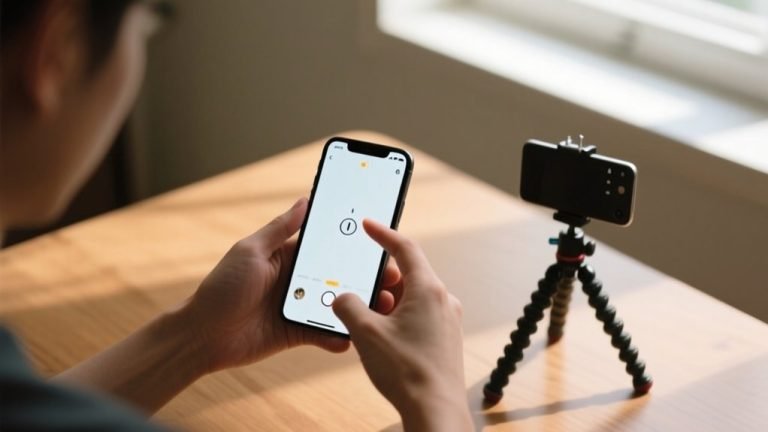
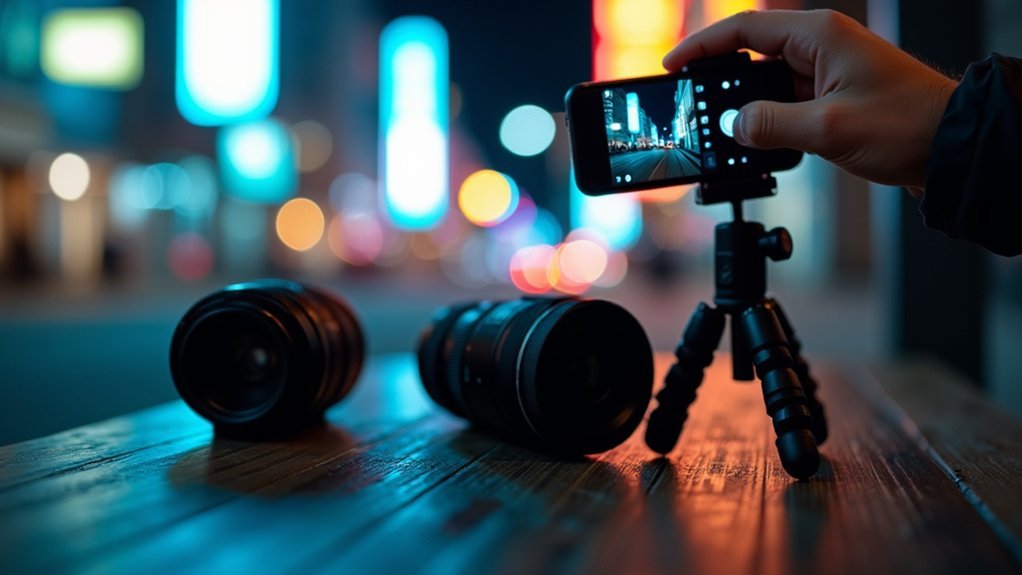
Stabilize Your iPhone With a Tripod or Surface
To get sharp Night mode shots, you need to keep your iPhone steady during those long exposures.
Using a tripod is definitely the best way to prevent motion blur and improve your image quality.
But if you don’t have a tripod handy, no worries!
Just place your phone on a stable surface or lean it against something solid to reduce any camera shake.
That way, your photos will still come out nice and clear.
Benefits Of Tripod Use
When shooting in Night mode, stabilizing your iPhone with a tripod or a solid surface dramatically upgrades photo quality by preventing motion blur during long exposures.
Using a tripod provides the stability needed for sharp, clear images, especially in low-light conditions where even slight shakes can ruin a shot.
It supports your iPhone in various positions, letting you investigate creative angles and compositions.
Tripods also enable you to take multiple shots without holding the camera, which is perfect for serious night photography.
Key benefits of using a tripod include:
- Enhanced stability for long exposure times
- Reduced motion blur for clearer images
- Freedom to experiment with angles and settings
- Improved consistency in night photography results
Alternative Stable Surfaces
Although tripods offer the best stability for Night mode shots, you can still capture sharp images by resting your iPhone against solid surfaces like tables, walls, or ledges.
These stable surfaces reduce camera shake and help maintain focus during longer exposure times.
If you don’t have a tripod handy, try positioning your iPhone on any flat, sturdy base to steady your shot. You can also support your device with your hands or rest it on your knee for extra stability.
Experiment with different stable surfaces to find what works best for your environment.
Reducing Motion Blur
Capturing sharp Night mode photos depends heavily on how steady you hold your iPhone. To reduce motion blur, stabilizing your device is key.
Using a tripod is the best way to keep your iPhone steady, especially since Night mode can extend exposure times up to 30 seconds on a tripod.
If you don’t have one, lean your iPhone against a solid surface or steady object to minimize movement. Remember, even slight shakes can cause blur in low light.
Here’s how to reduce motion blur effectively:
- Use a tripod for superior stability during Night mode shots
- Lean your iPhone on a solid surface if a tripod isn’t available
- Keep your hands as steady as possible while capturing
- Avoid moving the iPhone until the photo finishes processing
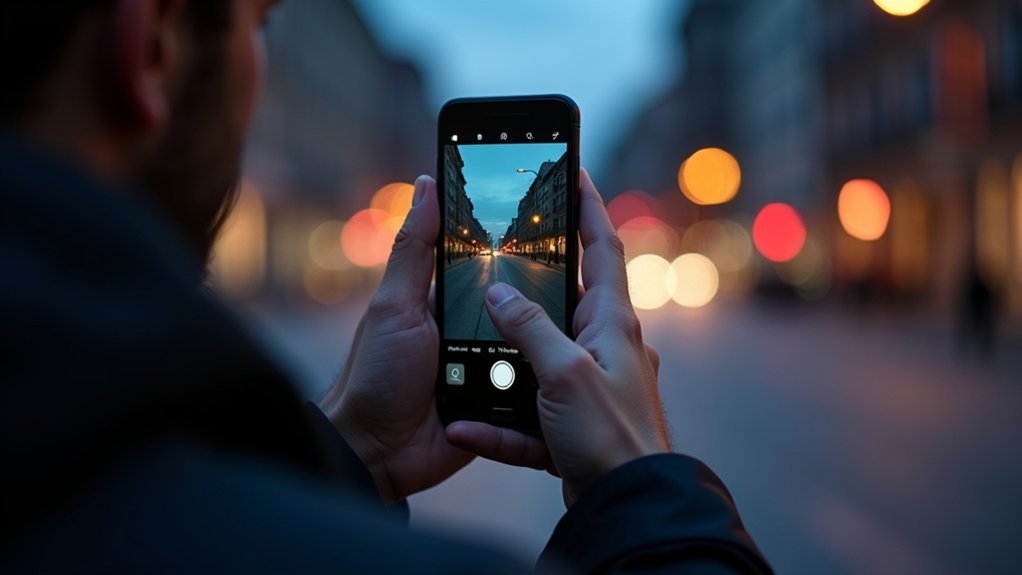
Frame Your Shot to Use Available Light Well
Since lighting plays a crucial role in Night Mode photography, you should position your subjects near available light sources like lamps or streetlights to boost visibility and detail.
When you frame your shot, experiment with angles that make the most of this light. Use leading lines or natural frames to draw attention to your subject, enhancing the image’s impact.
Make sure to avoid cluttered backgrounds so your light sources stand out clearly. Before you tap the Shutter button, take Night to review the composition and balance between light and shadow for mood and clarity.
Hold Still or Use Camera Control for Steady Night Shots
When you take a Night mode photo, keep your iPhone as steady as possible until the capture finishes to avoid blur. Any movement during the exposure can reduce image sharpness.
Watch the camera’s crosshairs; align them to detect and minimize motion.
For steadier shots without hand-holding, try the Camera Control feature or use a tripod for longer exposures. If necessary, tap the Stop button to cancel the capture.
To hold still or use camera control effectively:
- Keep your iPhone steady until the Night mode timer ends
- Align the camera’s crosshairs to gauge movement
- Use Camera Control for hands-free shooting on supported models
- Mount your iPhone on a tripod to reduce motion blur during long exposures
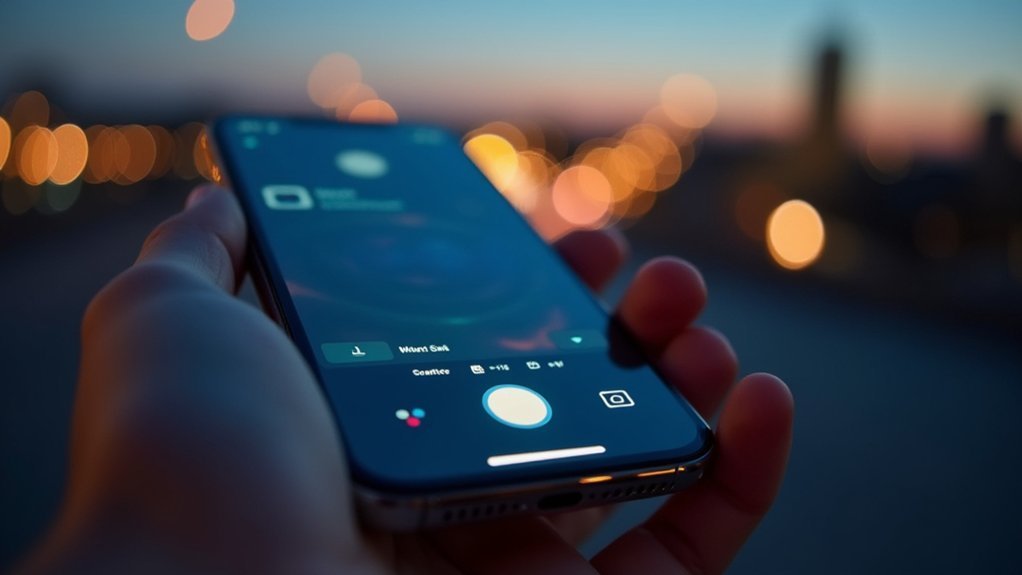
Capture Your Photo and Watch the Exposure Timer
Tap the shutter button to start your Night mode capture, and you’ll see the exposure timer pop up on the screen.
Just keep your iPhone steady while the timer counts down—that way, you’ll get a sharp, well-exposed photo.
If you want, you can even adjust or cancel the exposure before it finishes.
Shutter Button Usage
Press the Shutter button on your iPhone’s camera to capture a photo in Night mode. When you do, an exposure timer appears, showing how long the camera will take to capture the image.
The exposure time depends on lighting and stability, lasting from a few seconds up to 30 seconds. To guarantee a sharp photo, hold your iPhone steady throughout the exposure.
If you need to stop the capture early, tap the Stop button that appears on the screen.
- Tap the Shutter button to start Night mode capture
- Watch the exposure timer next to the Night mode icon
- Hold your iPhone steady to avoid motion blur
- Tap Stop to cancel the capture anytime
Using the Shutter button properly helps you get the best Night mode photos.
Exposure Timer Monitoring
After you press the Shutter button to start capturing in Night mode, keep an eye on the exposure timer displayed on the Night mode icon at the top of the Camera app. This timer shows how many seconds your iPhone will expose the shot.
You can tap the Night mode icon to manually adjust the exposure time using the slider beneath the viewfinder. Remember, holding your phone steady during this countdown is essential to avoid blur.
If needed, tap Stop to cancel the capture.
| Action | Description |
|---|---|
| Exposure Timer | Shows exposure duration in seconds |
| Manual Adjustment | Tap icon, slide to set preferred exposure time |
| Cancel Capture | Tap Stop to end exposure early |
Turn Off Night Mode to Return to Normal Shooting
To disable Night mode, simply select the Night mode icon in the Camera app until it turns white, indicating the feature is off.
This will switch your camera back to normal shooting mode, perfect for well-lit scenes. Make sure the icon is white before snapping photos to avoid unintended long exposures.
If you need to adjust settings for different lighting, toggle Night mode off after capturing low-light shots.
Tap the Night mode icon to toggle it off (icon turns white).
Confirm Night mode is off before taking photos.
Use normal mode for well-lit environments.
Check the icon when switching between low-light and normal scenes to avoid unwanted effects.
Frequently Asked Questions
Can I Use Night Mode With Third-Party Camera Apps?
You can’t use the iPhone’s native Night mode directly in third-party camera apps because it’s exclusive to the built-in Camera app.
However, some third-party apps offer low-light shooting features that mimic Night mode.
To get the best results, check if the app supports night photography, manually adjust exposure settings, and keep the app updated.
This way, you’ll maximize your low-light shots even without the native Night mode.
Does Night Mode Work on All iPhone Models?
Night mode doesn’t shine on all iPhones; it’s like a lantern only lighting paths on newer trails.
You need an iPhone 11 or later to enjoy this feature.
If you use an older model, Night mode won’t appear because it relies on advanced hardware and software.
How Does Night Mode Affect Battery Life?
Night mode uses longer exposure times and advanced processing, so it drains your iPhone’s battery faster than regular photo modes.
If you shoot multiple night photos in a row or enable ProRAW, expect even more battery use.
To save power, try using a tripod to reduce stabilization needs and keep your phone charged before long night sessions.
Being mindful of battery level helps you enjoy night photography without interruptions.
Can I Edit Night Mode Photos Afterward?
Say you snapped a stunning night cityscape but want more brightness. Yes, you can edit Night mode photos afterward.
Use your iPhone’s Photos app to adjust brightness, contrast, or crop for better framing.
You can even apply filters without losing quality. Just remember to save edits as a copy if you want to keep your original shot unchanged.
This way, your low-light photos look even more amazing.
Is Night Mode Effective Indoors or Only Outdoors?
Night mode is definitely effective indoors, not just outdoors. When you shoot inside, it improves low-light shots by blending multiple images for clarity.
Just make sure there’s some light, like lamps or candles, since total darkness reduces quality.
Use a tripod to avoid blur during longer exposures. Experiment with angles and available light to get the best indoor photos.
Night mode activates automatically when needed, so you don’t have to set it manually.
Conclusion
Now that you’ve mastered Night Mode, you’re ready to capture stunning photos even in the darkest settings, like a modern-day Ansel Adams with a smartphone. Just remember to check lighting, adjust exposure, and keep steady for the sharpest shots.
With these simple steps, your iPhone camera becomes your trusty companion for night adventures. So go ahead, turn on Night Mode, and let your creativity shine when the sun goes down.