How to Use a Digital Camera in 5 Simple Steps
Start by preparing your camera: remove the lens cap, check battery and memory, and adjust aperture, shutter speed, and ISO.
Next, select the best mode. Use aperture priority for depth of field or shutter priority for motion.
Frame your shot following composition rules like the rule of thirds and eliminate distractions.
Focus accurately using autofocus or manual focus depending on conditions.
Finally, review your images on the LCD and adjust settings accordingly. Understanding these basics will make capturing great photos easier.
Key Takeaways
- Remove the lens cap, check battery and memory card, then adjust aperture, shutter speed, and ISO for your lighting conditions.
- Choose the appropriate camera mode: aperture priority for depth, shutter priority for motion, or automatic for beginners.
- Frame your shot using the rule of thirds and eliminate distracting backgrounds for better composition.
- Focus accurately by half-pressing the shutter button for autofocus or use manual focus in low light.
- Review photos on the LCD screen, adjust settings as needed, and delete unwanted images to free storage.
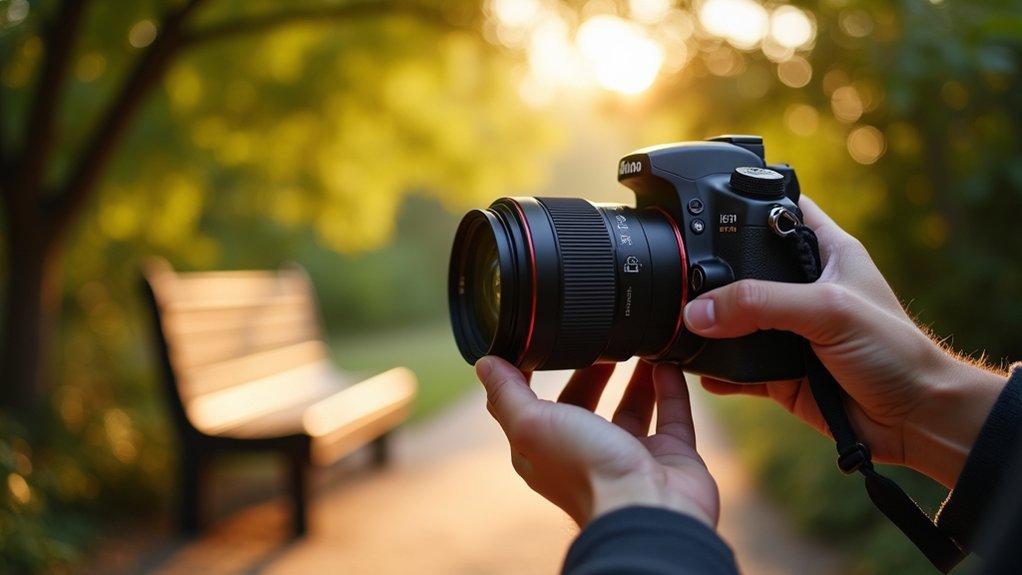
Prepare Your Camera for Shooting
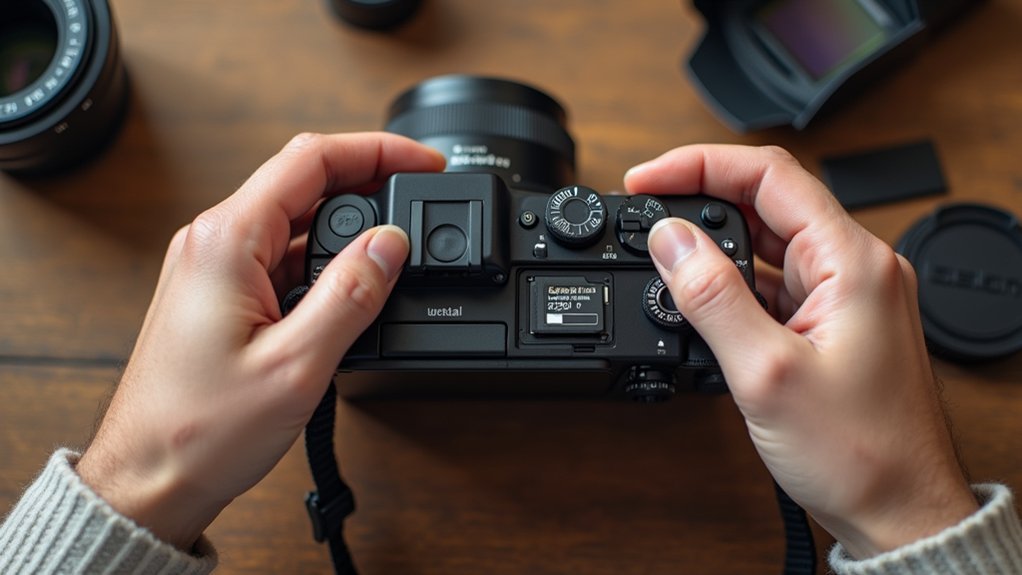
Before you begin shooting, make certain you’ve thoroughly reviewed your digital camera’s manual to understand the functions of all buttons and controls.
Start by removing the protective lens cap to avoid image obstruction.
Next, adjust essential settings: set the aperture for depth of field, select the appropriate shutter speed to control motion blur, and configure ISO based on lighting conditions.
Check your camera’s battery level and memory card capacity to avoid interruptions during shooting.
For stability, especially in low light, mount your camera on a sturdy tripod.
If shooting landscapes or distant subjects, focus your lens to infinity for peak sharpness.
This precise preparation guarantees your digital camera operates effectively, allowing you to capture clear, well-exposed images tailored to your creative intent.
Pick the Best Camera Mode for Your Shot
Selecting the appropriate camera mode is essential for achieving your desired photographic effect. On your digital SLR camera, you’ll find multiple modes that control the camera’s settings precisely.
Use Your Camera’s A-mode (aperture priority) to manipulate depth of field, either blurring backgrounds or keeping scenes sharp. For capturing motion, switch to S-mode (shutter priority) to adjust shutter speed, freezing or blurring fast-moving subjects.
Use A-mode to control depth of field and S-mode to freeze or blur motion effortlessly.
Manual mode grants full control over aperture, shutter speed, and ISO, perfect for complex lighting conditions. If you prefer simplicity, scene modes like portrait, landscape, or night automatically optimize settings based on environment.
Beginners should also utilize automatic modes to let the camera’s system adjust ISO and shutter speed, ensuring quality images without manual adjustments.
Selecting the right mode streamlines your shooting process and improves image results efficiently.
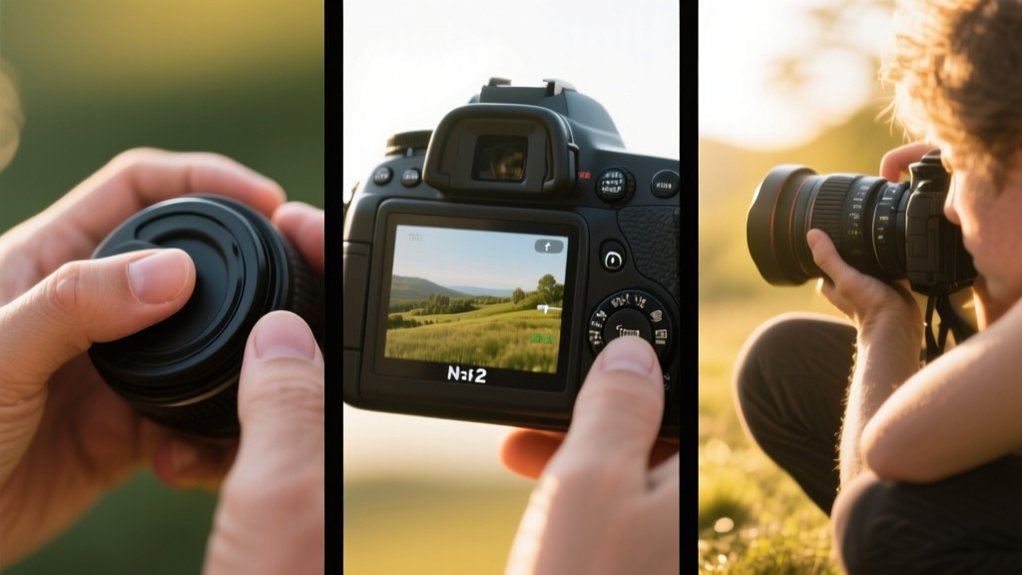
Frame Your Shot Using Simple Composition Tips
Composition plays an essential role in guiding the viewer’s eye and enhancing the impact of your photographs. When framing your shot, focus on how the subject interacts with the space around it to create balance and interest.
Here are simple composition tips to improve your framing:
Remove the lens cap to avoid blurriness and capture sharp images.
Apply the rule of thirds by placing your subject off-center for dynamic composition.
Leave adequate headroom in portraits to keep the subject’s face prominent and avoid awkward cropping.
Eliminate distracting background elements to ensure the subject stands out clearly.
Experiment with different angles and perspectives to uncover unique framing that adds storytelling depth.
Focus Accurately Using Autofocus or Manual Settings
Although autofocus systems have become highly advanced, you’ll still need to understand how to manually adjust focus in certain situations to guarantee your images are sharp.
To use autofocus effectively, press the shutter release halfway to lock focus, then fully press it to capture.
Choose between single-point autofocus for still subjects and continuous autofocus for moving ones. In low-light or challenging conditions where autofocus struggles, switch to manual focus. Focus on bright points or set your lens to infinity, ensuring clarity.
When using manual focus, reduce shutter speed and stabilize your camera, preferably with a tripod, to avoid blur.
Regularly evaluate your focus settings based on subject distance and lighting to consistently produce sharp images, mastering both autofocus and manual focus techniques for ideal results.
Review Photos and Adjust Camera Settings
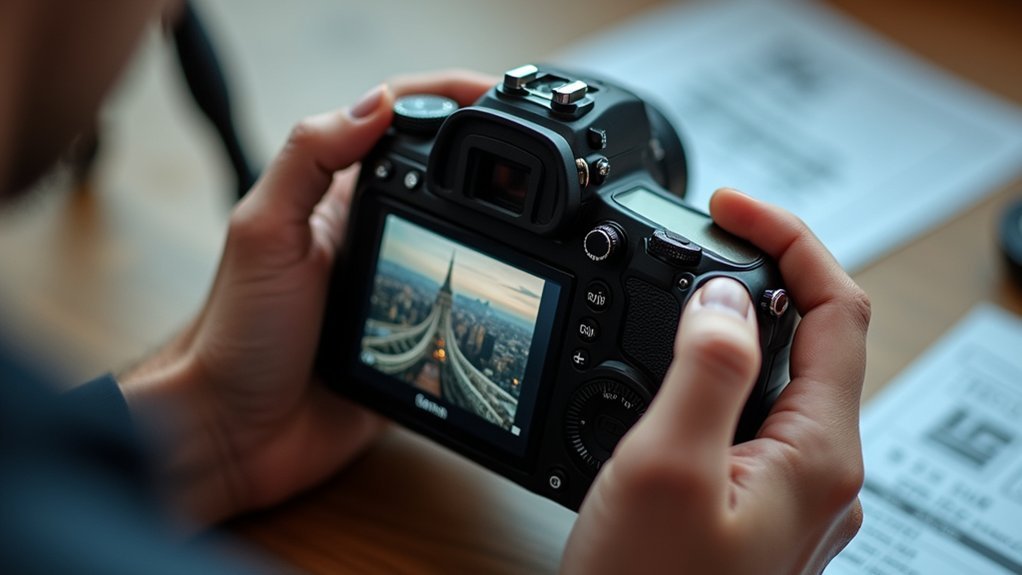
Once you’ve locked in focus and captured your shot, take advantage of your camera’s LCD screen to critically evaluate the image. Review the photo for sharpness, exposure, and composition before proceeding.
After locking focus and shooting, use your camera’s LCD to review sharpness, exposure, and composition carefully.
Use the histogram to assess exposure levels, ensuring highlights and shadows are balanced. Based on this review, adjust settings like ISO, aperture, and shutter speed to improve your next shots.
Quickly navigate your camera’s menu to make these changes efficiently. Regularly delete unwanted images to maintain ample storage space.
Review focus and composition on the LCD screen
Utilize the histogram to check exposure accuracy
Adjust ISO, aperture, and shutter speed accordingly
Familiarize yourself with menu navigation for rapid changes
Delete unnecessary photos to free memory card space
Frequently Asked Questions
How Do I Clean My Digital Camera Lens Safely?
To clean your digital camera lens safely, first remove loose debris using a blower or soft brush.
Next, gently wipe the lens with a microfiber cloth designed for lenses, using circular motions from the center outward.
For stubborn spots, slightly dampen the cloth with lens cleaning solution or distilled water.
Never apply liquids directly to the lens.
Always store your camera in a protective case to prevent dust and scratches when not in use.
What Memory Card Size Is Best for Beginners?
For beginners, a 16GB memory card is ideal, offering enough storage for about 4,000 JPEG photos at standard quality.
This size balances capacity and manageability, letting you focus on learning without frequent transfers.
Opt for Class 10 or UHS-I cards to guarantee fast write speeds and smooth shooting.
Investing in trusted brands like SanDisk or Kingston reduces data corruption risks.
Keeping two cards handy prevents storage interruptions during critical moments.
How Can I Extend My Camera’s Battery Life?
To extend your camera’s battery life, turn it off when not shooting and reduce screen brightness.
Disable Wi-Fi, Bluetooth, and GPS if you don’t need them, as they drain power quickly. Use power-saving modes to optimize performance.
Avoid prolonged use of live view since it consumes extra energy.
Always carry a fully charged spare battery, especially in cold conditions because low temperatures reduce battery efficiency.
These steps help maximize shooting time effectively.
What Accessories Should I Buy for My Digital Camera?
Think of your camera as a painter’s brush. Each accessory adds a new stroke of precision.
You should buy a sturdy tripod to stabilize shots, especially in low light.
Carry extra batteries to keep power flowing during long shoots.
Choose a fast memory card for quick data writing.
A remote shutter release will reduce shake.
Lens filters like polarizers improve colors and protect your lens.
These tools optimize your photography’s technical quality.
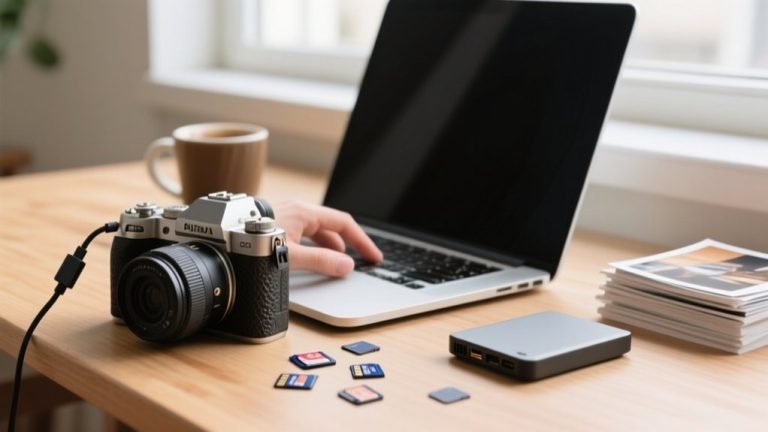
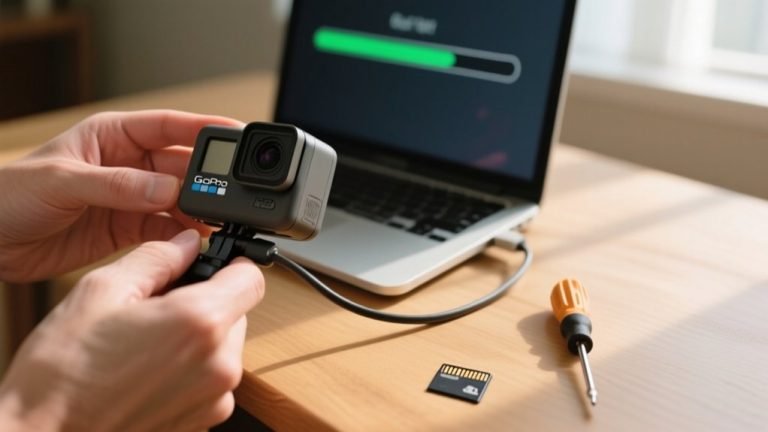
How Do I Transfer Photos From My Camera to a Computer?
To transfer photos, connect your camera to your computer with a USB cable and power it on.
Alternatively, remove the memory card and use a card reader.
Open your file browser, find the “DCIM” folder, then select and copy your photos.
Paste them into your chosen computer folder.
Mac users can also use Image Capture for import.
Always safely eject the device or card to prevent data loss.
Conclusion
By following these five straightforward steps, you’ll gently transform your camera from a complex gadget into a reliable creative partner. Preparing your device, selecting the ideal mode, composing thoughtfully, and focusing with care will help you capture moments with clarity and purpose.
Reviewing and adjusting settings guarantees each shot is a step closer to perfection. With practice, your skills will quietly evolve, turning every click into a confident expression of your vision.