What Is ISO in Cameras and How Does It Affect Photos?
ISO in cameras controls your sensor’s sensitivity to light, directly impacting how bright or dark your photos appear. Lower ISO values like 100 or 200 produce cleaner images with minimal noise, perfect for well-lit scenes.
Increasing ISO lets you shoot in darker conditions by brightening the image but adds grainy noise that degrades quality. Balancing ISO with shutter speed and aperture is key for sharp, well-exposed results.
Exploring this balance further improves your photography skills.
Key Takeaways
- ISO measures the camera sensor’s sensitivity to light, affecting photo brightness during capture.
- Higher ISO brightens images in low light but increases noise and graininess, reducing image quality.
- Lower ISO (100 or 200) produces cleaner photos with minimal noise and better detail in bright conditions.
- Balancing ISO with shutter speed and aperture is essential for achieving proper exposure without blur or noise.
- Using base ISO maximizes dynamic range and image clarity, ideal for landscapes and well-lit scenes.
What Is ISO And Why It Matters
ISO measures your camera sensor’s sensitivity to light, playing a critical role in exposure control. When you increase ISO, your camera’s sensor becomes more sensitive, allowing you to capture brighter images in low light without needing longer shutter speed or a wider aperture.
However, higher ISO values introduce noise, degrading image quality with grainy artifacts. Balancing ISO within the exposure triangle alongside shutter speed and aperture is crucial for ideal exposure.
Typically, a low ISO (around 100 or 200) guarantees minimal noise and the highest image quality, ideal for well-lit conditions.
When shooting in dim environments or capturing fast-moving subjects requiring faster shutter speeds, increasing ISO compensates for reduced light. But you must be mindful of the trade-off between sensitivity and noise to maintain clarity in your photos.
Common ISO Values And What They Mean
Although sensor sensitivity varies across camera models, common ISO settings like 100, 200, 400, 800, 1600, 3200, and 6400 provide standardized increments that help you control exposure precisely.
These ISO values represent a digital camera sensor’s sensitivity to light, doubling sensitivity with each step. For example, ISO 200 is twice as sensitive as ISO 100.
You’ll typically use base ISO (often 100 or 200) in bright conditions to minimize noise or graininess. In low-light situations, higher ISO settings like 1600 and above enable proper exposure without slowing shutter speed or widening aperture.
However, as ISO increases, especially beyond 3200, noise becomes more prominent, compromising image quality.
Understanding these ISO values helps you balance sensitivity and image clarity effectively in various shooting environments.
What Is Base ISO And Why It Matters For Image Quality
The base ISO represents your camera’s lowest native sensitivity setting, usually around ISO 100 or 200. At this setting, it delivers the cleanest images with minimal noise and maximum dynamic range.
Base ISO is your camera’s lowest native sensitivity, offering clean images with minimal noise and maximum dynamic range.
Using base ISO enhances image quality by minimizing sensor noise and preserving finer details and color accuracy. Your camera’s sensitivity to light is lowest yet most precise here, which allows for ideal image clarity in bright lighting conditions.
When you rely on base ISO, you maintain the full dynamic range of your sensor. This means you capture subtle tonal variations without degradation.
Integrating base ISO into your exposure settings guarantees superior fidelity, especially when lighting is abundant. That’s why it’s the preferred choice for landscapes and controlled environments.
Avoiding higher ISO values when unnecessary preserves image integrity and reduces post-processing challenges. It really helps keep your photos looking their best.
How ISO Affects Photo Brightness And Exposure
Light sensitivity settings directly influence how bright your photos appear by controlling your camera sensor’s responsiveness. ISO settings adjust the sensitivity of the sensor to light, affecting exposure without changing aperture or shutter speed. Increasing ISO doubles sensitivity, brightening images but possibly impacting image quality due to noise. Lower ISO values preserve image detail and dynamic range, which is ideal for well-lit scenes.
| ISO Setting | Effect on Exposure |
|---|---|
| ISO 100 | Low sensitivity, darker |
| ISO 200 | Doubles brightness |
| ISO 800 | Higher brightness |
| ISO 3200+ | Very high brightness |
You balance brightness and exposure by selecting the lowest ISO that achieves proper exposure. This helps maintain peak image quality while minimizing noise.
How Raising ISO Affects Noise And Image Quality
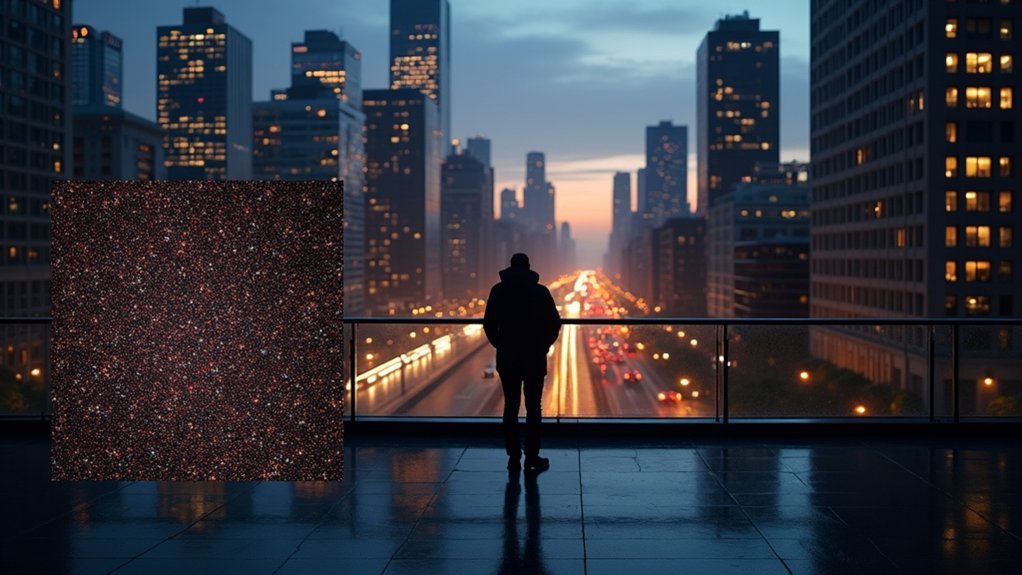
When you raise the ISO on your camera, it basically boosts the sensor’s signal. This makes your images brighter, which is great in low light situations.
But here’s the catch—it also increases noise. You know that grainy or blotchy look that sometimes shows up? That’s the noise we’re talking about.
This noise can really affect the overall image quality. You’ll start to notice less sharpness and a reduced dynamic range, especially when you go above ISO 800. So, it’s a bit of a trade-off.
To get the best results, you need to find a good balance between ISO, shutter speed, and aperture.
Plus, using modern noise reduction features can help keep your images looking clean while preserving as much detail as possible.
Noise Increase With ISO
When you increase your camera’s ISO setting, you boost its sensitivity to light. This allows for brighter images in dim environments but also introduces noise, visible as graininess and color blotching that degrades image quality.
Higher ISO settings amplify digital noise, which reduces clarity and detail. Low ISOs (e.g., ISO 100 or 200) preserve image quality by minimizing noise. In contrast, high ISO settings (ISO 1600 and above) increase noise considerably.
Different camera models handle noise differently, but the trend remains the same. Increased sensitivity to light comes with the cost of more visible noise artifacts.
| ISO Setting | Sensitivity to Light | Noise Level | Image Quality |
|---|---|---|---|
| Low (100-200) | Low | Minimal | High (clean, sharp) |
| Medium (400-800) | Moderate | Moderate | Good |
| High (1600-3200) | High | High | Noticeable noise |
| Very High (>3200) | Very High | Very High | Considerable noise |
Image Quality Trade-Off
Although increasing your camera’s ISO boosts sensor sensitivity and brightens images in low-light conditions, it inevitably introduces noise that degrades image quality.
When you raise ISO from a low setting, such as ISO 100 or 200, to higher values like ISO 1600 or beyond, the camera sensor amplifies the signal but also the noise, resulting in visible graininess.
This noise reduces detail and clarity, especially at extreme ISO levels like ISO 3200, where image quality suffers noticeably.
While modern cameras implement noise reduction algorithms to mitigate this graininess, using the lowest ISO possible remains vital for peak image quality.
Balancing ISO is a trade-off. You gain brightness but risk increased noise and loss of fine detail due to the camera sensor’s limitations and noise amplification.
Managing Noise Effectively
Since raising your camera’s ISO amplifies the sensor’s sensitivity to light, it inevitably increases noise, which appears as grain and reduces image clarity.
Managing noise effectively requires understanding how high ISO increases noise visibility, especially beyond ISO 1600.
Photographers aim for ideal image quality by balancing exposure needs with noise control. To do this, consider using a lower ISO setting whenever possible to minimize grain and preserve detail.
Also, employ noise reduction features in-camera or in post-processing, though these may slightly soften fine textures.
Finally, select the lowest ISO that allows a fast enough shutter speed to prevent motion blur in low-light scenarios.
When To Use Low ISO For Crisp Photos
If you want to achieve crisp photos with minimal noise, you should use low ISO settings, typically around 100 or 200, in well-lit environments such as bright sunny days.
Low ISO guarantees maximum image quality by reducing graininess and preserving fine detail.
In landscape photography, it’s essential for maintaining sharpness and maximizing depth of field, especially when paired with narrower apertures.
This combination increases the range of focus without sacrificing clarity.
Furthermore, low ISO lets you shoot stationary subjects using longer shutter speeds without introducing motion blur, thanks to the abundant bright light.
When To Boost ISO For Low-Light Or Action Shots
You’ll want to boost ISO in low-light situations because it makes your camera’s sensor more sensitive to light. This helps you get a properly exposed shot without having to use a flash.
Now, if you’re shooting fast-moving subjects, raising the ISO lets you use faster shutter speeds. That way, you can freeze the action and cut down on motion blur.
Just remember, cranking up the ISO too much can add noise to your photos. So, it’s all about finding the right balance between exposure and image quality.
Low-Light ISO Benefits
Three key scenarios call for boosting ISO in your camera: low-light environments, fast action shots, and situations where maintaining a faster shutter speed is critical.
When shooting in low light, increasing ISO improves your sensor’s sensitivity, producing a brighter image without extending exposure time. This helps prevent motion blur caused by slow shutter speeds.
Modern digital cameras handle noise better, making higher ISO settings more practical.
Consider these benefits of raising ISO in low light:
- Enables faster shutter speeds to reduce motion blur
- Produces brighter images without changing aperture
- Minimizes camera shake during handheld shots
Adjusting your camera settings to a higher ISO, often 1600 or above, balances brightness and noise, optimizing image quality when lighting is limited.
High ISO For Motion
When capturing fast-moving subjects in low-light conditions, boosting your ISO to 1600 or higher lets you use faster shutter speeds that freeze motion effectively. High ISO settings increase your camera’s sensitivity, enabling fast shutter speeds such as 1/500th of a second or faster to achieve adequate exposure despite limited light.
In action photography, this is essential to freeze motion while avoiding blur. Although raising ISO can introduce noise into images, the trade-off often favors sharpness over absolute image purity.
Using Auto ISO helps dynamically adjust sensitivity based on changing low-light conditions and subject movement, ensuring consistent exposure and motion capture.
Mastering this balance allows you to confidently shoot fast action even when light levels are suboptimal.
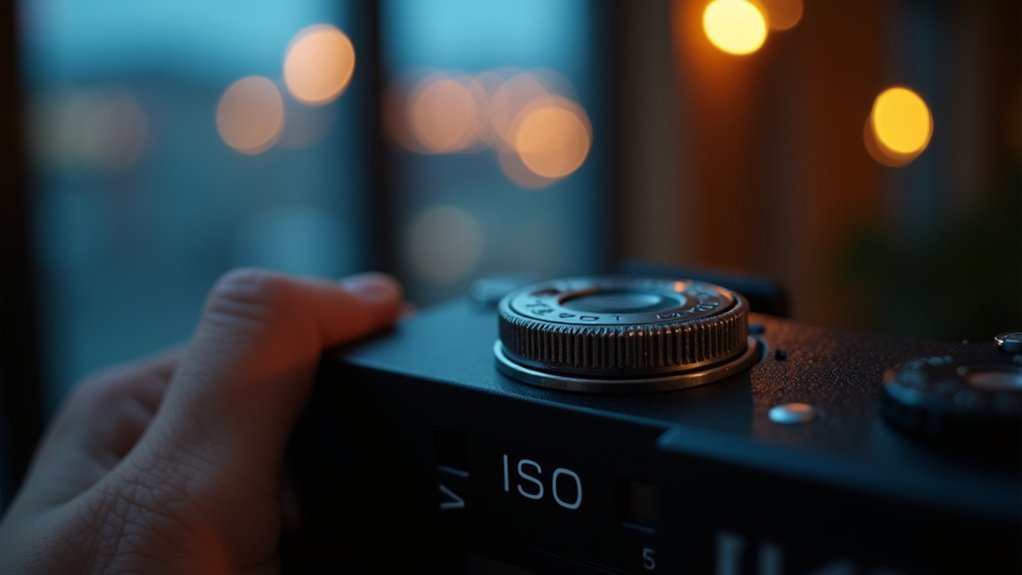
How To Adjust ISO Settings On Your Camera
Although adjusting ISO settings may seem straightforward, mastering this process requires understanding your camera’s controls and exposure needs.
To adjust ISO on your digital camera, locate the dedicated ISO button or access the ISO option within the camera settings menu. You can then manually set the ISO value according to your current lighting conditions.
Find the ISO button or menu setting to manually adjust ISO based on your lighting conditions.
Key points to remember when adjusting ISO settings:
Use the + and – buttons to incrementally change ISO values, enabling rapid adaptation to varying light.
Lower ISO values suit bright environments, while higher ISOs work best in low-light situations.
Enable the Auto ISO option to let your camera automatically select the best ISO, maintaining proper exposure.
Always save your adjustments properly to guarantee consistent camera performance during your shoot.
Tips For Balancing ISO With Shutter Speed And Aperture
Adjusting ISO alone won’t guarantee the perfect exposure; you need to coordinate it with shutter speed and aperture settings.
When light conditions are low, increasing the ISO to a higher ISO number like 1600 allows you to use a faster shutter speed, reducing motion blur while maintaining sharpness.
Conversely, opening the aperture to a wider setting (lower f-number) lets more light hit the sensor, enabling a lower ISO to minimize noise.
Remember, doubling your ISO halves the light needed, so you can adjust shutter speed or aperture accordingly to balance exposure.
Mastering this interplay helps you adapt quickly.
Using auto ISO for varying light conditions while manually controlling shutter speed and aperture guarantees both technical accuracy and creative control over your images.
Debunking Common Myths About ISO In Photography
You might think that increasing ISO is just like brightening your image in post, right?
But actually, it changes your sensor’s light sensitivity right at the moment you capture the photo, which helps preserve image quality.
Now, keep in mind, ISO doesn’t just affect how sensitive your camera is to light.
It also has an impact on noise levels—higher ISO settings tend to produce more grain in your photos.
So, understanding these little details can really help you use ISO more effectively, without losing sharpness or clarity.
It’s all about finding that sweet spot!
ISO Sensitivity Misconceptions
When capturing images, many photographers mistakenly believe that increasing ISO directly boosts the sensor’s sensitivity to light.
But in reality, ISO adjusts the brightness output based on exposure settings rather than changing the sensor’s inherent sensitivity. ISO standards originated from the sensitivity of the film era and now help digital sensors approximate brightness levels.
Keep in mind:
- Different ISO values don’t alter sensor sensitivity but map output brightness for proper exposure.
- Higher ISO settings can increase noise or grain, reducing image quality despite brightening.
- Extended “HI” or “LO” ISO values are simulated and often degrade results compared to standard ISO.
Understanding ISO prevents misconceptions that lead to poor image quality, ensuring you select the right ISO for your lighting condition without relying on false sensitivity assumptions.
Noise And ISO Relationship
Although raising ISO settings boosts the sensor’s sensitivity to light, it also amplifies noise. This noise appears as graininess and degrades image quality.
As you increase to a higher ISO number, the amount of noise becomes more pronounced, especially when comparing moderate values like ISO 200 to high settings such as ISO 3200. It’s a misconception that ISO simply brightens an image. Instead, ISO affects the sensor’s amplification of both light and noise.
To maintain a properly exposed photo with minimal graininess, you should balance ISO with shutter speed and aperture.
While noise reduction algorithms can mitigate some noise at heightened ISO levels, they often reduce detail and sharpness. When possible, lower the ISO to preserve image quality and reduce the need for aggressive noise reduction.
How To Minimize Noise And Maximize Photo Quality At High ISO
Since high ISO settings inherently introduce noise, minimizing it requires a strategic approach that begins with selecting the lowest base ISO your camera offers, typically ISO 100 or 200, especially in well-lit environments.
To maximize image quality at higher ISO, you need to optimize your camera settings and understand lighting conditions.
Optimizing camera settings and mastering lighting conditions are key to achieving superior image quality at high ISO.
Here’s how to minimize noise effectively:
Use noise reduction features in-camera or during post-processing to reduce graininess.
Keep ISO below 1600 when possible to balance shutter speed and image clarity.
Stabilize your camera with a tripod to allow slower shutter speeds without motion blur.
Frequently Asked Questions
Can ISO Settings Affect Video Recording Quality?
Yes, ISO settings directly affect your video recording quality by controlling your camera’s light sensitivity.
Higher ISO values brighten footage in low-light conditions but introduce noise, causing grainy visuals.
You’ll want to keep ISO as low as possible to preserve clarity, balancing it with shutter speed and aperture.
Automatic ISO can help but may cause exposure shifts if lighting changes quickly.
Adjust ISO carefully to maintain consistent, clean video quality.
Does ISO Impact Battery Life on Digital Cameras?
Yes, ISO does impact your digital camera’s battery life.
Higher ISO settings make your sensor work harder to brighten images, especially in low light, which consumes more power.
If you use Auto ISO, your camera continuously adjusts exposure, increasing battery drain.
Longer exposures at high ISO also keep processing active longer, further reducing battery life.
To conserve power, stick to lower ISO settings when possible, balancing image quality and energy efficiency.
How Does ISO Interact With Different Camera Sensor Sizes?
You’ll find that ISO interacts differently based on sensor size.
Larger sensors, like full-frame, handle high ISO settings better, producing less noise and preserving dynamic range.
Smaller sensors, such as APS-C or micro four-thirds, generate more noise and lose detail at high ISOs.
So, when pushing ISO, your sensor’s size directly affects image clarity and quality, especially in low-light conditions.
Choose accordingly for your shooting needs.
What Is the Difference Between ISO and Film Speed?
You might think ISO and film speed are identical, but they differ fundamentally.
Film speed refers to physical film’s inherent light sensitivity, fixed before shooting.
ISO, in digital cameras, controls sensor sensitivity electronically and can be changed shot to shot.
While both use similar numerical scales, ISO allows dynamic adjustment for exposure, unlike film speed’s static nature.
This flexibility means ISO affects noise levels in digital images differently than grain affects film photos.
Can ISO Settings Influence Color Accuracy in Photos?
Yes, ISO settings can influence color accuracy in your photos.
Higher ISO values often introduce noise and grain, which distort colors and reduce overall image quality.
You might notice color shifts or a hue cast, especially in low light.
Furthermore, increased ISO reduces dynamic range, making colors less vibrant and details in shadows or highlights less distinct.
To maintain precise color reproduction, use the lowest ISO possible while achieving proper exposure.
Conclusion
Understanding ISO is essential because raising it from 100 to 3200 can increase your camera’s sensor sensitivity by 32 times. This dramatically brightens your photos in low light. However, this boost also introduces more noise, which affects image quality.
By mastering ISO alongside shutter speed and aperture, you guarantee ideal exposure without unnecessary grain. Remember, balancing these settings lets you capture sharp, clear images even in challenging lighting conditions without compromising detail or clarity.