How to Wire Security Cameras in 10 Easy Steps
To wire security cameras in 10 easy steps, first plan your camera layout and wire routes for full coverage. Choose suitable cables, coaxial for analog or Ethernet with PoE for IP cameras. Gather necessary tools and drill holes for cable paths.
Run cables neatly, securing them with clips or conduits outdoors. Mount cameras at recommended heights, adjust angles for best views, and guarantee weatherproof connections. Finally, test the system fully.
Keep going to uncover detailed tips for each step’s success.
Key Takeaways
- Plan camera locations and cable routes to ensure full coverage and minimal visible wiring before starting installation.
- Choose appropriate cables: coaxial with BNC connectors for analog, Ethernet with RJ45 for IP cameras and PoE.
- Use fish tape to guide cables through walls or ceilings, securing them with clips and protecting outdoor runs with conduit.
- Connect power lines properly, matching voltage requirements and using weatherproof connectors or junction boxes for outdoor setups.
- Mount cameras 8-12 feet high, adjust angles for optimal coverage, and test video feed to confirm clear visibility.
Plan Your Security Camera Layout and Wire Routes
A well-planned security camera layout starts by identifying critical surveillance points like entryways, driveways, and blind spots to guarantee full coverage.
Begin by mapping key areas to monitor and determining ideal viewing angles to reduce obstructions.
Start with mapping key surveillance zones and selecting viewing angles that minimize obstructions for optimal coverage.
Carefully select camera placements that maximize coverage while enabling clean installations. Use a detailed sketch to mark each camera’s position and measure distances to your DVR or NVR, making sure wire routes are efficient and cables aren’t excessively long.
Plan wire routes to avoid structural obstacles and maintain discreet paths, especially for outdoor installations.
Adhere strictly to local regulations, considering conduit requirements or burial depths when routing wires outdoors.
This approach guarantees a precise, effective surveillance system with minimal visual impact and reliable connectivity.
Understand and Choose the Right Security Camera Cable
When choosing a security camera cable, it’s important to pick the right type based on your camera system. For example, if you have an analog camera, coaxial cable is the way to go. On the other hand, if you’re working with IP cameras, Ethernet cables are your best bet.
You should also think about how power will be supplied. Power over Ethernet (PoE) is a great option because it lets you use a single cable for both data and power, which can really simplify your wiring and cut down on clutter.
Lastly, don’t forget to check the cable’s specifications. Make sure it can handle the distance you need, supports the required speed, and is suitable for the environment where it will be installed. This way, you’ll ensure your system performs at its best.
Types Of Camera Cables
Choosing the right cable plays an essential role in guaranteeing your security camera system functions reliably and efficiently.
Security camera installation primarily uses two types of camera cables: coaxial cables and Ethernet cables.
Coaxial cables like RG59 and RG6 transmit a clear video feed over long cable runs but require separate power lines and BNC connectors.
Ethernet cables, such as Cat5e and Cat6, use RJ45 connectors and support Power over Ethernet (PoE), allowing simultaneous data and power transmission through one cable, which simplifies your setup.
When selecting cables, consider distance limits. Coaxial cables reach up to 200 meters, Cat5e up to 100 meters, and Cat6 about 55 meters for peak performance.
Matching cable type, connectors, and run length guarantees a stable, effective security camera system.
Power Transmission Options
After selecting the appropriate cable type for your security camera system, focus on how power will be transmitted alongside or separately from the video signal.
For analog setups, coaxial cables require separate power lines, but Siamese cables simplify installation by combining video and power in one sheath.
When working with IP cameras, Ethernet cables support Power over Ethernet (PoE), allowing simultaneous power and data transmission. This enhances video quality and reduces cable clutter.
Use Cat5e for runs up to 100 meters and Cat6 for higher data rates over shorter distances.
Always choose weatherproof cables for outdoor installs to protect against moisture and UV exposure. This ensures reliable transmission and long-term durability.
Proper power transmission planning optimizes video quality and streamlines your overall security camera installation.
Cable Selection Criteria
When selecting cables for your security camera system, understanding the specific requirements of your setup is crucial. Your cable selection criteria depend on the camera type: analog systems require coaxial cables like RG59 or RG6, while IP systems use Ethernet cables such as Cat5e or Cat6.
Coaxial cables handle video transmission effectively, with RG59 suitable up to 150 meters and RG6 up to 200 meters, minimizing signal loss. Ethernet cables support higher data speeds. Cat5e works up to 1 Gbps over 100 meters, and Cat6 supports up to 10 Gbps under 55 meters. They also enable Power over Ethernet.
For outdoor installations, always use weatherproof cables with UV-resistant jackets.
Match connectors correctly: BNC connectors go with coaxial cables, and RJ45 connectors fit Ethernet cables. This guarantees secure, reliable connections and peak system performance.
Gather Your Tools and Materials
Before you start wiring your security cameras, assemble all necessary tools and materials to streamline the installation process. Gather materials and essential tools such as a power drill, fish tape, wire strippers, and crimping tools to prepare and secure cables accurately.
Include weatherproof junction boxes for outdoor connections to prevent moisture damage. Use cable clips and electrical tape to organize and fasten cables neatly. Having these items ready guarantees efficient workflow and reduces interruptions.
| Tools | Materials |
|---|---|
| Power drill | Ethernet cables (Cat5e/Cat6) |
| Fish tape | Coaxial cables (RG59/RG6) |
| Wire strippers | Weatherproof junction boxes |
| Crimping tools | Cable clips |
| Electrical tape | Conduit pipes |
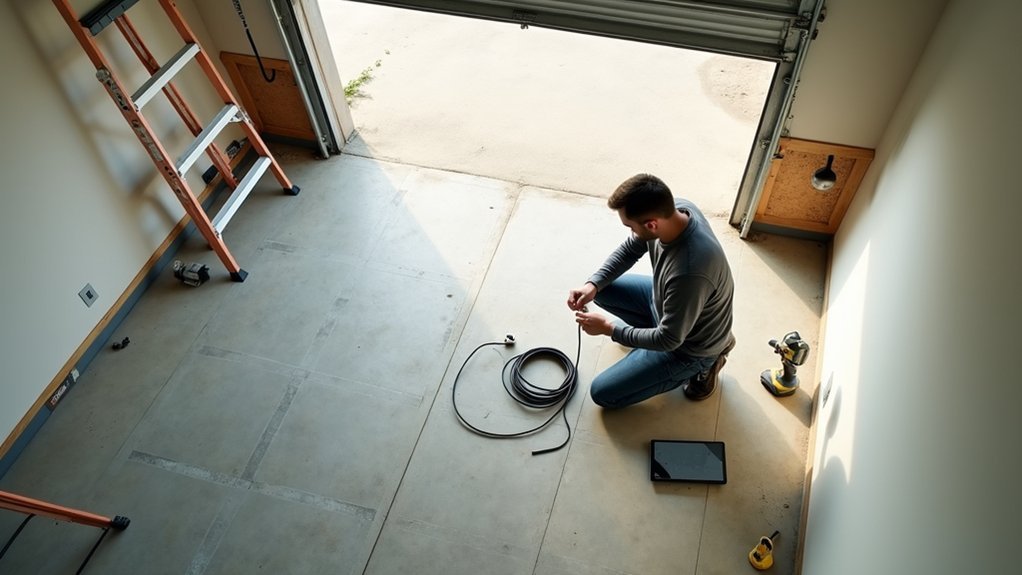
Drill Holes and Prepare Cable Routes
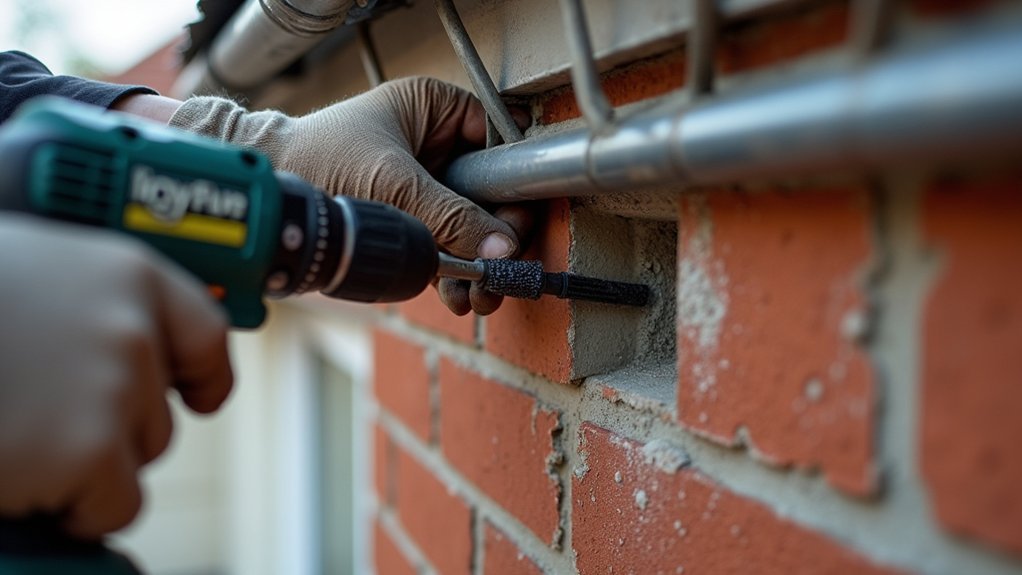
Start by marking precise drill points where the cables will pass through walls or ceilings.
It’s a good idea to plan your cable paths carefully so you can avoid any structural elements and keep the wiring as neat and hidden as possible.
Also, make sure each hole is sized just right and angled slightly downward to help with moisture drainage.
That way, everything stays secure and protected.
Mark Drill Points
Three critical steps guarantee accurate drill point marking and efficient cable routing for your security camera installation.
First, properly plan your camera placement to cover key areas like entryways and blind spots.
Next, use a stud finder to locate wall studs and mark drill points avoiding them to prevent structural damage and facilitate cable routing.
Finally, plan cable routing to minimize visibility by selecting discreet cable entry points through walls or ceilings.
- Mark drill points precisely based on camera placement, assuring ideal coverage.
- Drill access holes at these points, avoiding studs, electrical wiring, and plumbing.
- Clean up debris and smooth cable entry points to protect cables from damage.
Following these steps guarantees a secure, professional installation with neat cable management.
Plan Cable Paths
When planning cable paths, you’ll need to carefully mark drill points and routes on walls or ceilings. This guarantees a clean installation while avoiding electrical wiring, plumbing, and studs.
Use a stud finder to precisely locate safe drilling areas, so you don’t damage structural elements or utilities.
After confirming drill points, drill access holes for routing cables. Employ fish tape to guide cables through walls efficiently. This reduces clutter and helps neatly route cables to each camera location.
As you install wired security cameras, secure cables along their paths with clips or ties. This prevents sagging and tangling. It also maintains an organized appearance and protects the wiring over time.
Planning cable paths thoughtfully is critical for a professional, durable security camera installation with minimal visual disruption.
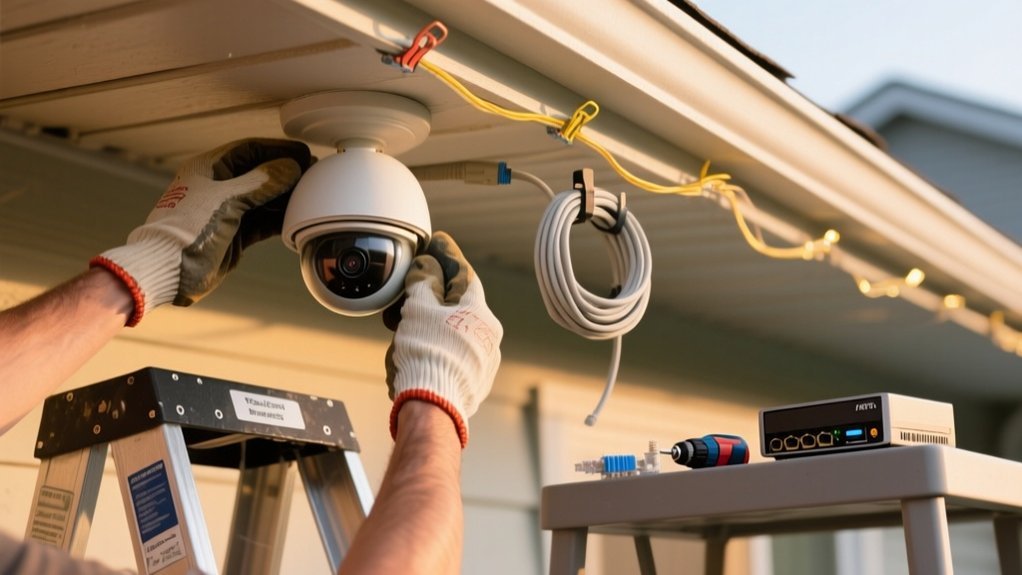
Run and Secure Cables Neatly Along Walls or Ceilings
Although running cables along walls or ceilings might seem straightforward, securing them neatly requires careful planning and the right tools.
First, plan your cable route to minimize visible wiring by running cables along edges or baseboards.
Next, use fish tape to guide cables through walls or ceilings efficiently, reducing the risk of damage.
Finally, secure cables with cable clips or adhesive organizers to prevent tangling.
- Run cables with slight slack to accommodate movement and adjustments.
- For outdoor installations, protect cables using conduit pipes to shield against environmental damage.
- Regularly check cable tension and clip placement to maintain a tidy appearance.
Following these steps guarantees your cable installation is both functional and aesthetically pleasing.
Connect Wires to Cameras and Power Sources Properly
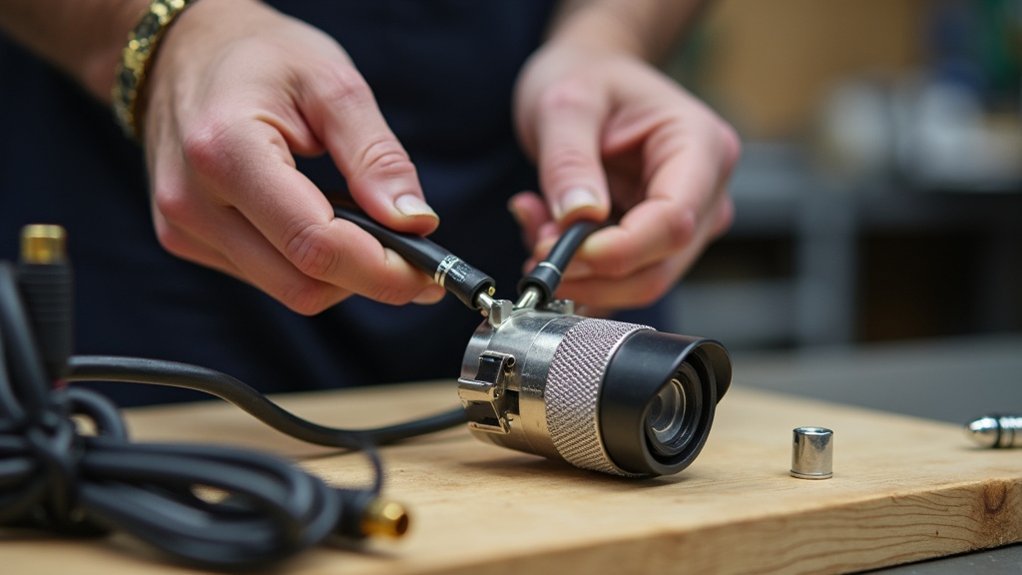
Start by clearly identifying each wire’s function—whether it’s for video, power, or data. This helps prevent any mix-ups when connecting everything.
It’s a good idea to use the right connectors too. For example, BNC connectors work well for analog video, while RJ45 connectors are best for IP cameras. Make sure all connections are secure and weatherproof, especially if they’re going to be outside.
Also, double-check that your power source matches the camera’s voltage requirements before you hook everything up. This step is really important because it helps avoid any damage to your equipment.
Taking these precautions will ensure your cameras work smoothly without any hiccups.
Identifying Wire Functions
Because proper wire identification guarantees reliable connections, you need to connect the red wire to the positive power terminal and the black wire to ground for most security cameras.
When wiring, follow these key steps:
- For analog cameras using coaxial cables, connect the yellow wire to carry the video signal through BNC connectors, guaranteeing peak image clarity.
- With IP cameras, use Ethernet cables wired to T568A or T568B standards; attach RJ45 connectors correctly to maintain data integrity.
- If your camera supports Power over Ethernet (PoE), a single Ethernet cable delivers both video and power from the power supply, simplifying installation and reducing clutter.
Correctly identifying these wire functions guarantees your camera receives stable power and transmits clear video without signal loss.
Secure Wire Connections
After identifying wire functions correctly, you need to secure the connections between wires, cameras, and power sources to maintain signal quality and power stability.
For analog security cameras, attach coaxial cables using BNC connectors to guarantee a secure and reliable video signal.
When working with Ethernet cables, follow the T568A or T568B wiring standards for RJ45 connectors, preserving twisted wire pairs to maintain data integrity. Strip cable ends carefully to avoid shorts.
Use wire nuts to join power wires and wrap connections tightly with electrical tape, preventing moisture intrusion and electrical failures.
Before finalizing, test all connections with a cable tester to verify signal strength and confirm each camera feed functions properly.
Proper secure connections are critical to your security cameras’ performance and longevity.
Power Source Integration
When connecting power to your security cameras, choosing the correct wire gauge, typically between 18 and 22 AWG for low voltage DC systems, is crucial to maintain voltage levels and reduce power loss over distance.
To properly integrate the power source, follow these steps:
- For coaxial cables, use pigtail connectors to securely connect the camera’s power terminals to the wiring. This helps prevent disconnections.
- In PoE setups, use Cat5e or Cat6 cables to carry both power and data, so you don’t need separate power lines.
- When running cables outdoors, pick weatherproof wiring and connectors. Also, enclose junctions in weatherproof boxes to protect against moisture and UV damage.
Always strip wire ends neatly and use appropriate connectors like RJ45 for Ethernet or BNC for coaxial. This guarantees reliable, insulated connections.
Mount Cameras and Adjust Viewing Angles
A secure and effective camera installation starts by mounting your security cameras 8 to 12 feet above ground level. To mount cameras properly, select sturdy brackets and screws compatible with the camera’s weight and the surface to guarantee a secure installation.
Next, adjust the viewing angles to capture critical areas such as entry points, driveways, and blind spots, maximizing coverage. For outdoor cameras, angle them slightly downward to minimize sunlight glare and improve image clarity during daylight hours.
After mounting, verify your adjustments by reviewing the live feed, confirming that all essential zones are clearly visible and unobstructed.
This precise positioning assures peak surveillance performance and reduces the risk of tampering, providing reliable security monitoring for your property.
Weatherproof Outdoor Wiring With Conduits
Two essential materials for protecting outdoor security camera wiring are PVC and metal conduits. These conduits shield your weatherproof cables from moisture and physical damage.
To guarantee durability, follow these steps:
Bury PVC conduit at least eighteen inches deep and metal conduit at six inches, according to local codes, to protect cables from environmental hazards. Use weatherproof cables inside the conduit and seal all connections with silicone to prevent moisture intrusion.
Securely fasten the conduit to prevent movement. Then, perform regular inspections to detect wear or damage early.
Test Your Security Camera Wiring and Camera Operation
Start by powering on each security camera and verifying the video feed displays clear, uninterrupted images.
Next, test each camera’s power and data lines using a multimeter to confirm proper voltage delivery through the wiring.
Inspect all connectors, whether BNC or RJ45, to guarantee secure connections free from damage or moisture that could degrade signal quality.
Then, carefully inspect performance by reviewing camera angles. Adjust them as needed to optimize coverage and eliminate blind spots in critical areas.
Finally, test remote access and recording capabilities to validate the entire system functions reliably under real-world conditions.
Conceal and Organize Wiring for a Clean, Professional Look
Although wiring is essential for security camera functionality, concealing and organizing cables guarantees a clean, professional appearance while protecting them from damage.
To achieve this, focus on strategic installation and protection of wiring paths both indoors and outdoors. Follow these steps:
- Use conduit pipes to house and protect cables, securely attach them along walls or ceilings, and bury outdoor conduits at least eighteen inches deep for environmental protection.
- Employ cable clips and ties to fasten and organize wiring along baseboards or walls, preventing tangling and maintaining neatness.
- Install wall plates where wiring enters or exits walls to conceal cables and provide a polished, professional finish.
Frequently Asked Questions
Can I Use Wireless Cameras Instead of Wired Ones?
Yes, you can use wireless cameras instead of wired ones. They’re easier to install and don’t require running cables, making them ideal for quick or temporary setups.
However, make sure your Wi-Fi signal is strong to avoid interruptions. Remember, battery-powered models need regular recharging or battery changes.
If you want stable video quality and improved security, wired cameras might be better for long-term use. Choose based on your specific needs and environment.
How Do I Secure My Security Camera Feed From Hackers?
“An ounce of prevention is worth a pound of cure.”
To secure your camera feed, start by setting strong, unique passwords and change them regularly.
Enable two-factor authentication for added security.
Keep your camera’s firmware updated to patch vulnerabilities.
Use a WPA3-encrypted Wi-Fi network to protect data transmission.
Finally, actively monitor your feeds and network for unusual activity to detect and stop hacking attempts early.
What Are the Legal Regulations for Camera Placement on Private Property?
You must place cameras only where no one has a reasonable expectation of privacy, avoiding bathrooms, bedrooms, or similar spaces.
Don’t aim cameras at neighbors’ property to prevent privacy violations.
Inform employees or visitors of surveillance with clear signage if applicable.
Check your local and state laws carefully, as regulations on video and audio recording vary.
Following these rules guarantees your installation complies legally and respects privacy rights.
How Do I Integrate Security Cameras With a Smart Home System?
To integrate security cameras with your smart home system, first confirm they support your platform like Alexa, Google Assistant, or HomeKit.
Connect your cameras to your network, preferably using PoE for simplicity.
Install the camera’s mobile app to enable real-time monitoring and notifications. Use the app or smart home hub to link devices, and set up IFTTT automation for triggers.
Regularly update firmware to maintain compatibility and security. This helps keep everything running smoothly and protects your system.
What Maintenance Is Required for Security Camera Wiring Over Time?
You need to regularly inspect your security camera wiring for wear, fraying, or damage to prevent signal loss.
Clean cable connections and camera lenses periodically to maintain clear video quality.
Tighten all connections at both cameras and recording devices to avoid disruptions.
Update firmware to improve security and compatibility.
Finally, evaluate and replace aging or outdoor wiring to guarantee consistent performance and protect against environmental damage.
Conclusion
Properly wiring your security cameras is essential for reliable surveillance. Did you know that 60% of DIY security system failures stem from poor wiring?
By carefully planning routes, using the right cables, and securing connections, you guarantee peak performance and longevity. Follow these 10 precise steps to avoid common pitfalls, maintain signal integrity, and achieve a professional installation that keeps your property safe and monitored effectively.