How Do You Download Pictures From a Digital Camera
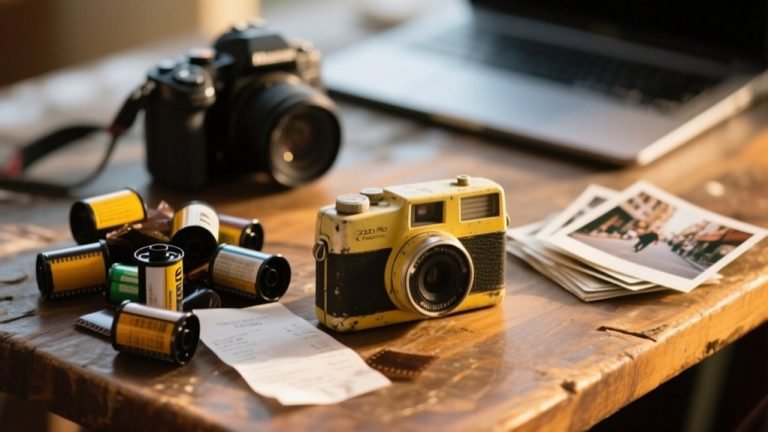
Capturing moments with a digital camera feels satisfying, but the process does not end once the photo is taken. Those images need to be transferred safely so they can be viewed, edited, shared, or backed up on other devices without risk of loss.
Many people own great cameras yet feel uncertain when it comes time to move photos off the device. Cables, memory cards, and computer folders can feel confusing at first, especially when every camera model works a little differently.
Learning how do you download pictures from a digital camera brings confidence and saves time. The steps are usually simple and repeatable, and once understood, the process becomes second nature. Knowing the basics also helps prevent accidental deletion or file corruption.
Whether photos are meant for personal memories, social media, or professional projects, having them stored properly matters. A clear understanding of the download process makes managing photos easier, keeps them organized, and ensures special moments are always accessible when needed.
How Do You Download Pictures From a Digital Camera?
Taking photos with a digital camera is exciting, but the real value appears once those images are safely stored elsewhere. Moving photos off the camera allows viewing on larger screens, sharing memories, and protecting files from accidental loss.
Many people hesitate at this stage because cables, cards, and software can feel unfamiliar. Different camera brands also follow slightly different steps, which creates confusion and slows the process for beginners and casual photographers alike.
Understanding How Do You Download Pictures From a Digital Camera removes that uncertainty and builds confidence. The task usually follows a clear routine, and repetition makes it quicker, smoother, and far less stressful over time.
Once photos are transferred, organizing and backing them up becomes easier. This habit supports creative work, preserves personal memories, and keeps important images accessible whenever they are needed for editing, printing, or sharing.
With the right approach, the process feels practical rather than technical, turning a simple task into a reliable part of every photography routine.
How Do You Download Pictures From a Digital Camera? (Step-by-Step Guide)
Downloading pictures from a digital camera is an essential step in managing and protecting your photos. Whether you have just purchased a new camera, your memory card is running out of space, or you want to create backups, knowing how to transfer images safely matters. This guide explains multiple beginner-friendly methods, covers both Windows and Mac systems, and walks through each option clearly so you can choose the one that fits your setup and comfort level.
Downloading Pictures Using a USB Cable
Using a USB cable is one of the most common and direct ways to transfer photos from a digital camera to a computer. Most cameras come with a compatible cable, and the process requires minimal setup. This method works well for beginners because it relies on built-in computer tools and does not require removing the memory card from the camera.
Step-by-Step: Transfer Photos via USB Cable
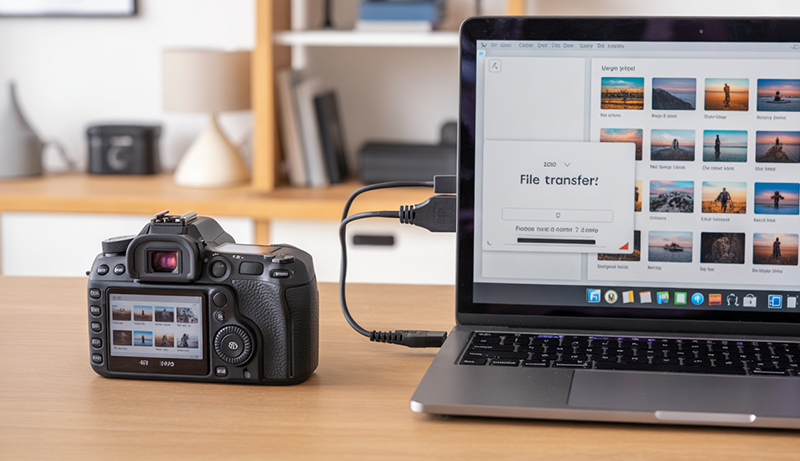
Start by turning off the digital camera. Connect one end of the USB cable to the camera and the other end to a USB port on your computer. Turn the camera on once connected. In most cases, the computer will automatically detect the camera as a removable device. On Windows, a pop-up may appear asking what you want to do with the photos. On Mac, the Photos app or Image Capture often opens automatically.
Open the device or app that appears on your screen. You will see folders containing your photos, usually labeled as DCIM. Select the images you want to download, then copy and paste them into a folder on your computer or use the import option provided by the app. This allows you to keep files organized by date or event.
After the transfer finishes, safely eject the camera from your computer before unplugging the cable. This prevents file corruption and ensures all images transfer correctly. The USB method is reliable, requires no extra equipment, and works across most camera brands and operating systems.
Downloading Pictures Using a Memory Card Reader
A memory card reader offers a fast and flexible alternative, especially when the camera battery is low or unavailable. Many laptops have built-in card readers, and external readers are inexpensive and easy to use. This method treats the memory card like a flash drive, making file access simple.
Step-by-Step: Transfer Photos with a Memory Card
Begin by turning off the camera and removing the memory card carefully. Insert the card into your computer’s built-in card slot or an external card reader connected via USB. Once inserted, the computer should recognize the card automatically. On Windows, it will appear as a removable drive. On Mac, it will show up on the desktop or open in Finder.
Open the memory card and locate the photo folder, usually named DCIM. Inside, you will find one or more folders containing your images. Select the photos you want to transfer and drag them into a folder on your computer. This method allows quick access and often transfers files faster than a camera connection.
When the transfer is complete, eject the memory card properly before removing it. This step protects your data and prevents errors. Using a card reader is especially useful for photographers who frequently download photos or manage multiple memory cards.
Downloading Pictures Using Built-In Apps on Windows and Mac
Both Windows and macOS include built-in applications designed to simplify photo transfers. These apps guide users through the process, making them ideal for beginners who prefer step-by-step prompts rather than manual file management.
Step-by-Step: Use Photos or Image Capture
Connect your camera to the computer using a USB cable or insert the memory card. On Windows, the Photos app often opens automatically. If not, open it manually and select “Import.” Choose your camera or memory card from the list of devices. The app will scan for images and display thumbnails, allowing you to select specific photos or import everything at once.
On Mac, the Photos app or Image Capture works similarly. Image Capture gives more control over file destinations, while Photos focuses on organizing images within the app library. Select where you want the files saved, then start the import process.
Once importing is complete, the app may ask whether you want to delete photos from the camera. Keeping them until you confirm the transfer is successful adds an extra layer of safety. Built-in apps reduce technical steps and help beginners manage photos with confidence.
Downloading Pictures Using Cloud or Wireless Transfer (When Available)
Some modern digital cameras support wireless transfers through Wi-Fi or Bluetooth. This method removes the need for cables and card readers, making it convenient for casual users and travelers. Wireless transfer is slower but offers flexibility and ease.
Step-by Step: Transfer Photos Wirelessly
Start by enabling Wi-Fi or Bluetooth on your camera through its settings menu. Install the manufacturer’s companion app on your computer or mobile device. Follow the on-screen instructions to pair the camera with your device. Once connected, select the photos you want to transfer within the app.
Choose a destination folder on your computer or allow the app to save files automatically. Keep both devices close together during the transfer to avoid interruptions. Wireless transfers work best for small batches of photos rather than large collections.
After confirming the files are saved correctly, you can disconnect the camera. This method is useful when cables are unavailable and works well for quick sharing or backups, especially while traveling or working remotely.
What You Need Before Downloading Pictures
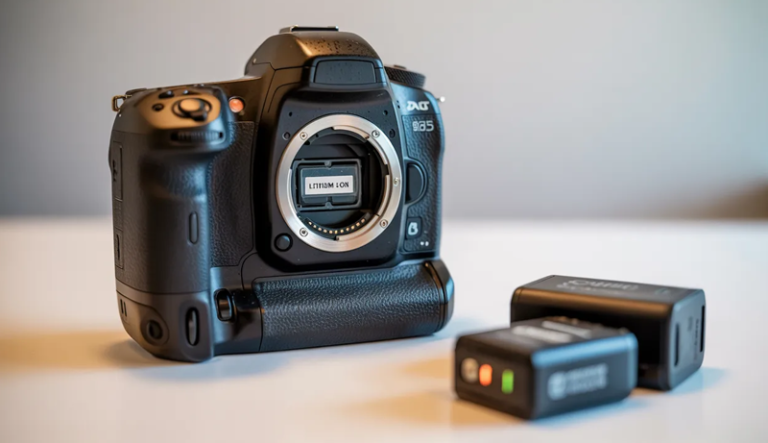
Before downloading pictures from a digital camera, having the right items ready makes the process smoother and prevents unnecessary interruptions. The most important requirement is the digital camera itself with enough battery power. A low battery can interrupt file transfers, which may result in incomplete or corrupted image files.
A compatible connection method is also essential. This may include a USB cable that matches your camera model or a memory card reader that supports your camera’s storage card. Using the original cable or a reliable reader helps ensure stable data transfer and reduces the risk of connection errors.
You also need a device to receive the photos, such as a desktop computer, laptop, or compatible tablet. Make sure the device has enough free storage space before starting the download. Large photo files, especially high-resolution images, can quickly fill up limited storage.
Proper software access is another key requirement. Most computers already include built-in apps that recognize cameras and memory cards automatically. In some cases, manufacturer-provided software or drivers may be needed, particularly for older camera models.
An organized folder structure on your device helps keep downloaded pictures easy to find. Creating folders by date, event, or project before transferring files saves time later and keeps your photo library manageable.
Finally, a stable environment matters more than many realize. Avoid moving cables, removing memory cards too quickly, or allowing your device to sleep during the transfer. Taking these simple precautions helps protect your photos and ensures a successful download every time.
Method 1 – Download Pictures Using a USB Cable (Most Common Method)
Using a USB cable is the most widely used way to download pictures from a digital camera, especially for beginners. This method works with most camera models and does not require removing the memory card. It relies on simple connections and built-in computer tools, making it a reliable and straightforward option for transferring photos safely to both Windows and Mac devices.
Step-by-Step Instructions
Begin by turning off the digital camera before making any connections. This step protects the camera and memory card from sudden power changes while plugging in the cable. Once the camera is powered down, connect the USB cable to the camera’s port, then plug the other end into an available USB port on your computer. Make sure the cable fits securely on both ends to avoid connection issues during the transfer.
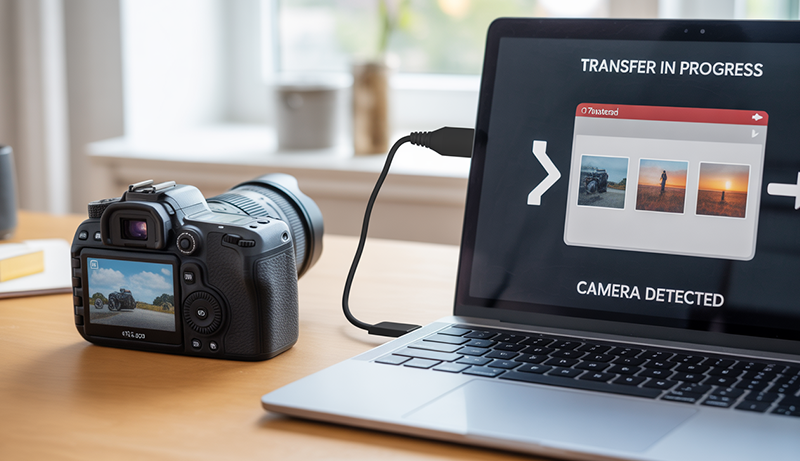
After the cable is connected, turn the camera on. The computer should automatically detect the camera as a connected device. On Windows, a notification may appear, or the camera may show up as a removable storage device. On a Mac, Finder, Photos, or Image Capture may open automatically. If nothing appears right away, give the system a few seconds to recognize the device.
Next, open File Explorer on Windows or Finder on Mac. Look for the camera listed under connected devices or external storage. Open the device and locate the folder where photos are stored, commonly labeled DCIM. Inside, you will find folders containing your image files.
Select the photos you want to download, then copy and paste them into a folder on your computer or use the import option provided by your system. Wait for the transfer to finish completely before disconnecting the camera. Once done, safely eject the device to protect your files and ensure the transfer was successful.
Troubleshooting USB Connection Issues
One common issue users face is the camera not being recognized by the computer. When this happens, start by checking whether the camera is turned on and properly connected. Try unplugging the cable and reconnecting it, or switch to a different USB port on your computer. Restarting both the camera and the computer can also help reset the connection.
A faulty or incompatible USB cable can also prevent successful transfers. Cables can wear out over time or may not support data transfer, even if they charge the device. If the camera is charging but not appearing on your computer, try using the original cable that came with the camera or replace it with a known data-capable cable.
Incorrect camera mode is another frequent cause of connection problems. Some cameras require selecting a specific mode, such as “PC,” “Transfer,” or “Mass Storage,” from the camera’s settings menu. If the camera is set to playback or another restricted mode, the computer may not recognize it as a storage device.
Software-related issues can also interfere with detection. Outdated operating systems or missing drivers may prevent proper communication between the camera and computer. Checking for system updates or installing the camera manufacturer’s software can resolve compatibility problems.
By checking power, cables, camera settings, and system software, most USB connection issues can be identified and resolved quickly, allowing the photo transfer process to continue smoothly without risking data loss.
Method 2 – Download Pictures Using a Memory Card Reader
Using a memory card reader is a popular alternative to connecting a camera directly to a computer. This method is especially useful when faster transfer speeds are needed or when the camera battery is low. A memory card reader allows direct access to photo files and works well with both laptops and desktop computers on Windows and Mac systems.
How to Remove the Memory Card Safely
Before removing the memory card, always power off the camera completely. Turning off the camera prevents the camera from writing data to the card during removal, which helps protect photo files from corruption. Waiting a few seconds after powering down ensures the camera has fully stopped all internal processes.
Once the camera is off, locate the memory card slot, which is usually found on the side or bottom of the camera body. Open the slot cover gently to avoid damaging the hinge or latch. Most memory cards are spring-loaded, so pressing lightly will cause the card to pop out slightly.
Carefully eject the card by pulling it straight out without bending or twisting it. Handling the card by its edges helps prevent fingerprints, dust, or static electricity from damaging the metal contacts. Avoid placing the card on rough or dirty surfaces during this step.
After removal, store the memory card in a protective case or place it directly into the card reader. Keeping the card protected reduces the risk of physical damage and ensures it remains in good condition for future use and repeated photo transfers.
Steps to Transfer Photos From Memory Card
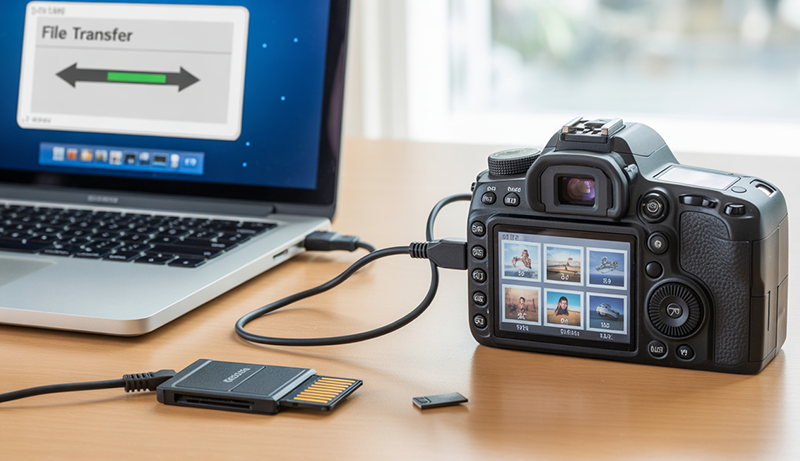
Begin by inserting the memory card into a compatible card reader. Many laptops include built-in readers, while desktop computers may require an external USB card reader. Make sure the card is inserted in the correct orientation to avoid damaging the card or the reader.
If using an external reader, connect it to an available USB port on your computer. Once connected, the system should recognize the memory card automatically. On Windows, it will appear as a removable drive in File Explorer. On Mac, it will show up in Finder or on the desktop.
Open the storage device to access the photo folders, typically labeled DCIM. Inside, you may see multiple folders depending on how the camera organizes images. Browse through the folders to locate the photos you want to transfer.
Select the desired images and either copy and paste them or drag them into a folder on your computer. Creating folders by date or project can help with organization. Wait for the transfer to complete fully before ejecting the memory card safely from the system to prevent data loss.
Why This Method Is Often Faster
One major advantage of using a memory card reader is faster transfer speeds. Card readers often support higher data transfer rates than camera USB connections, especially when paired with modern memory cards. This speed difference becomes noticeable when transferring large photo collections or high-resolution image files.
Because the camera itself is not involved in the transfer, the process avoids potential slowdowns caused by camera hardware limitations. The computer communicates directly with the memory card, allowing files to move more efficiently and with fewer interruptions.
Another benefit is that this method does not use camera battery power. Since the camera remains turned off during the transfer, there is no risk of the battery draining mid-transfer. This is particularly helpful when working with older batteries or during long download sessions.
Using a memory card reader also reduces wear on the camera’s USB port. Frequent cable connections can loosen ports over time, while card readers shift that wear to a more easily replaceable accessory. These advantages make memory card readers a preferred option for users who regularly download photos or manage large volumes of image files.
Method 3 – Download Pictures Using Camera Software
Camera software provided by the manufacturer offers a guided and organized way to download pictures from a digital camera. This method is often recommended for beginners because the software is designed specifically for the camera model, reducing compatibility issues and simplifying the transfer process.
To begin, install the camera’s official software on your computer if it is not already available. The software is usually included with the camera or available for download from the manufacturer’s website. Once installed, connect the camera to your computer using a USB cable and turn the camera on.
After launching the software, it will automatically detect the connected camera and display available photos. Most programs provide clear prompts that guide users through selecting images, choosing a destination folder, and starting the transfer. This reduces the need to manually search for storage folders.
Camera software often includes additional features such as automatic photo organization, file renaming, and basic editing tools. These options help keep photo libraries neat and make it easier to manage large collections without extra applications.
Another advantage is improved compatibility with camera file formats. Some cameras produce RAW or proprietary files that generic apps may not handle properly. Manufacturer software ensures these files are transferred correctly without errors.
While this method may take slightly longer to set up, it offers a reliable and structured way to download pictures, especially for users who prefer step-by-step guidance and built-in photo management tools.
How to Download Pictures on Windows vs Mac
Downloading pictures from a digital camera can feel slightly different depending on whether you use a Windows computer or a Mac. Each operating system offers built-in tools designed to make photo transfers simple and secure. Understanding these differences helps users choose the fastest and most comfortable method while avoiding confusion during the download process.
Downloading Photos on Windows
Windows provides several easy ways to download pictures using built-in features. One of the most common methods is through File Explorer. When a camera or memory card is connected, it appears as a removable device. Opening it allows direct access to photo folders, usually labeled DCIM, where images can be copied and pasted into a chosen folder on the computer.
Another popular option is the Windows Photos app. This app often launches automatically when a camera is connected, offering an import option. Users can preview images, select specific photos, and choose where they want them saved. This method helps keep photos organized and reduces the risk of accidentally missing files.
The AutoPlay import option is also useful, especially for beginners. When enabled, Windows prompts the user with actions such as importing photos or opening the device. Selecting the import option starts a guided process that transfers images efficiently.
These Windows tools require no additional software and work well for most camera models. They offer flexibility, whether users prefer manual file handling or guided imports, making photo downloads straightforward across different experience levels.
Downloading Photos on Mac
Mac computers also include multiple built-in options for downloading pictures, each offering a slightly different experience. Finder allows users to access connected cameras or memory cards directly. Once the device appears in Finder, users can open it, locate the photo folders, and manually drag images into a folder on the Mac for storage.
The Photos app is a commonly used option for Mac users. When a camera is connected, the app may open automatically and display all available photos. Users can select specific images or import everything at once. Photos then organizes the images within its library, making them easy to browse and edit later.
Image Capture is another powerful built-in tool that offers more control over file destinations. It allows users to choose exactly where images are saved rather than storing them inside the Photos library. This tool is especially helpful for users who prefer managing photos in custom folders.
Mac tools focus on simplicity and organization while offering flexibility. Whether using Finder for manual control or built-in apps for guided imports, Mac users can download pictures efficiently without relying on extra software.
How to Download Pictures From a Digital Camera to a Phone (Optional)
Downloading pictures from a digital camera directly to a phone is a convenient option for quick sharing and on-the-go access. This method is especially useful for users who want to post photos to social media, send images through messaging apps, or review pictures without using a computer.
Many modern digital cameras include built-in Wi-Fi or Bluetooth features that allow wireless transfers. By installing the camera manufacturer’s mobile app on your phone, the camera can connect directly to the device. Once paired, users can select photos on the camera or within the app and download them to the phone’s storage.
Another option involves using a memory card adapter designed for smartphones. These adapters connect to the phone’s charging port and accept SD or microSD cards. After inserting the camera’s memory card, the phone can access photo files through a file manager or gallery app.
Some cameras also support transferring photos through cloud services. Images are uploaded from the camera to a cloud account and then accessed on the phone using the same account. This method requires an internet connection but removes the need for physical connections.
Transferring photos to a phone may take longer than using a computer, especially for large files. Keeping both devices charged and close together helps avoid interruptions during the process.
While optional, downloading pictures to a phone offers flexibility and convenience, making it a practical choice for quick access and immediate sharing.
Frequently Asked Questions (FAQ)
What Is The Easiest Way To Download Pictures From A Digital Camera?
The easiest way for you to download pictures from a digital camera is by using a USB cable. Most cameras connect directly to a computer and are automatically recognized as a storage device. You simply open File Explorer on Windows or Finder on Mac, locate the camera, and copy the photos. This method requires no extra tools and works well for beginners who want a simple and reliable transfer process.
Can You Download Pictures Without Using A Computer?
Yes, you can download pictures from a digital camera without using a computer. Many modern cameras support wireless transfers through Wi-Fi or Bluetooth using a mobile app. You can also use a memory card adapter that connects directly to your phone. These options are helpful when you want quick access to photos for sharing or backup on the go.
Why Is My Computer Not Detecting My Digital Camera?
If your computer does not detect your digital camera, the issue is often related to the USB cable, camera settings, or connection port. You should check that the camera is powered on and set to the correct transfer mode. Trying a different USB port, restarting your devices, or using another cable often resolves the problem quickly.
Is It Better To Use A Memory Card Reader Instead Of A USB Cable?
Using a memory card reader is often faster and more efficient than a USB cable. You remove the memory card from the camera and insert it into the reader, allowing direct access to photo files. This method does not use camera battery power and usually provides faster transfer speeds, especially for large photo collections.
How Do You Download Pictures From A Digital Camera Safely?
To download pictures safely, you should always ensure the camera has enough battery power before starting. Avoid disconnecting the camera or memory card while files are transferring. After the download finishes, safely eject the device from your computer. These steps help prevent file corruption and ensure all photos transfer successfully.
Can You Delete Photos From The Camera After Downloading Them?
Yes, you can delete photos from the camera after downloading them, but only after confirming the transfer was successful. You should check that all images open correctly on your computer or device. Once verified, deleting photos from the camera helps free up storage space for future use and keeps your camera organized.
Conclusion
Downloading your photos doesn’t have to be complicated. Once you understand the basic methods—using a USB cable, a memory card reader, or built-in software—you can choose the option that best fits your device and workflow. Each approach is reliable when done correctly and helps protect your pictures from accidental loss.
No matter which method you use, the key is to transfer photos regularly and store them in an organized location. This not only frees up space on your camera but also makes it easier to edit, share, or back up your images later. Taking a few extra moments to safely eject devices can prevent file corruption.
In the end, learning How Do You Download Pictures From a Digital Camera gives you more control over your photos and peace of mind. With consistent transfers and backups, your memories stay safe, accessible, and ready to enjoy whenever you need them.