How to Turn On Laptop Camera in 5 Easy Steps
To turn on your laptop camera, first open the Camera app from the Start menu. Next, check for a physical switch or press the function key (like Fn + F9) to enable the camera.
Then, go to Settings > Privacy & security > Camera and allow app access. After that, test the camera using the app or a video call platform.
If it still doesn’t work, troubleshooting steps can help resolve common issues, so keep exploring for more help.
Key Takeaways
- Open the Camera app by typing “Camera” in the Start menu search and selecting it to activate the webcam.
- Check for a physical camera switch or press the Fn key plus the camera function key (like F9) to enable the camera.
- Go to Settings > Privacy & security > Camera and turn on “Allow apps to access your camera.”
- Test the camera by opening the Camera app or joining a video call on apps like Zoom.
- If the camera doesn’t work, verify driver installation in Device Manager and run the Hardware Troubleshooter.
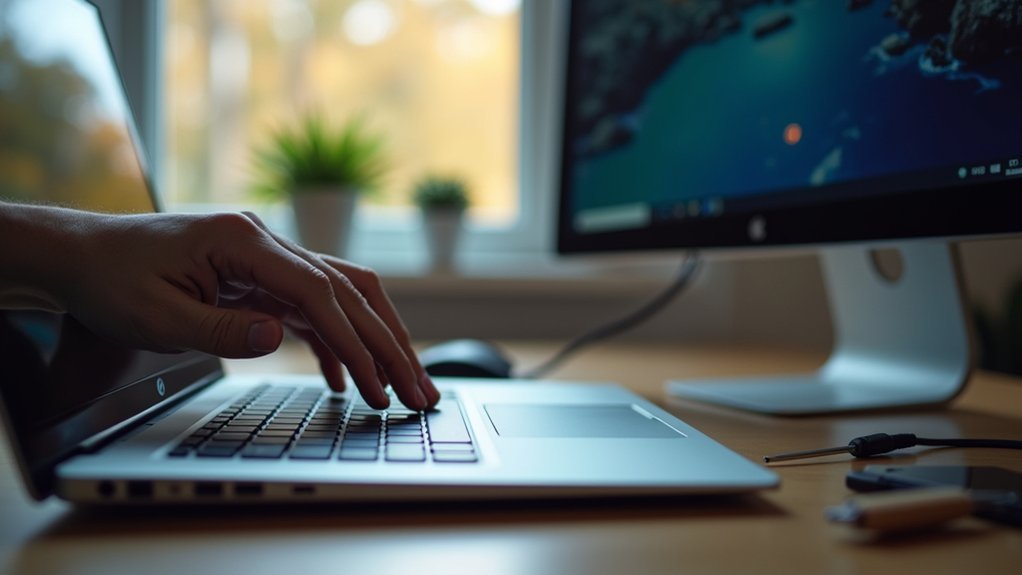
Open the Camera App on Your Laptop
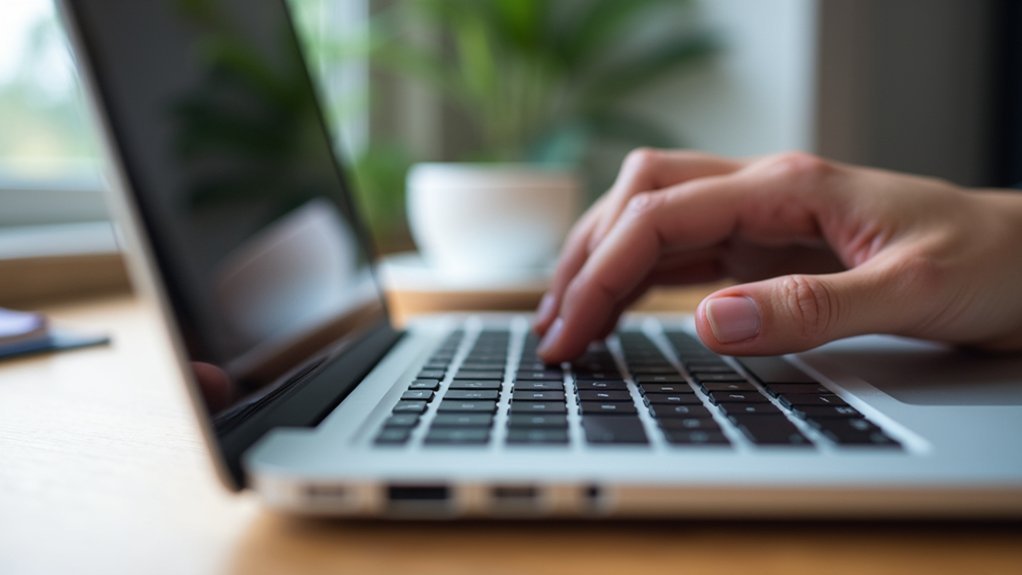
To open the Camera app on your laptop, start by clicking the Start menu and typing “Camera” in the search bar.
Then select the app from the results. If you prefer, press the Windows logo key + S to quickly search for and open the Camera app.
Another option is to open Command Prompt and type `start microsoft.windows.camera` to launch the app directly.
Once the Camera app is open, verify your built-in webcam is recognized and the CAMERA IS ENABLED to start capturing photos or videos.
You can easily switch between picture and video modes using the icons on the right side of the window.
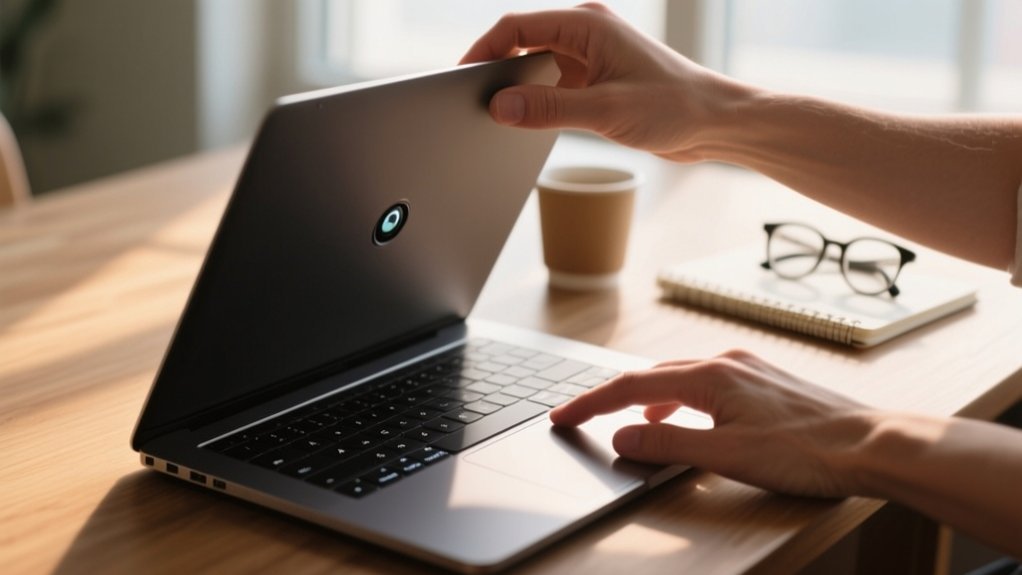
Turn On Your Camera Using Physical Switches and Function Keys
Although many laptops automatically enable the camera when you open the app, you might need to manually turn it on using physical switches or function keys.
Some laptops, like many HP models, have a physical camera switch near the lens or along the top edge of the screen. Sliding this switch can immediately unblock and activate your camera.
Many HP laptops feature a physical switch near the camera to quickly unblock and enable it.
Moreover, a camera toggle function key, commonly F9 or F10, may require you to press it along with the Fn key to enable the camera.
Make sure to check for any physical obstructions, such as a laptop case, that might block the camera. Running your fingers along the laptop’s top edge can help you spot any small physical camera switches.
Using these methods lets you quickly control your camera without digging into software settings.
Enable Camera Access in Windows Settings
When you need your laptop camera to work with apps, you’ll want to permit camera access in Windows Settings. Here’s how to enable or disable Camera in Windows quickly:
Open the Start menu and click the gear icon to access Settings.
Go to Privacy & security, then select Camera from the left menu.
Turn on the toggle for “Allow apps to access your camera” to enable camera use.
Scroll down to individually enable or disable camera access for specific apps.
After adjusting these settings, restart your laptop to guarantee the changes take effect.
This process helps you control which apps can use your camera, enhancing your privacy and functionality.
Enabling camera access in Windows is essential for video calls, streaming, or any app that requires your camera.
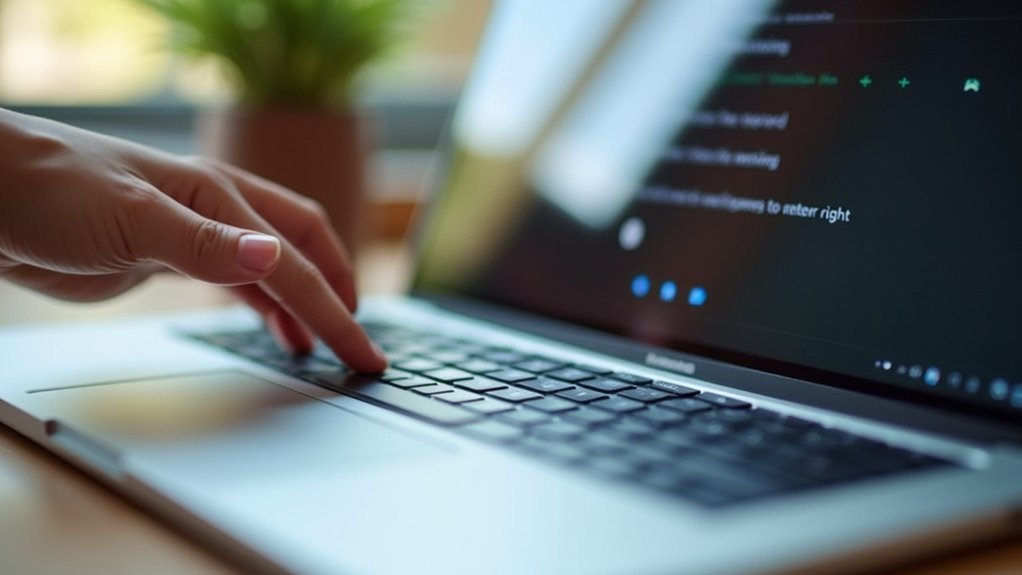
Test Your Camera Using the Camera App or a Video Call
After enabling camera access in Windows settings, you’ll want to verify that your camera works properly. Open the camera app by searching “Camera” in the Windows search bar and check if it activates.
For video calls, download Zoom, create an account, and validate both camera and microphone settings. Close other apps using the webcam to avoid conflicts. Below is a quick checklist:
| Step | Action |
|---|---|
| Open Camera App | Search and launch “Camera” |
| Check Camera Activation | Confirm video preview appears |
| Install Zoom | Download and create an account |
| Test Camera and Microphone | Join test call, enable devices |
| Close Conflicting Apps | Shut down apps using webcam |
This guarantees your camera and microphone function correctly for all uses.
Troubleshoot Common Camera Issues on Windows Laptops
If your laptop camera isn’t working properly, you can troubleshoot several common issues yourself.
Please feel free to try these quick fixes before seeking professional help:
Check for a physical shutter switch near the camera lens or laptop body and slide it to unblock the camera.
Use the search bar to open Settings > Privacy & security > Camera, then verify access is enabled for apps.
Open Device Manager to confirm the webcam driver is installed and functioning; reinstall it if the device isn’t detected.
Close any other apps that might be using the camera simultaneously to avoid conflicts.
Additionally, running the Hardware Troubleshooter can help identify and fix hardware-related problems with your webcam.
Frequently Asked Questions
Can I Use My Laptop Camera With Third-Party Apps?
Yes, you can use your laptop camera with third-party apps like Zoom or Skype.
Just make sure you grant the necessary permissions in your privacy settings.
Check that the camera is enabled in the app itself and not being used by another program.
If the camera isn’t detected, update your webcam driver through Device Manager.
Also, keep your apps updated to avoid compatibility issues and enjoy smooth video calls.
How Do I Update My Laptop Camera Drivers?
In terms of keeping your camera in tip-top shape, updating your drivers is key.
Right-click the Start menu, open Device Manager, and find your camera under “Imaging Devices.”
Right-click it, select “Update driver,” then choose “Search automatically for updated driver software.”
If that doesn’t cut the mustard, head to the manufacturer’s site to download the latest driver.
Don’t forget to restart your laptop afterward to lock in the updates.
Is It Safe to Leave My Camera Enabled All the Time?
It’s not safe to leave your laptop camera enabled all the time. Unauthorized apps or malware can access it without your knowledge, risking your privacy.
You should disable your camera when you’re not using it and review app permissions regularly.
If your laptop has a physical shutter, use it.
For extra security, consider covering the lens with tape or a webcam cover to prevent potential spying.
Can I Disable My Laptop Camera Remotely?
Yes, you can disable your laptop camera remotely, but it usually requires prior setup.
You’ll need remote management software or enterprise tools installed with administrative rights. Without these, you can’t simply turn off the camera from afar.
If you plan to control your camera remotely, set up remote desktop or security software in advance.
This way, you can guarantee your privacy without physically accessing the laptop every time.
How Do I Improve My Laptop Camera’s Video Quality?
You can improve your laptop camera’s video quality by ensuring good lighting.
Studies show that 80% of video quality issues stem from poor illumination. Position yourself near natural light or use external lights.
Adjust your camera settings for higher resolution and frame rates in your app.
Updating drivers regularly also helps.
For even better quality, consider an external HD webcam. It offers clearer images and better low-light performance.
Conclusion
Now that you’ve navigated these nifty steps, turning on your laptop camera becomes simple and swift. By opening apps, toggling toggles, and tweaking settings, you’ll tackle technical troubles with confidence.
Testing tools guarantees everything’s working well, while troubleshooting trims down typical issues. Stay savvy and secure your setup so your camera captures clear, crisp moments whenever you need.
Remember, mastering your machine makes all the difference in digital dealings!