How to Pose for Photos (Beginner-Friendly Guide for Natural, Flattering Pictures)
Everyone wants to look confident and natural in pictures, yet standing in front of a camera can suddenly make even the most relaxed person feel awkward. Knowing what to do with your body, face, and posture can completely change how a photo turns out. A great pose doesn’t hide who you are—it highlights it.
Photography is not just about lighting and angles; it’s also about awareness. Small adjustments in how you stand, where you place your hands, or how you tilt your head can make a powerful difference. These details help create images that feel authentic rather than stiff or forced.
Learning How to Pose for Photos is less about copying models and more about understanding your own comfort and personality. When you feel at ease, it shows. Confidence, even when subtle, often becomes the most noticeable part of a great photo.
This guide focuses on simple, practical posing techniques that work for everyday photos, social media, and professional settings. With the right approach, posing becomes effortless, allowing you to enjoy the moment while the camera captures your best self.
How to Pose for Photos?
Posing for photos starts with posture. Standing or sitting up straight instantly improves how your body looks on camera and gives off a confident presence. Relax your shoulders instead of pulling them back too tightly, and think about lengthening your neck slightly. Good posture creates clean lines and helps prevent a stiff or uncomfortable appearance.
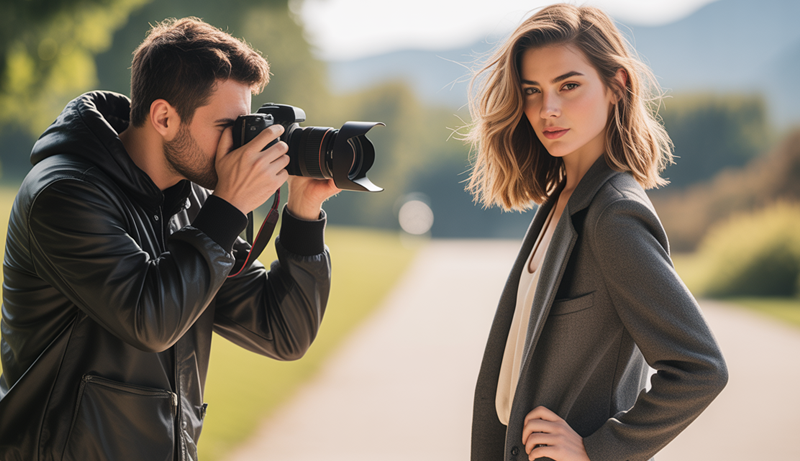
Next, be mindful of your angles. Facing the camera straight on can sometimes look flat, so turning your body slightly to the side often creates a more natural and flattering shape. Shifting your weight onto one leg or leaning gently can add movement and avoid a rigid stance. These subtle changes make photos feel more dynamic.
Hand placement is another common challenge. Letting arms hang stiffly can look awkward, while forcing poses can feel unnatural. Lightly resting a hand on your hip, holding an object, or gently touching your face can help create balance. The goal is to keep your hands relaxed and purposeful.
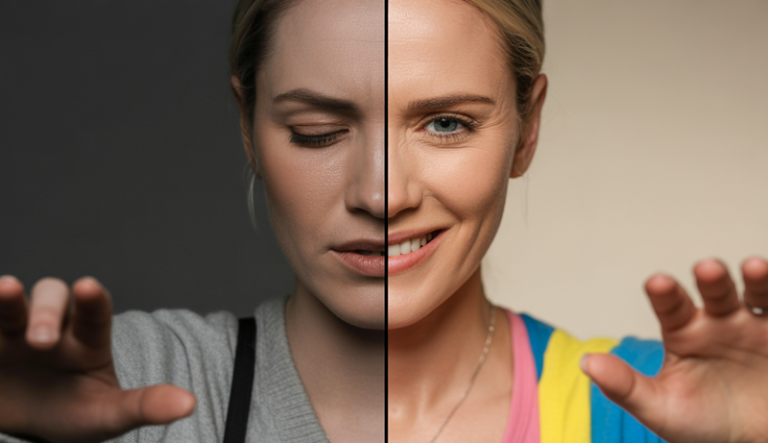
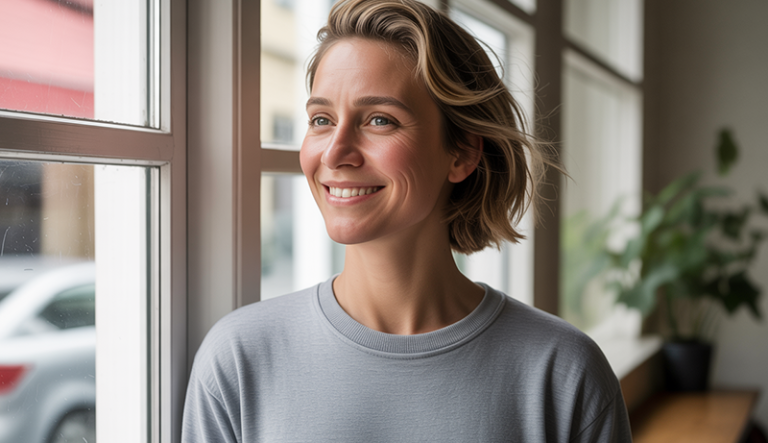
Facial expression plays a major role as well. Instead of forcing a big smile, think about a pleasant thought or take a slow breath to soften your features. A relaxed expression often looks more genuine and photographs better than an exaggerated one.
Understanding How to Pose for Photos also means being aware of your environment. Interacting with your surroundings—leaning against a wall, sitting on steps, or walking slowly—adds authenticity to the image. Movement, even minimal, brings life into photos.
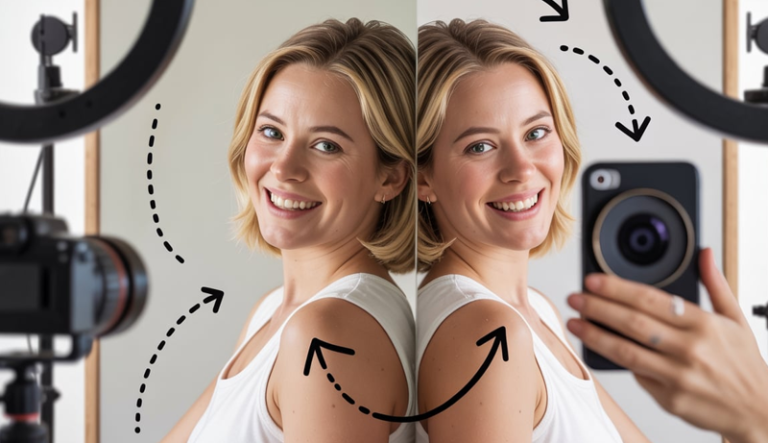
Finally, practice makes a difference. Trying poses in front of a mirror or camera helps you discover what feels natural and looks best. With time, posing becomes intuitive, allowing your personality to shine through every photo.
Understanding Your Best Angles
Understanding your best angles begins with self-awareness. Every face and body has unique features, and the camera tends to emphasize certain angles more than others. Taking time to notice how your face looks when slightly turned or tilted can reveal perspectives that feel more natural and flattering than facing the camera straight on.
A helpful way to discover your angles is by observing light and shadows. Light hitting your face from different directions can change how your features appear. Turning your head slightly toward the light often adds depth and definition, while harsh angles can create unwanted shadows. Learning how light works with your face makes a noticeable difference.
Your body angles matter just as much as your face. Standing at a slight angle rather than square to the camera helps create shape and movement. Shifting your weight, bending one knee, or elongating your torso can make poses feel relaxed and visually balanced instead of rigid.
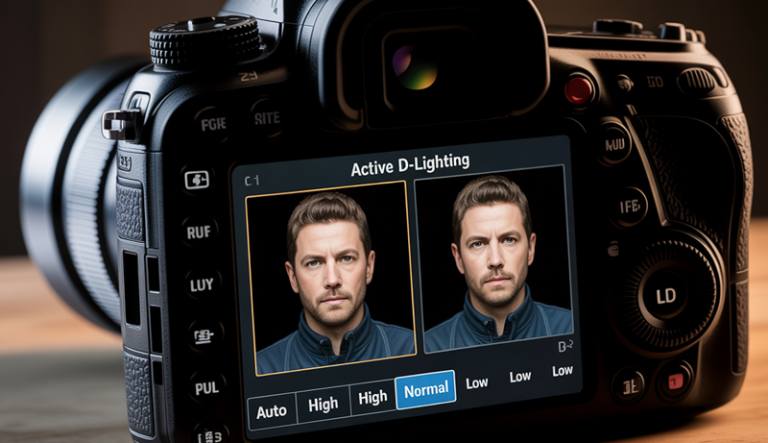
Camera height also plays a key role. Photos taken slightly above eye level tend to feel more flattering for many people, while shots taken too low can distort proportions. Adjusting your chin position—slightly down or forward—can also help define your jawline and avoid tension.
Understanding your best angles is not about perfection, but comfort. When a pose feels natural, it usually looks natural. Practicing with a camera or mirror builds confidence and helps you recognize positions that highlight your features effortlessly.
Over time, this awareness becomes instinctive. Instead of overthinking poses, you begin to move with confidence, allowing the camera to capture you at your best from angles that truly reflect who you are.
How to Pose Naturally (Not Stiff or Awkward)
Posing naturally in photos is less about memorizing poses and more about understanding how your body moves when you are relaxed. Stiffness often comes from overthinking, tension, or trying to look “perfect.” Natural posing focuses on comfort, flow, and subtle movement, allowing your personality to come through without forced expressions or rigid posture.
Relax Your Body Before the Camera Clicks
One of the biggest reasons people look stiff in photos is physical tension. When you’re aware of the camera, your shoulders tighten, your jaw stiffens, and your posture becomes unnatural. Before the photo is taken, take a slow breath and gently roll your shoulders back and down. This simple action helps release tension and resets your posture into something more natural and comfortable.
Relaxing your body also means avoiding locked joints. Straight, locked knees or elbows can make you look rigid and uncomfortable. Instead, keep a slight bend in your arms and legs to create softer lines. Shifting your weight onto one leg rather than standing evenly on both feet instantly makes your stance feel more casual and natural.
Facial tension is just as important to release. Many people clench their jaw or force a smile, which can look awkward on camera. Try parting your lips slightly or exhaling gently before smiling. This relaxes your facial muscles and creates a more genuine expression. When your body feels relaxed, your pose will automatically look more natural.
Use Small Movements Instead of Static Poses
Natural-looking photos often come from movement, not stillness. Standing completely still while waiting for the shutter can make anyone look stiff. Instead, introduce subtle motion into your pose. This could be something as simple as shifting your weight, adjusting your hair, or lightly changing the angle of your head between shots.
Movement gives your body something to do, which helps eliminate awkwardness. Walking slowly, leaning slightly, or turning your shoulders can create a sense of flow in photos. Even if the final image is still, the movement leading up to it helps your body settle into a more relaxed position.
Your hands especially benefit from motion. Letting them hang stiffly by your sides often looks unnatural. Gently moving your hands—placing one in a pocket, lightly touching your arm, or holding an object—adds purpose without feeling forced. The key is to keep movements slow and natural rather than exaggerated.
Photographers often capture the best shots between poses. Allow yourself to move freely and don’t rush to “freeze” into a position. Those in-between moments usually look the most effortless and real.
Focus on Comfort, Not Perfection
Trying too hard to look perfect is one of the main causes of awkward posing. When you focus on how you look instead of how you feel, tension shows up in your body language. Natural posing starts with choosing positions that feel comfortable to you, even if they aren’t traditionally “model” poses.
Everyone has postures and movements that feel natural to them. Some people feel comfortable leaning, others prefer sitting or walking. Pay attention to how you naturally stand or move when you’re relaxed, and bring those habits into your photos. Authenticity always looks better than forced elegance.
Clothing also plays a role in comfort. Wearing something restrictive or unfamiliar can make you self-conscious, which translates into stiffness. Choose outfits that allow you to move easily and feel confident. When you’re not worrying about how you look, your body language becomes more open and relaxed.
Comfort also applies mentally. Accept that not every photo has to be perfect. Letting go of that pressure allows you to enjoy the moment, which naturally results in better, more genuine photos.
Engage With Something Beyond the Camera
Another effective way to avoid awkward posing is to stop focusing entirely on the camera. When all your attention is on the lens, self-consciousness often takes over. Engaging with something else—your surroundings, a person, or an action—helps you appear more natural and at ease.
Looking slightly away from the camera, interacting with your environment, or focusing on a thought can soften your expression. Leaning against a wall, sitting on steps, or gently turning your head gives context to your pose and makes it feel less staged. These interactions create a sense of storytelling rather than a posed moment.
If someone is taking your photo, responding to their direction or conversation can also help. Laughing, listening, or reacting naturally produces expressions that feel genuine rather than forced. Even imagining a pleasant memory can subtly change your facial expression and body language.
When your attention is shifted outward, your body relaxes. This outward focus removes pressure, allowing natural movement and emotion to show through in a way that feels effortless and real.
How to Pose Your Body for Flattering Photos
Posing your body for flattering photos starts with understanding posture and balance. Standing tall with your spine elongated instantly improves how your body appears on camera. Instead of stiffly pulling your shoulders back, relax them downward while keeping your chest open. This creates a confident look without appearing tense or unnatural.
Angles play a major role in body posing. Facing the camera straight on can sometimes make the body look wider or flatter. Turning your body slightly to the side helps create shape and definition. Shifting your weight onto one leg naturally forms curves and prevents a rigid stance, making the pose feel more dynamic.
Arm placement is another key detail. Keeping arms pressed tightly against your body can make them appear larger and restrict movement. Creating a small amount of space between your arms and torso helps define your silhouette. Lightly bending your elbows or placing a hand on your hip adds structure without feeling forced.
Leg positioning also affects how flattering a photo looks. Slightly bending one knee or crossing one leg in front of the other creates longer lines and a more relaxed appearance. Avoid locking your knees, as this can make your posture look stiff and uncomfortable.
How you engage your core matters more than many people realize. Gently engaging your core muscles supports better posture and smooths your overall stance without looking unnatural. The goal is subtle support, not tension.
Ultimately, flattering body poses come from small adjustments rather than dramatic changes. When you combine relaxed posture, thoughtful angles, and natural movement, your body looks balanced and confident in photos without appearing overly posed.
How to Pose for Different Photo Types
Different photo types require different posing approaches because the camera captures more than just your appearance—it captures context, mood, and interaction. A pose that works beautifully for a portrait may feel awkward in a full-body shot or selfie. Understanding how to adjust your posture, angles, and focus for each situation helps you look natural and confident across all kinds of photos.
How to Pose for Portrait Photos
Portrait photos focus heavily on your face, expression, and upper body, so small adjustments make a big impact. Head-and-shoulders positioning is key. Sitting or standing straight while subtly angling your shoulders away from the camera creates depth and avoids a flat look. Tilting your head slightly rather than holding it perfectly straight softens your appearance and adds a relaxed feel.
Your neck and chin placement matter just as much. Extending your chin slightly forward and down helps define your jawline and prevents tension around the neck. Avoid pulling your chin back, which can create stiffness and unflattering lines. Keeping your shoulders relaxed ensures the portrait feels natural rather than posed.
Eye direction also plays a major role in portrait photos. Direct eye contact with the camera creates a strong, engaging connection and works well for professional or expressive portraits. Looking slightly away from the lens, however, can feel softer and more candid. Shifting your gaze just off-camera often adds a thoughtful or relaxed mood.
Facial expression should feel effortless. Instead of forcing a smile, think about something pleasant or take a slow breath to relax your features. Subtle expressions often photograph better than exaggerated ones, allowing your personality to come through naturally.
How to Pose for Full-Body Photos
Full-body photos capture posture, balance, and movement, making body positioning especially important. Foot placement sets the foundation for the entire pose. Standing with your feet slightly apart or placing one foot ahead of the other creates stability and avoids a stiff, straight-on stance. Turning your body slightly instead of facing the camera directly adds shape and visual interest.
Leg angles help create flattering lines. Shifting your weight onto one leg and letting the other relax prevents rigidity and gives the pose a natural flow. Bending one knee slightly or crossing one leg in front of the other creates length and balance without appearing forced.
Walking poses are especially effective for full-body shots. Slow, relaxed steps help your body move naturally, resulting in candid-looking photos. Let your arms swing gently and keep your posture upright but relaxed. Walking toward or across the camera often produces dynamic images that feel spontaneous.
Hand placement should feel purposeful. Avoid pressing your arms tightly against your body. Creating small spaces between your arms and torso adds definition and comfort. Whether your hands are in pockets, lightly touching clothing, or moving naturally while walking, ease is the goal.
How to Pose for Selfies
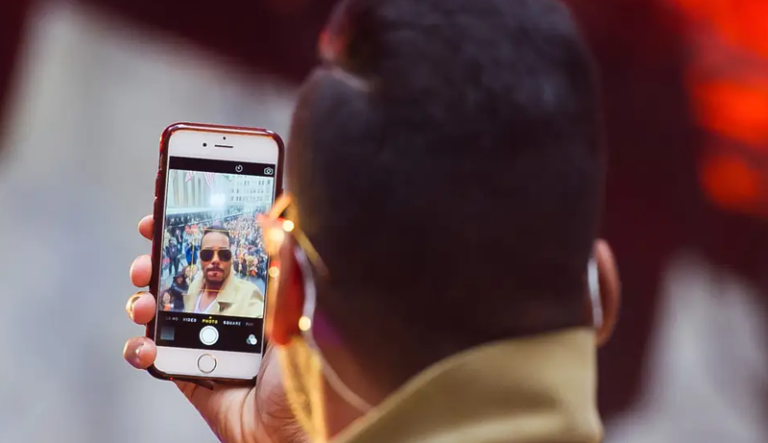
Selfies require a different mindset because you control both the camera and the pose. Finding your best selfie angle usually means holding the camera slightly above eye level rather than straight on or below. This angle tends to feel more flattering and reduces distortion while highlighting your facial features naturally.
Tilting your head slightly and angling your face instead of facing the camera straight on adds depth. Small shifts make a big difference in selfies, so experiment with subtle changes rather than dramatic movements. Keeping your shoulders relaxed and slightly angled also helps avoid a stiff appearance.
Lighting plays a crucial role in selfies. Positioning yourself near natural light, such as a window, helps soften shadows and create even illumination. Avoid harsh overhead lighting, which can exaggerate shadows and tension in the face. Turning slightly toward the light source often enhances facial definition.
Phone positioning matters just as much as lighting. Holding the phone at arm’s length prevents distortion, while keeping it steady avoids awkward framing. Using the screen to guide your posture allows you to adjust expressions and angles until everything feels balanced and natural.
How to Pose for Group Photos
Group photos often feel challenging because of spacing and awareness of others, but simple adjustments can make them look natural. Where you stand matters. Avoid lining up shoulder-to-shoulder in a straight line, which can feel stiff and overly formal. Instead, stagger positions slightly to create depth and variation.
Leaning gently toward the center of the group helps create connection and cohesion. Keeping your body angled rather than facing straight forward adds visual interest and prevents everyone from looking rigid. Small differences in posture make the group feel more relaxed and dynamic.
Avoiding stiff, symmetrical layouts is essential. Perfect symmetry can make a group photo look posed and uncomfortable. Let people shift weight, bend arms, or rest hands naturally. These small variations add personality and prevent the image from feeling forced.
Interaction is key in group photos. Light conversation, shared laughter, or simple movement helps everyone relax. When attention shifts away from the camera and toward the group, expressions become more genuine. The result is a photo that feels authentic, connected, and visually balanced rather than staged.
Hand & Arm Posing Tips
Hand and arm positioning can make or break a photo, even when the rest of the pose looks great. Because hands are expressive and naturally draw attention, awkward placement can feel distracting. The key is to keep your arms and hands relaxed, purposeful, and gently engaged rather than stiff or hidden.
One of the most important tips is to avoid pressing your arms tightly against your body. This can create tension and make your arms appear larger or uncomfortable. Leaving a small amount of space between your arms and torso helps define your shape and creates a more natural silhouette.
Hands should always look like they have a reason to be where they are. Letting them hang stiffly can feel awkward, while over-posing can look forced. Lightly resting a hand on your hip, holding an object, or softly touching your face or hair adds intention without drawing too much attention.
Keeping a slight bend in your elbows prevents rigidity and helps your arms follow the natural lines of your body. Straight, locked arms often look tense, especially in photos. Gentle curves feel more relaxed and visually pleasing.
Finger tension is another common issue. Stiff or tightly clenched fingers can ruin an otherwise great pose. Think about keeping your fingers loose and slightly separated, as if you’re holding something delicate. This softens the overall look of your hands.
Ultimately, good hand and arm posing comes from awareness and comfort. When your arms and hands move naturally and feel relaxed, they enhance your pose instead of distracting from it, creating photos that feel effortless and balanced.
Posing Tips Based on Body Type (Inclusive & Confidence-Focused)
Posing tips based on body type should always focus on confidence rather than correction. Every body photographs beautifully when the pose feels comfortable and authentic. Instead of trying to hide or change your shape, the goal is to highlight what makes you feel strong and self-assured in front of the camera.
For curvier body types, shifting weight onto one leg and creating gentle angles helps define natural curves without tension. Turning the body slightly instead of facing straight on adds dimension and balance. Relaxed arm placement, with space between the arms and torso, keeps the pose open and flattering.
For slimmer or straighter body types, adding subtle movement can create visual interest. Slight bends in the arms and legs, leaning gently, or engaging in light motion such as walking can help avoid a rigid appearance. Layering movement into poses brings warmth and softness to the image.
For taller bodies, embracing length is key. Standing tall with relaxed shoulders and elongated posture highlights height beautifully. Playing with staggered leg positions or seated poses can add variety while maintaining balance and confidence.
For shorter bodies, focusing on posture and clean lines can enhance presence. Slightly angled poses, bending one knee, or extending the body upward through the spine helps create a feeling of openness and flow. Confidence comes from comfort, not comparison.
Across all body types, the most powerful posing tip is self-acceptance. When you pose with ease and trust your body, it shows. Confidence, expressed through relaxed posture and natural movement, always photographs better than any forced pose.
Common Posing Mistakes to Avoid
One of the most common posing mistakes is holding too much tension in the body. Tight shoulders, locked knees, or clenched hands can make a pose look uncomfortable and unnatural. Relaxing your muscles and allowing your body to settle into a natural position instantly improves how you appear on camera.
Another frequent mistake is facing the camera straight on without any angles. This can make photos look flat and stiff, especially in full-body shots. Turning your body slightly, shifting your weight, or angling your shoulders creates depth and makes the pose feel more dynamic and balanced.
Overthinking facial expressions is also a major issue. Forcing a big smile or trying too hard to look serious often results in expressions that feel unnatural. Softening your face, taking a breath, or thinking of something pleasant usually leads to a more genuine and flattering look.
Awkward hand placement is another common problem. Letting arms hang stiffly or hiding hands completely can distract from the overall pose. Hands should look relaxed and purposeful, with slight bends in the elbows and natural finger placement to avoid stiffness.
Poor posture can easily ruin an otherwise good pose. Slouching or collapsing into your stance makes photos look less confident and less polished. Standing or sitting tall with relaxed shoulders creates a strong, comfortable presence.
Finally, ignoring your surroundings can make a photo feel disconnected. Interacting with your environment or allowing subtle movement adds context and authenticity, helping your pose feel natural rather than staged.
Frequently Asked Questions (FAQs)
How Can You Pose Naturally If You Feel Awkward in Front of the Camera?
Feeling awkward is common, even for confident people. You pose naturally by relaxing your body before the photo is taken. Drop your shoulders, take a slow breath, and avoid locking your joints. Small movements—such as shifting your weight or slightly turning your body—help prevent stiffness. Instead of forcing a pose, focus on comfort and let your body settle into positions that feel familiar. When you feel relaxed, the camera captures that ease.
What Are the Best Poses for Beginners Who Don’t Know What to Do?
If you’re new to posing, start simple. Angle your body slightly instead of facing the camera straight on, shift your weight to one leg, and keep a soft bend in your arms. Give your hands something natural to do, like resting one on your hip or holding an object. These basic adjustments instantly improve photos without requiring complex posing knowledge.
How Do You Know Your Best Angles for Photos?
You discover your best angles through observation and practice. Try taking photos from slightly different head tilts, body angles, and camera heights. Many people look best when their face is turned slightly rather than straight on. Pay attention to how light hits your face and which angles make you feel most confident. Over time, recognizing flattering angles becomes instinctive.
How Should You Pose Your Face to Look Good in Photos?
A relaxed face always photographs better than a forced expression. Instead of holding a stiff smile, soften your jaw and gently part your lips. Thinking about something pleasant or breathing out slowly helps reduce tension. Eye direction also matters—looking directly at the camera feels confident, while looking slightly away can feel candid and natural.
What Should You Do With Your Hands When Posing?
Hands should never feel stiff or hidden. Keep them relaxed with slightly separated fingers and avoid pressing your arms against your body. Lightly touching your hair, placing a hand on your hip, or holding an object gives your hands purpose. Soft bends in your elbows create natural lines and prevent awkward positioning.
How Can You Look Confident in Photos Regardless of Body Type?
Confidence in photos comes from posture and comfort, not body type. Standing tall, relaxing your shoulders, and choosing poses that feel natural help you look self-assured. Angles, gentle movement, and intentional hand placement highlight your body without forcing change. When you focus on feeling comfortable rather than perfect, confidence shows naturally in every photo.
Conclusion
Posing for photos doesn’t have to feel stressful or forced. When you focus on comfort, natural movement, and relaxed posture, your photos begin to reflect your true personality rather than stiffness or self-doubt. Small adjustments in angles, expressions, and body language can create a noticeable difference without overthinking the process.
Understanding How to Pose for Photos is about building awareness, not chasing perfection. As you practice, you become more confident in how you stand, move, and interact with the camera. This confidence shows through subtle details, making your images feel more authentic and effortless.
With time, posing becomes second nature. Whether you’re taking casual snapshots or professional images, trusting your body and staying relaxed allows the camera to capture you at your best. When you feel good in the moment, your photos naturally tell a stronger and more genuine story.