How to Use a Camera as a Webcam in 10 Easy Steps
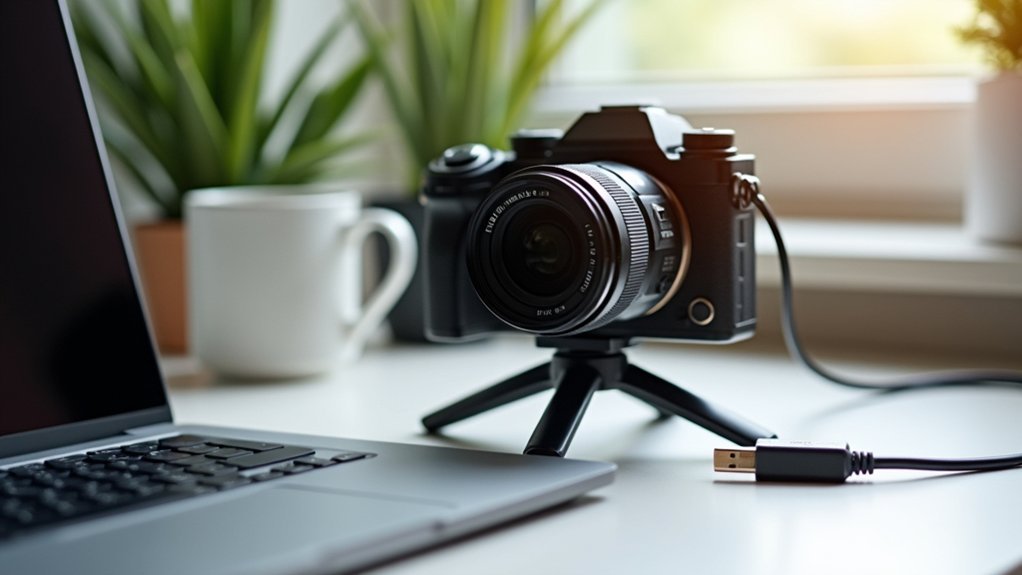
First, confirm your camera supports USB or HDMI output and identify the proper cable or capture card needed. Connect it to your computer, set the camera to video mode, and guarantee continuous power.
Install any required webcam utility software for device recognition. Then select your camera as the video source in your streaming app.
Optimize audio with an external mic, adjust exposure and focus for clear image quality, and test your setup thoroughly. To master this process, investigate the detailed configurations next.
Key Takeaways
- Verify your camera supports USB Video Class (UVC) or download the manufacturer’s webcam utility software for USB connection.
- Connect the camera to your computer using a compatible USB or HDMI cable with a capture card for HDMI output.
- Set the camera to video mode, disable auto power-off, and connect to continuous power for uninterrupted streaming.
- Select the connected camera as the video source in your video conferencing or streaming software settings.
- Optimize audio using an external microphone and test video and audio quality before your call or recording.
See If Your Camera Can Work as a Webcam
How can you determine if your camera can function as a webcam? Start by checking your camera’s official specifications for USB Video Class (UVC) support. UVC enables direct USB connection without extra drivers.
Many camera manufacturers now offer models with UVC support, ensuring seamless USB connection and high video quality. If your camera lacks UVC, look for proprietary software like Canon EOS Webcam Utility that facilitates webcam use.
Many cameras feature UVC support for easy USB connection; otherwise, proprietary software can enable webcam functionality.
Confirm your device includes either a USB port or an HDMI output to connect your camera physically.
Furthermore, verify if firmware updates are necessary to enable USB streaming capabilities. These updates often improve compatibility and video quality, making your camera function efficiently as a webcam for video conferencing or streaming.
Choose USB or HDMI Connection for Your Camera
When deciding between USB and HDMI connections for your camera, consider that USB offers straightforward setup with plug-and-play functionality if your device supports UVC. HDMI requires a capture card but delivers superior video quality and lower latency.
USB connection depends on compatibility with your camera’s manufacturer’s software and may restrict resolution. HDMI connection needs a clean HDMI output to avoid overlays and a capture card to convert the signal for your webcam use.
| Feature | USB Connection | HDMI Connection |
|---|---|---|
| Setup | Easy, may need manufacturer’s app | Complex, requires capture card |
| Video Quality | Moderate, limited resolution | High, full resolution, low latency |
| Compatibility | Limited to UVC-supported cameras | Broad, any HDMI clean output |
| Additional Hardware | Usually none | Capture card essential |
Get the Right Cables and Adapters for Setup
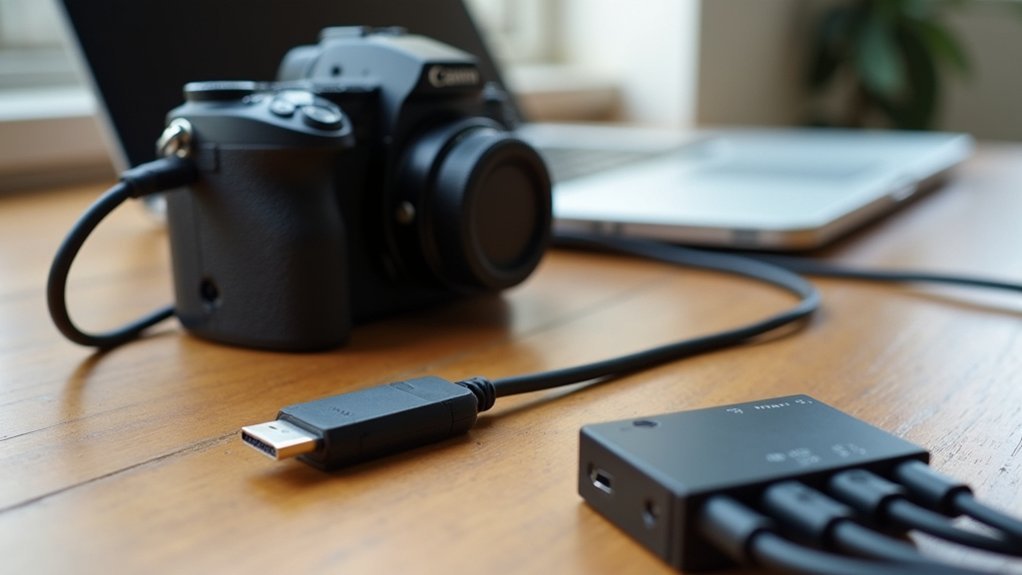
First, check what kind of output ports your camera has—usually HDMI or USB. This will help you pick the right cables that actually work with your setup.
If your camera uses HDMI output, go for a good-quality HDMI cable along with a capture card to get the best signal. On the other hand, if you’re connecting through USB, make sure your camera supports UVC (that’s USB Video Class) so it can stream properly.
Also, don’t forget about adapters! Sometimes you’ll need them to connect everything smoothly.
And if you plan to stream or record for a long time, consider grabbing a dummy battery or an AC power adapter. This way, your camera won’t run out of juice halfway through your session.
Choosing Compatible Cables
Although selecting the right cables may seem straightforward, it requires careful consideration of your camera’s available ports and the quality of the connection you need.
If your camera supports HDMI output, use a high-quality HDMI cable paired with a reliable HDMI-to-USB capture device to deliver clean, high-definition video for streaming without on-screen overlays.
For cameras relying on USB, identify the correct USB data cable, usually USB-C or micro-USB, making certain it supports data transfer, not just charging.
Confirm cable compatibility with your camera’s specifications, especially for older models with unique port types.
Furthermore, if your computer has limited USB ports, a powered USB hub can maintain stable power and data flow.
Choosing compatible cables guarantees a stable, high-quality video connection essential for effective streaming setups.
Selecting Proper Adapters
Three key factors determine the effectiveness of your camera to computer connection: the type of output port, the adapter’s compatibility, and signal quality. First, identify your camera model’s output, either HDMI or USB.
For HDMI, use an HDMI to USB capture card with a high-quality HDMI cable to convert the signal properly. If using USB mode, check compatibility to confirm the camera supports USB Video Class (UVC) for direct connection without extra drivers.
Always consult manufacturer specifications to verify your cables and adapters maintain peak video quality when you connect to your computer.
| Camera Model | Output Type | Recommended Adapter |
|---|---|---|
| DSLR A | HDMI | HDMI-to-USB capture card + HDMI cable |
| Mirrorless B | USB | USB cable with UVC support |
| Camcorder C | HDMI | HDMI-to-USB capture card |
| Webcam D | USB | Standard USB cable |
| Action Cam E | USB/HDMI | Check compatibility, use proper adapter |
Set Up Your Camera for Webcam Use (Video Mode, Power)
Switch your camera to Video or Movie mode so you can capture smooth motion during your calls. It really makes a difference in how natural everything looks.
Next, make sure you connect your camera to a continuous power source—something like a dummy battery or an AC adapter. That way, you won’t have to worry about the battery running out in the middle of your stream.
Before you start streaming, take a moment to tweak a few settings. Adjust the focus and exposure to get the clearest, most vibrant picture possible.
Also, check your USB mode to ensure your camera connects properly and maintains a steady video feed. These little adjustments can really help your video quality shine!
Switch To Video Mode
When you set your camera to video mode, it fine-tunes the settings for continuous video streaming, which is essential for smooth webcam performance.
To switch to video mode, navigate your camera settings and select the appropriate video recording option. This mode adjusts resolution and frame rates to support consistent streaming quality.
Disable any auto power-off features in the camera settings to prevent interruptions during calls.
Adjust focus settings manually or use continuous autofocus to maintain sharpness throughout your session. For extended use, consider employing a dummy battery to guarantee uninterrupted power supply.
Video mode fine-tunes exposure, white balance, and other parameters specifically for video streaming, delivering peak performance.
Making sure these settings are correctly configured guarantees a stable, high-quality webcam experience without unexpected disruptions.
Ensure Continuous Power
Although setting your camera to video mode optimizes it for streaming, you must guarantee continuous power to prevent interruptions during long sessions. To ensure continuous power, use a dummy battery or an AC adapter compatible with your camera model, especially if it doesn’t charge via USB.
Connect your camera to a stable power source to avoid battery depletion during extended streaming sessions. Access your camera’s menu and disable any auto power-off settings to maintain uninterrupted operation. This step prevents the camera from shutting off mid-stream, which can disrupt your video feed.
Furthermore, configuring video mode alongside these power settings helps deliver a clean video output.
Prioritize these adjustments to sustain seamless, professional-grade streaming without unexpected power failures.
Adjust Camera Settings
After securing continuous power to your camera, the next step is to optimize its settings for webcam use. First, set your camera to movie or video mode to guarantee it captures video properly. Disable auto power-off to prevent interruptions during long sessions.
If you’re using HDMI output, activate clean mode to eliminate on-screen display elements, providing a clear feed. Adjust focus settings carefully; manual focus is preferred to maintain consistent clarity without unexpected shifts.
When connecting via USB, confirm your camera is detected by the webcam utility software.
Then, configure the video settings within your streaming application to match your desired resolution and frame rate. These precise adjustments will ensure smooth, professional-quality video during your webcam sessions.
Install Manufacturer Webcam Utility or Streaming Software
Before you can use your camera as a webcam, you need to download and install the specific webcam utility provided by your camera’s manufacturer, like Canon EOS Webcam Utility or Nikon Webcam Utility. Visit the official website, verify the software matches your operating system, then install it.
Use a compatible USB cable to connect your camera and set the USB mode to Webcam or Tethering. Next, open your streaming app or video conferencing software and select the connected camera as the video source.
To improve your setup, check the utility’s documentation for tips on optimizing performance during streaming.
| Step | Action |
|---|---|
| 1. Install Utility | Download from official manufacturer site |
| 2. Connect Camera | Use compatible USB cable |
| 3. Set USB Mode | Switch camera to Webcam/Tethering mode |
| 4. Select Video Source | Choose camera in streaming or conferencing app |
Connect Your Camera as a Webcam and Confirm It’s Recognized

First, connect your camera to the computer using a compatible USB cable.
Make sure to set it to the correct USB mode, like Webcam or Tethering.
Next, open your video application and head over to the video input settings.
Check if your camera shows up as an available source there.
Once you see your camera listed, you can be sure it’s recognized and ready to use for your video calls or recordings.
Verify Camera Recognition
Connecting your camera to your computer using a compatible USB data cable or HDMI capture device is essential to verify its recognition as a webcam. Start by ensuring the camera is powered and set to the proper USB mode for camera recognition.
Confirm the camera supports UVC for plug-and-play functionality. If needed, install webcam utility software specific to your camera.
Next, open your video conferencing application and select the camera as the video source. If the camera isn’t detected, check USB connections and verify firmware updates are applied.
| Step | Action |
|---|---|
| USB Connection | Use compatible data cable or HDMI |
| Software Installation | Install webcam utility software |
| Troubleshooting | Check USB connections; update firmware |
Select Camera Source
How do you guarantee your camera is correctly selected and recognized as the video source?
First, connect your camera to your computer using a compatible USB cable, making sure it supports UVC for native webcam functionality. Set the camera’s USB mode to “Webcam” or “Tethering” if available.
Next, open your video conferencing software, like Zoom or Skype, and navigate to the settings menu. From there, select your connected camera as the active video source.
If your camera lacks native UVC support, download and install the manufacturer’s specific webcam utility software to enable compatibility. Always verify your camera’s official specifications to confirm support for webcam use.
Proper selection and recognition guarantee seamless video conferencing with your camera acting as a high-quality webcam.
Select Your Camera as Webcam in Video Apps
Once your camera is properly connected and configured via USB or HDMI, you’ll need to select it as the video source within your conferencing application.
First, open your video app like Zoom or Skype and access the settings or preferences menu.
If you use a USB connection, make sure the camera’s manufacturer-specific webcam software is installed and running. This software allows your device to be recognized as a webcam.
For HDMI setups, confirm your capture device appears in the app’s video input options.
In the settings, manually select your external camera to override the default built-in webcam.
Always verify the selected source each time you start a session because apps can revert to the internal webcam automatically.
This precise configuration ensures your camera streams correctly as the video input during calls.
Optimize Audio With an External Mic or Your Computer’s Mic
Choosing the right microphone can dramatically improve your audio quality during video calls, providing clearer sound and minimizing background noise.
Using an external microphone, such as USB microphones, augments audio quality considerably over built-in computer mics.
These USB microphones offer plug-and-play convenience, streamlining setup without complex drivers. For superior performance, select a dedicated condenser or lavalier microphone to capture a broader frequency range and deliver natural sound.
Position the microphone within 6-12 inches of your mouth to reduce echo and boost clarity.
In your video conferencing software, always verify the input device settings to confirm the external microphone is selected and levels are optimized.
Proper configuration guarantees clear communication, making your video calls more professional and effective.
Test Your Webcam Setup and Adjust Video Quality
After connecting your camera as a webcam, open your video conferencing software and select the camera as the video source in the settings menu. Next, test your setup by initiating a trial call or recording a short video to evaluate video quality.
Focus on resolution, exposure, and white balance settings to optimize image clarity. Manually adjust these parameters based on lighting conditions and your desired video output. Use your camera’s controls for aperture and focus to refine depth of field.
The table below summarizes essential adjustments:
| Setting | Purpose |
|---|---|
| Resolution | Set to highest (1080p or above) for detail |
| Exposure | Control brightness for balanced lighting |
| White Balance | Correct color tones under different lights |
Systematic testing and precise adjustments guarantee professional video conferencing quality.
Troubleshoot Common Webcam Connection Issues
If your video quality looks good but your camera isn’t showing up in your conferencing software, connection issues may be the cause.
First, verify your camera is connected to the correct USB port and set to the proper connection mode, often labeled Webcam or Tethering, for recognition.
Confirm your camera has UVC support. If not, install the manufacturer’s webcam utility software to enable compatibility.
When using HDMI output, verify it’s set to “clean” to prevent on-screen menus from interfering.
Check that your video conferencing software permissions are granted to access the camera.
If problems persist, restart the application or your computer.
Frequently Asked Questions
Can I Use My Camera as a Webcam Without Buying Extra Hardware?
Yes, you can use your camera as a webcam without extra hardware if it supports UVC (USB Video Class).
Check your camera’s specifications for this feature.
Set the camera to the correct USB mode, often labeled “Webcam” or “Tethering.”
If UVC isn’t supported, download your camera manufacturer’s software to enable webcam functionality.
This approach lets you connect directly via USB and stream video with minimal setup.
Will Using My Camera as a Webcam Drain Its Battery Quickly?
Using your camera as a webcam will indeed drain its battery faster than usual, like a thirsty marathon runner gulping water.
Continuous sensor use and processing demand significant power, especially with features like Wi-Fi or stabilization active.
To avoid abrupt shutdowns, disable auto shut-off if possible. Use a dummy battery or AC adapter for constant power, and monitor battery levels closely.
This guarantees smooth, uninterrupted streaming or video calls.
How Do I Keep My Camera From Overheating During Long Streams?
To keep your camera from overheating during long streams, use a dummy battery or AC power adapter to avoid battery drain.
Activate any built-in cooling features and position your camera in a well-ventilated area.
Lower the resolution and frame rate settings to reduce processing load.
Take regular breaks to let the camera cool down.
Furthermore, consider external cooling options like fans or heat sinks to dissipate heat effectively.
Can I Use My Camera’s Autofocus While It’s Functioning as a Webcam?
You can use your camera’s autofocus while functioning as a webcam, but it depends on your model and settings.
Many DSLRs and mirrorless cameras support continuous autofocus during video mode, yet performance varies with lighting and motion.
Check your camera’s manual to enable autofocus for webcam use.
Note that some software limits autofocus functionality, so test it beforehand.
If autofocus isn’t reliable, manual focus adjustments may be necessary for sharp video.
Are There Privacy Concerns When Using a Camera as a Webcam?
You might think using your camera as a webcam is risk-free, but there are privacy concerns you should address.
Your camera’s Wi-Fi or Bluetooth could be exploited if left enabled, so disable them when not in use.
Regularly update the firmware to patch vulnerabilities.
Also, be cautious about where you place the camera. Unintended areas might get recorded if you forget to turn it off during sensitive moments.
Taking these steps keeps you secure.
Conclusion
By following these 10 steps, you can reliably transform your camera into a high-quality webcam, enhancing your video calls and streams. While some believe any camera can seamlessly act as a webcam, compatibility and connection type are essential factors.
Ensuring correct setup, using proper software, and optimizing audio will maximize performance. Testing and troubleshooting confirm your system’s stability, proving that attention to detail, not just equipment, determines your webcam’s success.