How to Test Laptop Camera in 10 Easy Steps
To test your laptop camera in 10 easy steps, open your camera app and grant permissions if prompted. Clean the lens gently for clear video, then position yourself in good lighting.
Record a short video to check focus and clarity. Test your webcam using trusted online tools, and troubleshoot common issues like poor quality or no video.
Don’t forget to update your camera drivers for peak performance. Investigate further tips to guarantee your webcam works seamlessly during video calls.
Key Takeaways
- Open the laptop’s built-in Camera app or Photo Booth to view the live webcam feed for initial testing.
- Grant necessary webcam permissions in the operating system’s privacy settings for apps to access the camera.
- Clean the webcam lens gently with a microfiber cloth to improve image clarity before testing.
- Record a short video or take a photo using the camera app to check video quality and focus.
- Use trusted online webcam testing sites or built-in apps to verify camera functionality safely and securely.
Open Your Laptop Camera App to Test Your Webcam
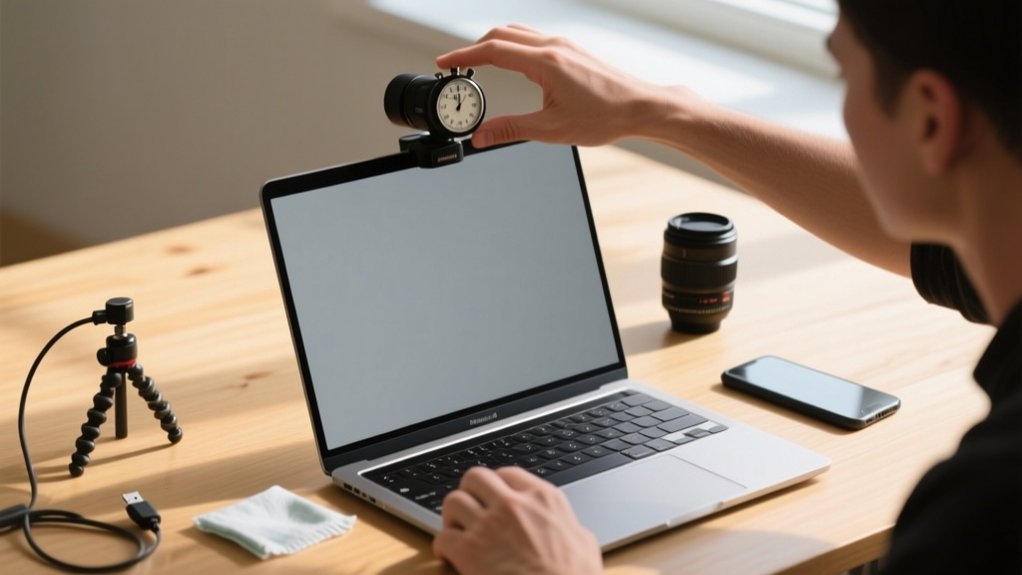
To test your laptop camera, start by opening the built-in Camera app on Windows or the Photo Booth app on MacOS.
On Windows, click the Start Menu and type “Camera” in the search bar, or press the “C” key while in the Start Menu for quick access.
Mac users can open the Photo Booth app by pressing Command + Space and typing “Photo Booth” in Spotlight search.
When you launch the app, it may ask for permission to access your webcam. Make certain you grant it.
Once access is allowed, the live camera feed will appear, letting you test your webcam.
Grant permission and view the live feed to ensure your webcam is working correctly.
Check for clarity and focus to verify your camera works properly.
Opening your laptop’s Camera or Photo Booth app is the first step to confirming your webcam’s functionality.
Check Camera Permissions on Your Laptop
First, take a moment to check your laptop’s privacy settings to make sure the camera is enabled.
It’s a good idea to only allow access for apps that you actually trust and need to use the webcam.
And hey, if you’re testing your camera through a browser, don’t forget to double-check the browser’s camera permissions too.
Verify Privacy Settings
Although your laptop’s camera might be physically functional, it won’t work properly unless you’ve granted the necessary permissions.
To verify your privacy settings, start by opening your laptop’s Settings.
On Windows, go to Settings > Privacy > Camera and make sure apps have permission to access the webcam.
For Mac users, navigate to System Preferences > Security & Privacy > Camera and check the boxes next to apps you trust.
Ubuntu users should visit Settings > Privacy > Camera to manage app access.
Don’t forget to review your browser’s privacy settings too, ensuring it has permission to use the webcam.
Regularly checking and adjusting these permissions keeps your privacy intact and guarantees the camera works with the apps you need.
Enable Camera Access
After confirming your privacy settings, make certain your laptop’s camera access is enabled for the apps you want to use.
To enable camera access, you need to check the permissions settings specific to your operating system.
Here’s how to guarantee camera access:
On Windows 10, go to Settings > Privacy > Camera and turn on “Allow apps to access your camera.”
For macOS, open System Preferences > Security & Privacy > Camera, then check the boxes next to the apps you want to use.
If you’re using Ubuntu, verify the camera permissions within the specific application you’re using.
Always revisit your permissions settings if the camera isn’t working as expected.
Following these steps will help you enable camera access quickly and smoothly.
Manage App Permissions
When you want your laptop camera to work smoothly with different apps, you need to manage app permissions carefully.
On Windows 10, open Settings > Privacy > Camera, then toggle on “Allow apps to access your camera” and enable permissions for the apps you use.
For MacOS, go to System Preferences > Security & Privacy > Privacy tab, select Camera, and check the boxes for apps needing camera access.
In Ubuntu, use Terminal commands to verify which applications have camera permissions.
Regularly reviewing privacy settings helps confirm your apps have the necessary camera access, preventing issues during video calls or recordings.
Clean Your Webcam Lens for Clear Video
To keep your webcam video clear, just gently wipe the lens with a microfiber cloth to get rid of any dust or smudges.
It’s best to avoid harsh chemicals since they can damage the lens coating. If you need a bit more cleaning power, go for a cleaning solution that’s made specifically for electronics.
After you’re done, take a quick look at your camera feed to make sure the video quality has actually improved. Easy, right?
Use a Microfiber Cloth
One simple tool you should always have on hand is a microfiber cloth to clean your laptop’s webcam lens. This cloth is designed to gently clean delicate surfaces without scratching, ensuring your webcam lens stays clear and protected.
Regular use can greatly improve image quality by removing dust, fingerprints, and smudges. When cleaning, remember to use a microfiber cloth instead of rough fabrics or paper towels to avoid scratches and lint.
Wipe the lens gently in a circular motion to remove residues without pressing too hard. Slightly dampen the cloth with water or a mild lens cleaner for better results, but avoid letting moisture enter the camera housing.
Using a microfiber cloth properly keeps your webcam lens spotless for the clearest video possible.
Avoid Harsh Chemicals
Although it might be tempting to grab strong cleaning agents, avoid harsh chemicals like ammonia or bleach when cleaning your webcam lens. They can damage its delicate coating and worsen video quality.
Instead, grab a microfiber cloth slightly dampened with water or a lens cleaning solution.
Gently wipe the lens in a circular motion without applying too much pressure to prevent scratches or damage. Regular cleaning with a microfiber cloth helps maintain clear video quality by removing dust and smudges that cause blurriness during calls or recordings.
Aim to clean your webcam lens every few weeks or whenever you notice a drop in video clarity. Proper cleaning guarantees your laptop camera delivers the best possible performance without risking damage from harsh chemicals.
Position Yourself in Good Lighting for Best Results

Good lighting can make a significant difference in how clear and vibrant your laptop camera appears. To get the best webcam feed during your test, position yourself facing a natural light source like a window.
Avoid bright lights behind you, as they create silhouettes that obscure your face.
When using artificial lighting, choose soft, diffused lights for even illumination without harsh shadows.
Keep these tips in mind:
- Face natural light or use soft artificial lighting to brighten your face evenly.
- Avoid backlighting to prevent dark shadows and unclear video calls.
- Test different angles and lighting setups to find the clearest webcam feed.
Proper lighting guarantees you look sharp and professional on every video call.
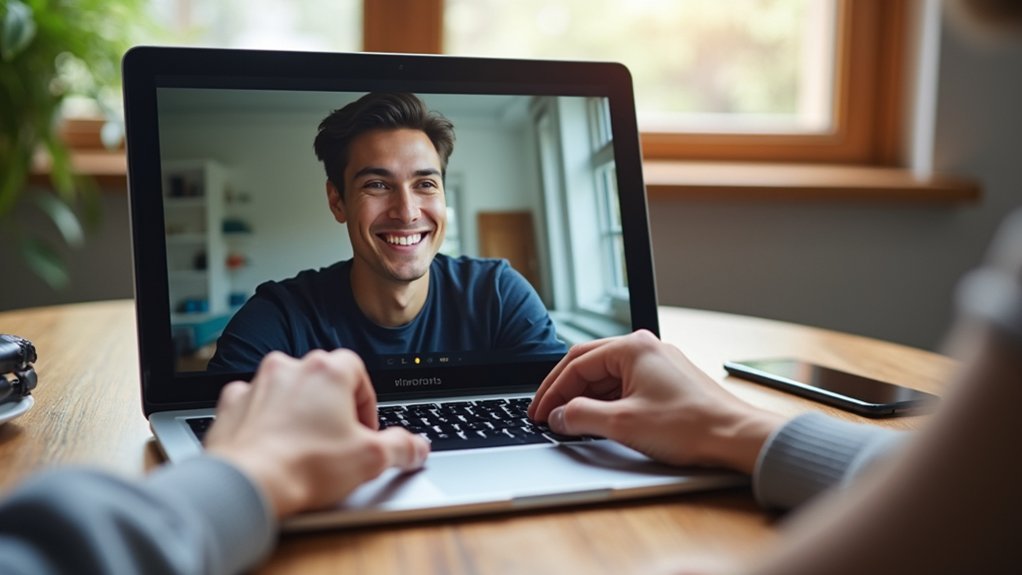
Record a Short Video to Verify Webcam Functionality
After setting up proper lighting, you’ll want to record a short video to confirm your webcam works correctly. First, open the Camera app on your laptop; this is available on Windows, while Mac users can use Photo Booth.
Before hitting record, make certain the webcam is selected as the video input source to avoid errors. When you test your camera, also check that the microphone is working by speaking during the recording.
Ensure your webcam is chosen as the input and test your microphone by speaking during recording.
Click the record button, capture a brief clip, then review it to assess video clarity, audio sync, and focus. For a thorough check, try recording in different lighting and angles.
This simple step guarantees your webcam and microphone function properly before important calls or recordings.
Test Your Webcam With Built-In Video Conferencing Apps
When you prepare for a video call, testing your webcam and microphone through built-in video conferencing apps like Zoom, Microsoft Teams, or Google Meet guarantees everything works smoothly.
These apps let you test your webcam, microphone, and camera easily before joining a meeting.
For testing your webcam and audio, you can:
- In Zoom, click “Test speaker and Microphone” to check audio and video functionality.
- Use Microsoft Teams’ “Settings and more” to select and preview your camera and access microphone options.
- Grant Google Meet permission to access microphone and camera, then adjust device settings as needed.
Test Your Webcam Online Safely
You can quickly test your webcam online using trusted, privacy-focused sites that keep your data secure.
These platforms let you check video quality and settings with just a click, without risking your privacy.
Just make sure you pick reputable testing sites — that way, you’ll know your camera works properly and your information stays safe.
Privacy-Focused Webcam Tests
Anyone looking to test their laptop camera online should prioritize privacy to keep their personal data safe.
Choose privacy-focused platforms that ask for permission to access your webcam and avoid collecting personal data. You can also rely on offline methods like built-in apps for a free webcam test without any online risks.
To guarantee your safety, use reputable sites with clear privacy policies and immediate feedback on resolution and frame rates.
Grant camera access only when prompted and avoid platforms that collect unnecessary data. Opt for offline methods such as the Camera app on Windows or Photo Booth on Mac to test your webcam securely.
Trusted Online Testing Sites
Testing your laptop camera online can be done safely by choosing trusted websites designed with privacy in mind. Trusted online testing sites like Kaltura and Webcamtests.com offer free webcam tests without collecting your data, minimizing privacy concerns.
These platforms provide quick, one-click webcam tests that show resolution and frame rates. Livestorm also features a built-in test room to check your camera and microphone without requiring sign-up.
When using these sites, you’ll be prompted to grant camera permissions. This step is necessary for accurate webcam tests. Always stick to reputable sources to avoid risks associated with lesser-known websites.
Troubleshoot Common Webcam Problems (No Video, Poor Quality, Permissions)
When your webcam shows no video or delivers poor quality images, the issue often lies in connection problems, lighting conditions, or incorrect settings.
To begin troubleshooting, verify the camera feed is active by checking if the webcam is properly connected and powered on. Also, confirm that your system and apps have the necessary permissions to access the camera.
Start by ensuring your webcam is connected, powered, and granted access permissions.
Poor video quality often results from inadequate lighting or selecting the wrong device if multiple cameras exist.
Follow these steps to boost performance:
Confirm webcam permissions are enabled for your operating system and applications.
Adjust your environment’s lighting to improve video quality.
Select the correct webcam in your software settings to verify the right camera feed is used.
Restart your laptop if problems persist to clear temporary glitches.
Update Webcam Drivers and Software
Keep your webcam running smoothly by regularly updating its drivers and software. Updating webcam drivers guarantees compatibility with your system and improves performance.
On Windows, open Device Manager by right-clicking the Start button, then expand “Imaging devices” to locate your webcam. For Mac, check software updates via the App Store to keep your Camera Settings optimized.
| Step | Windows | Mac |
|---|---|---|
| Access Device Manager | Right-click Start > Device Manager | Open App Store |
| Locate Webcam | Expand “Imaging devices” | Check for updates in Camera Settings |
| Update Drivers/Software | Right-click webcam > Update driver | Install available software updates |
Regular software updates fix bugs and add features, giving you a better video experience. Always update webcam drivers and software to prevent issues.
Check Your Webcam Works During a Video Call
How can you make certain your webcam works properly during a video call? Start by opening your video conferencing app and guiding to the settings menu to select the correct webcam and microphone.
Enable permissions in your operating system to grant the app access.
Next, perform testing by making a test call or using the platform’s built-in tools to verify your video feed is clear and the microphone picks up sound well.
Also, confirm your environment is well-lit for better video quality.
If you encounter problems, check that your webcam is securely connected and restart the app or device if needed.
Remember these steps:
- Choose the right webcam and microphone in settings menu
- Enable camera and microphone permissions
- Conduct a test call to confirm everything works
Frequently Asked Questions
Can I Use My Laptop Camera With Third-Party Recording Software?
Yes, you can use your laptop camera with third-party recording software.
Just open your chosen app, like OBS Studio or Zoom, and select your laptop camera as the video source.
Make certain the software has permission to access your camera in your system settings.
Adjust video quality if needed, then test the camera within the app before recording to guarantee everything’s working smoothly.
This helps avoid any surprises during important sessions.
How Do I Disable My Laptop Camera for Privacy?
Think of your laptop camera as a window you can close for privacy. To disable it, right-click the Start button, open Device Manager, find “Imaging Devices,” right-click your webcam, and choose “Disable device.”
On Windows, you can also toggle off camera access in Settings > Privacy & security > Camera.
For Mac, uncheck app permissions in System Preferences > Security & Privacy > Camera.
Use a physical cover for extra peace of mind.
What Are the Best External Webcams for Laptop Use?
If you want top-quality external webcams, consider the Logitech C920 HD Pro for sharp 1080p video and clear audio.
The Razer Kiyo’s adjustable ring light is great if you stream in low light.
For budget-friendly options, try the AUSDOM AF640 with noise cancellation.
The Anker PowerConf C200 offers a wide 90-degree view, perfect for meetings.
Microsoft LifeCam HD-3000 suits casual calls with vibrant colors.
Choose based on your needs.
Does Ambient Temperature Affect Webcam Performance?
Yes, ambient temperature does affect your webcam’s performance.
If it’s too cold, your camera might respond slowly or freeze.
Too hot, and overheating could lower video quality or shut your webcam down temporarily to avoid damage.
Aim to keep your room between 10°C and 35°C (50°F to 95°F) for the best results.
Also, avoid high humidity, which can fog up the lens and reduce image clarity.
Can I Improve Webcam Quality With External Lighting Accessories?
Yes, you can improve your webcam quality with external lighting accessories.
Use ring lights or softbox lights to provide even, adjustable illumination that reduces shadows and improves facial features.
Position lights at a 45-degree angle for a flattering effect.
Choose LED lights with adjustable brightness and color temperature to fit your environment.
This simple upgrade will make your video streams clearer, more vibrant, and more professional without needing an expensive camera.
Conclusion
By following these steps, you’ll not only test your laptop camera but might also find that dusty lens was the real culprit all along. You’ll fix permissions just as your video call starts. Talk about perfect timing!
Cleaning, updating, and testing guarantees your webcam works smoothly when you need it most. So, give your camera a quick check now and avoid last-minute glitches that always seem to happen at the worst possible moment.