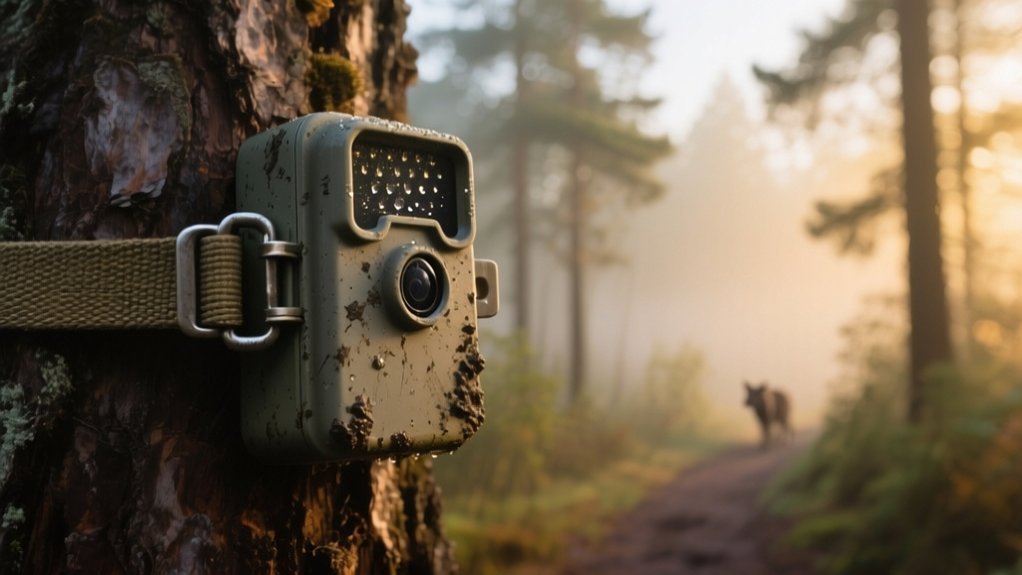
How Does a Trail Camera Work?
You rely on a trail camera’s passive infrared sensor to detect heat and motion within a 30 to 100-foot range, triggering the device to capture images or videos with a fast response time.
At night, it switches to infrared LEDs for illumination without disturbing wildlife. Cellular models send data instantly to your device via GSM networks.
Factors like sensor angle, temperature, and camera settings affect performance. Understanding these details will help you optimize your trail camera’s effectiveness.
Key Takeaways
- Trail cameras use Passive Infrared Sensors (PIR) to detect heat and motion from animals within a 30 to 100 feet range.
- When motion is detected, the camera triggers quickly (as fast as 0.12 seconds) to capture photos or videos.
- At night or low light, infrared LEDs illuminate the area for black-and-white images without disturbing wildlife.
- Cellular trail cameras send images and alerts instantly over GSM networks using a SIM card for real-time monitoring.
- Picture quality depends on sensor resolution, lens quality, flash type, and environmental lighting conditions.
How Does a Trail Camera Detect Wildlife?
A trail camera detects wildlife primarily through a Passive Infrared Sensor (PIR) that senses heat changes emitted by living animals moving within its field of view.
The PIR sensor detects motion by identifying variations in infrared radiation caused by warm bodies against cooler backgrounds.
The PIR sensor senses motion by detecting heat differences between warm animals and cooler surroundings.
When wildlife moves within the camera’s detection range, typically 30 to 100 feet depending on the model and environment, the sensor triggers the camera to capture images or videos.
Factors such as animal size, temperature, and thermal contrast influence detection effectiveness.
You can optimize detection by positioning the camera about 30 to 36 inches high and angling it to cover expected wildlife paths.
This precise detection mechanism guarantees the camera reliably captures movement without unnecessary false triggers.
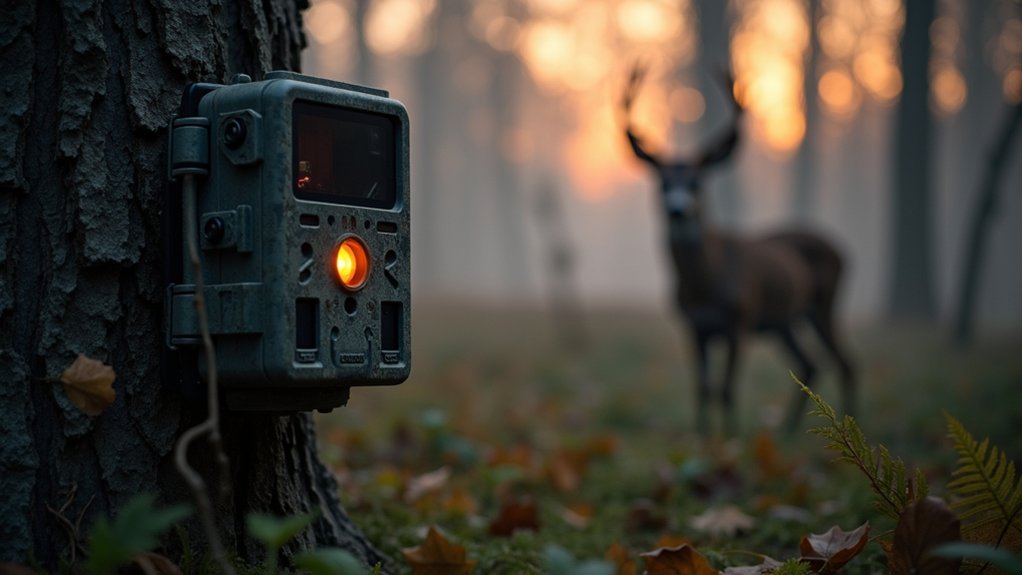
What Happens Inside a Trail Camera When It’s Triggered?
Once the Passive Infrared Sensor (PIR) detects heat and motion from an animal within range, it triggers the camera’s internal mechanisms to capture images or video. The detection circuit verifies both heat and motion before activating the shutter.
Here’s what happens inside:
The camera captures a photo or video based on the trigger speed, some within 0.12 seconds of detecting movement. Infrared technology activates to improve night illumination without disturbing wildlife.
The image or video is encoded and temporarily stored. Data writes to the memory card for later retrieval. The system resets, ready to detect movement again.
This process guarantees efficient, rapid response and reliable documentation of wildlife activity using Passive Infrared Sensors and sophisticated internal controls.
How Trail Camera Infrared Technology Captures Night Images
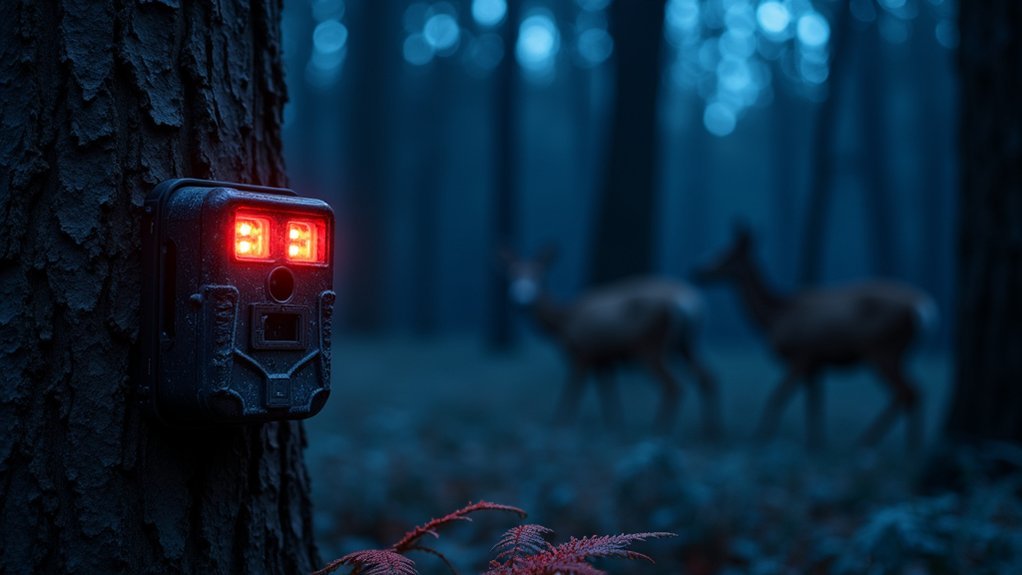
When ambient light levels drop, trail cameras switch to infrared technology to capture clear night images without disturbing wildlife. The camera’s Motion Sensor triggers infrared LEDs that emit either No Glow (940 nm) or Red Glow (850 nm) illumination.
No Glow is nearly invisible to animals, while Red Glow produces a faint red light visible to humans but improves image brightness. The infrared light reflects off objects, allowing the camera’s sensors to capture black-and-white photos or videos, as color sensors underperform in low light.
An ambient light sensor manages the change between day and night modes automatically.
Some cellular trail cameras incorporate dual-lens systems, eliminating the need for IR filter switching, reducing noise and preserving natural animal behavior during nighttime capture with high image quality.
What Are Cellular Trail Cameras and How Do They Send Photos?
Anyone interested in monitoring wildlife remotely will find cellular trail cameras highly effective. These devices use motion detection triggered by temperature changes to capture photos and videos, then send them via a cellular network.
Equipped with a SIM card and GSM module, they enable real-time data transmission without needing physical retrieval.
Key features include:
- Motion detection activates capture using infrared flash for night visibility
- Photos and videos transmit instantly over cellular networks
- Real-time alerts notify you of activity directly on your device
- Remote configuration changes through mobile apps improve usability
- Data transmission relies on cellular signals and may involve separate data costs
Cellular trail cameras also suit home security, providing continuous surveillance with immediate updates, leveraging their connectivity and infrared capabilities.
What Factors Influence Trail Camera Picture Quality?

Although megapixel count plays a significant role in determining trail camera picture quality, it doesn’t guarantee sharp images if the lens quality is subpar. Daytime images depend on clarity, color accuracy, and contrast. Nighttime images rely heavily on flash type. Red glow infrared typically yields brighter shots than no-glow variants.
Recovery time affects how many usable image outputs you capture, especially in areas with frequent activity. Environmental factors like lighting conditions and weather also impact picture quality. Bright sunlight risks overexposure, and rain can blur images. Reviewing sample photos from different models is essential to assess true performance before purchase.
| Factor | Impact on Picture Quality |
|---|---|
| Megapixel Count | Higher resolution but depends on lens |
| Lighting Conditions | Affects exposure and clarity |
| Recovery Time | Determines shot frequency |
| Flash Type | Influences nighttime image brightness |
How to Optimize Trail Camera Settings for the Best Results
Improving trail camera picture quality goes beyond selecting the right model and understanding external influences; optimizing the camera’s settings plays a significant role in capturing clear, usable images.
Enhancing trail camera photos requires not just equipment, but fine-tuning settings for clarity and precision.
When your Cellular Trail Camera is set correctly, the Sensor sees movement accurately and triggers the camera only when necessary. This helps conserve battery life and ensures quality pictures and videos both day or night.
To optimize settings, focus on these key adjustments:
- Set sensitivity to detect animals without false triggers from wind or vegetation.
- Select HD resolution (720p) for sharp images in all lighting conditions.
- Use time-lapse mode to monitor low-traffic areas systematically.
- Adjust detection zone and angle, positioning the camera 30-36 inches high aimed at animal paths.
- Regularly check battery life and update settings for consistent performance and coverage of the camera’s field of view.
Frequently Asked Questions
How Long Do Trail Camera Batteries Typically Last?
Trail camera batteries typically last from a few weeks to several months, depending on how often you use the camera and its settings.
If you use lithium-ion batteries, you’ll get longer, more reliable performance, especially in cold weather.
Features like video recording and night illumination drain batteries faster, so minimizing these extends life.
Regularly testing battery life with your specific model helps you optimize usage and choose the best power source for your conditions.
Can Trail Cameras Be Used in Extreme Weather Conditions?
Yes, you can use trail cameras in extreme weather conditions. They’re built with weather-resistant housing to withstand rain, snow, and temperature extremes ranging from -20°F to 120°F (-29°C to 49°C).
Using lithium-ion batteries helps maintain performance in cold environments. To guarantee reliability, position the camera away from direct exposure to harsh elements.
Features like no-glow infrared flashes also improve durability and discreet nighttime operation under severe weather.
What Is the Best Placement Height for a Trail Camera?
You want your trail camera mounted at the sweet spot, 30 to 36 inches off the ground, to capture wildlife at eye level.
This height balances clear body shots of white-tailed deer while avoiding too much ground clutter or missed larger animals.
Tilt it about 45 degrees downward to catch movement from different angles.
Choose a sturdy tree roughly 15 yards from animal paths, ensuring your camera has an ideal field of view for reliable captures.
Are Trail Camera Images Timestamped Automatically?
Yes, trail camera images are usually timestamped automatically. The camera’s internal clock embeds the date and time in the image’s corner, so you know exactly when each photo was taken.
You’ll want to set the clock accurately during setup and check it regularly to maintain timestamp accuracy.
Some models even let you customize the timestamp format to show extra data like temperature or moon phase for more detailed monitoring.
How Do Trail Cameras Avoid False Triggers From Wind or Rain?
You can avoid false triggers from wind or rain by adjusting your trail camera’s sensitivity settings. This helps filter out minor environmental changes.
Position your camera away from areas with heavy wind exposure or swaying branches.
Modern cameras use PIR sensors designed to distinguish animal heat signatures from moving vegetation. Some models include technology that filters out temperature fluctuations caused by rain or wind.
Plus, time-lapse modes capture images at set intervals instead of relying solely on motion detection.
Conclusion
Now that you know how a trail camera detects wildlife, processes triggers, and uses infrared tech to capture night images, you’re better equipped to optimize settings for sharp, clear shots. Cellular models even send photos directly to your device, making monitoring effortless.
Like a silent sentinel, your trail camera watches patiently, ensuring you never miss a moment. Master these details, and you’ll turn raw data into valuable wildlife insights with precision and ease.